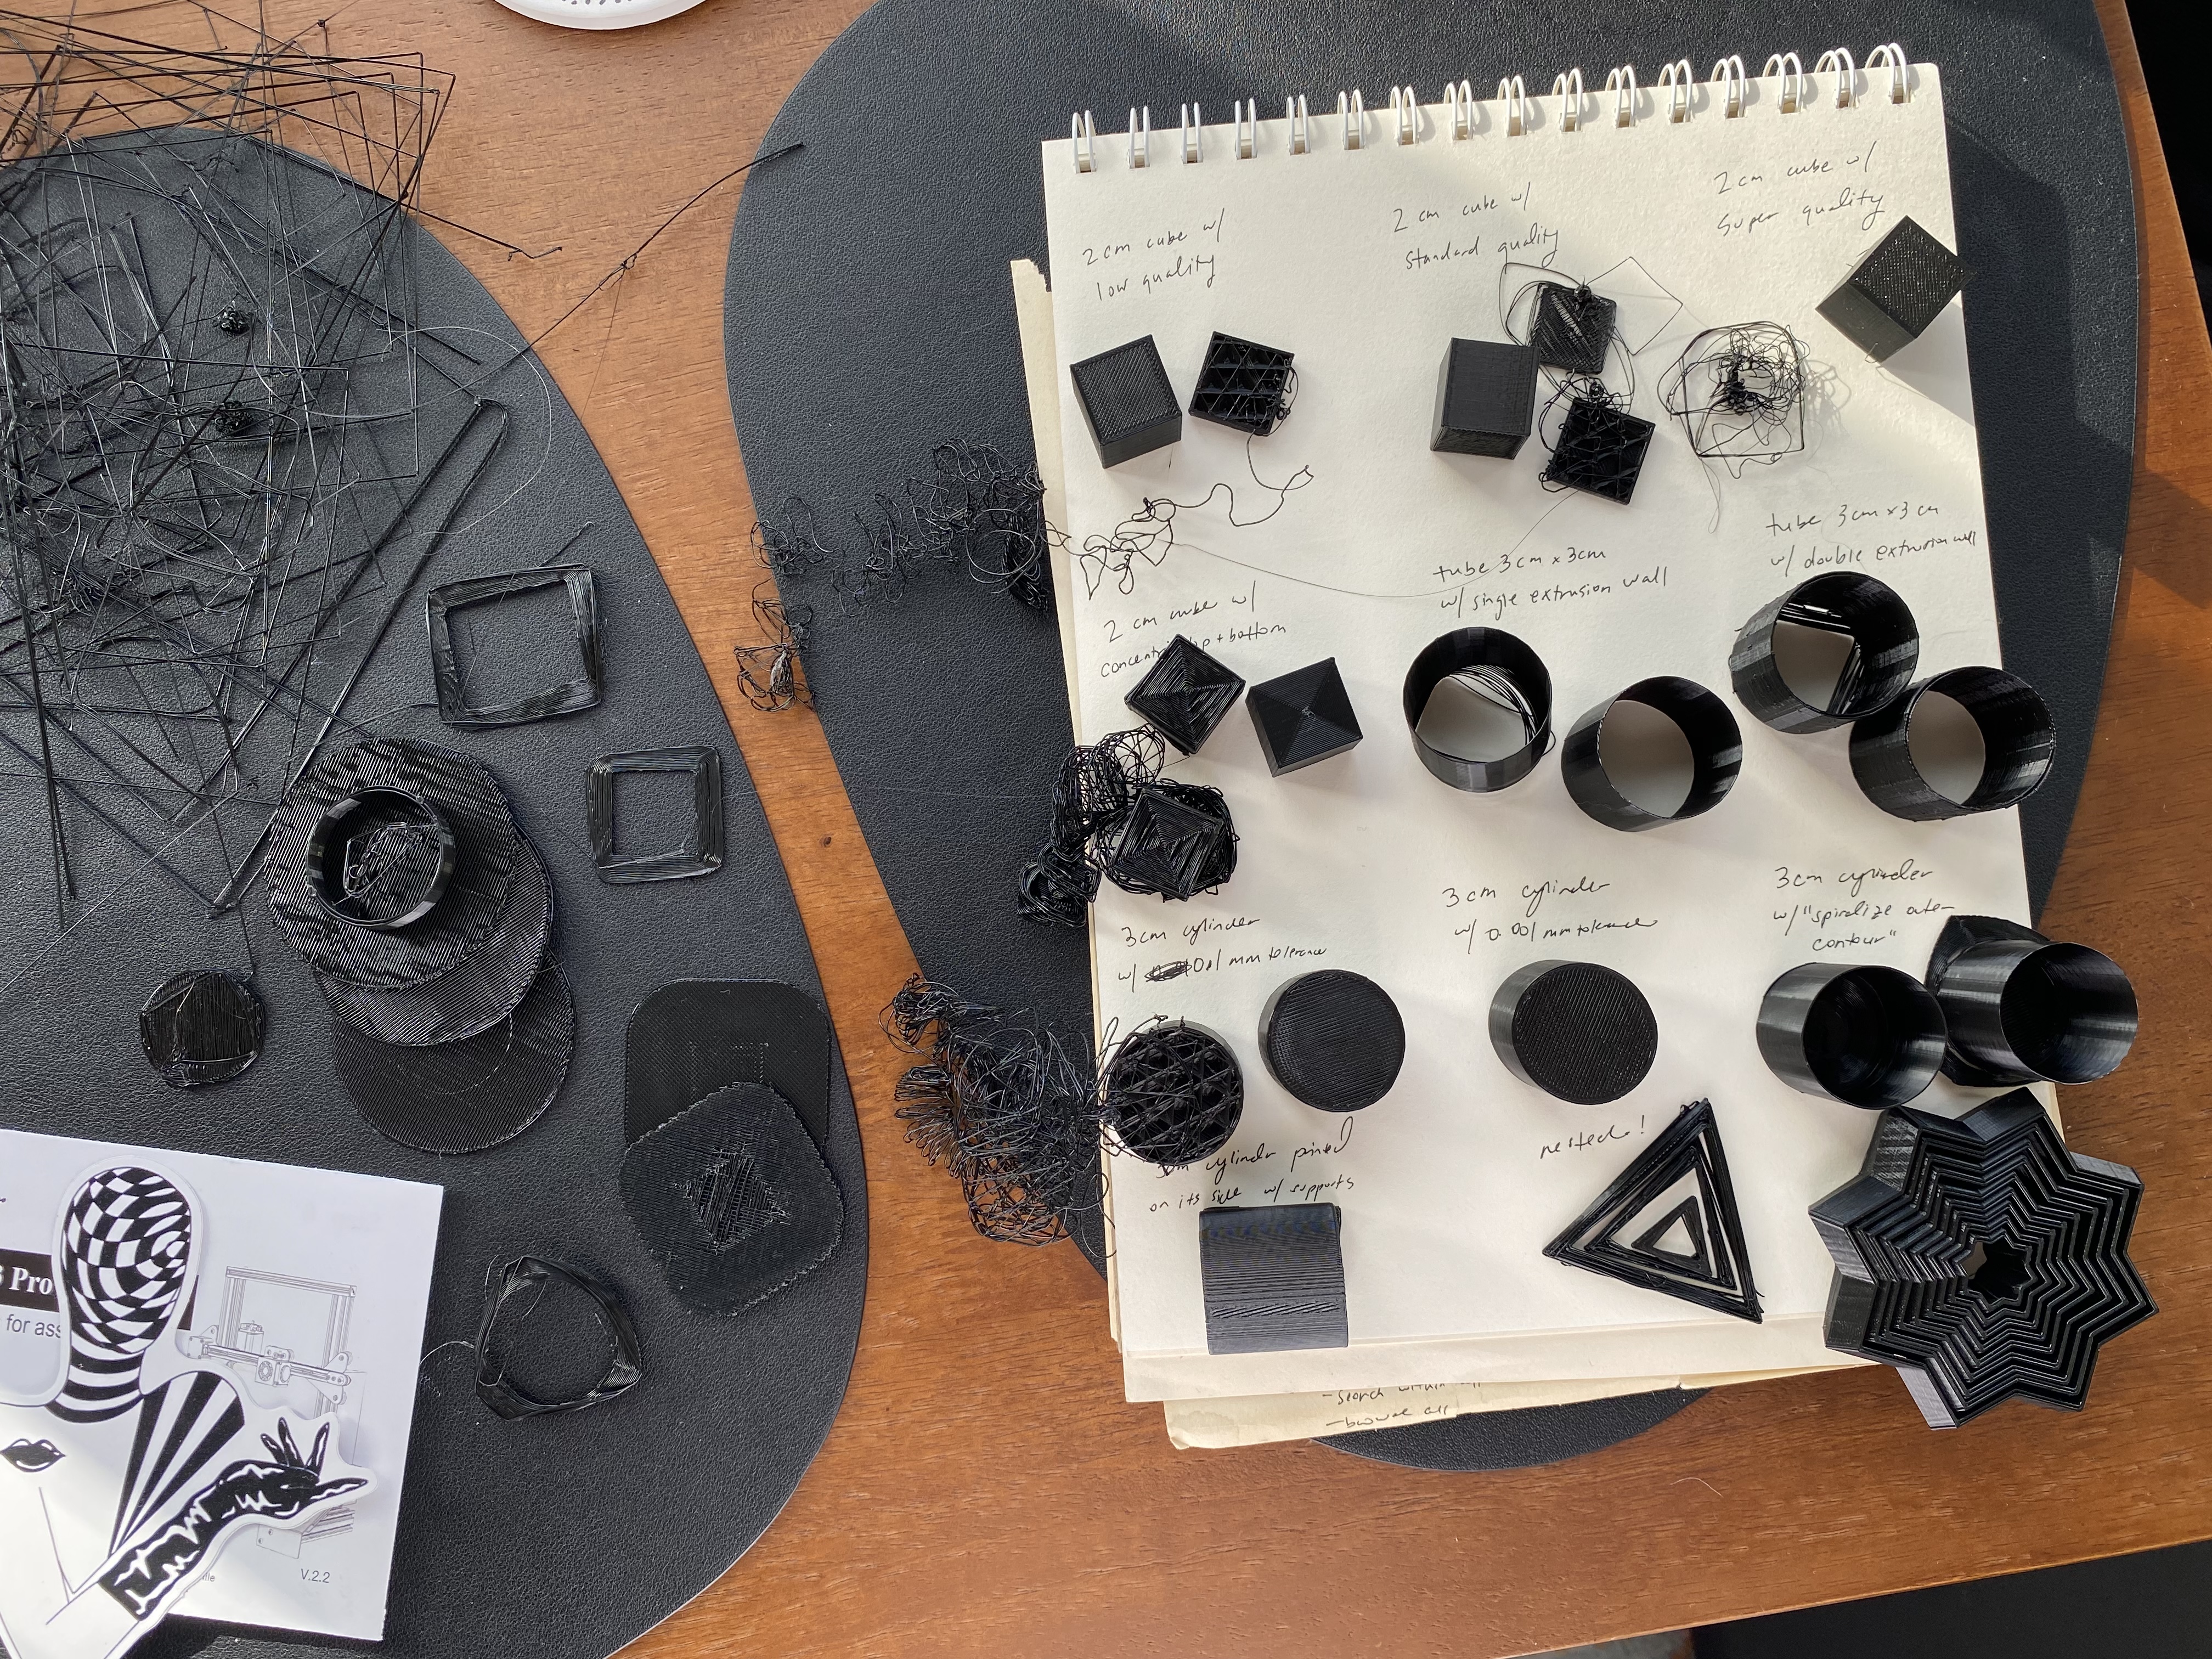
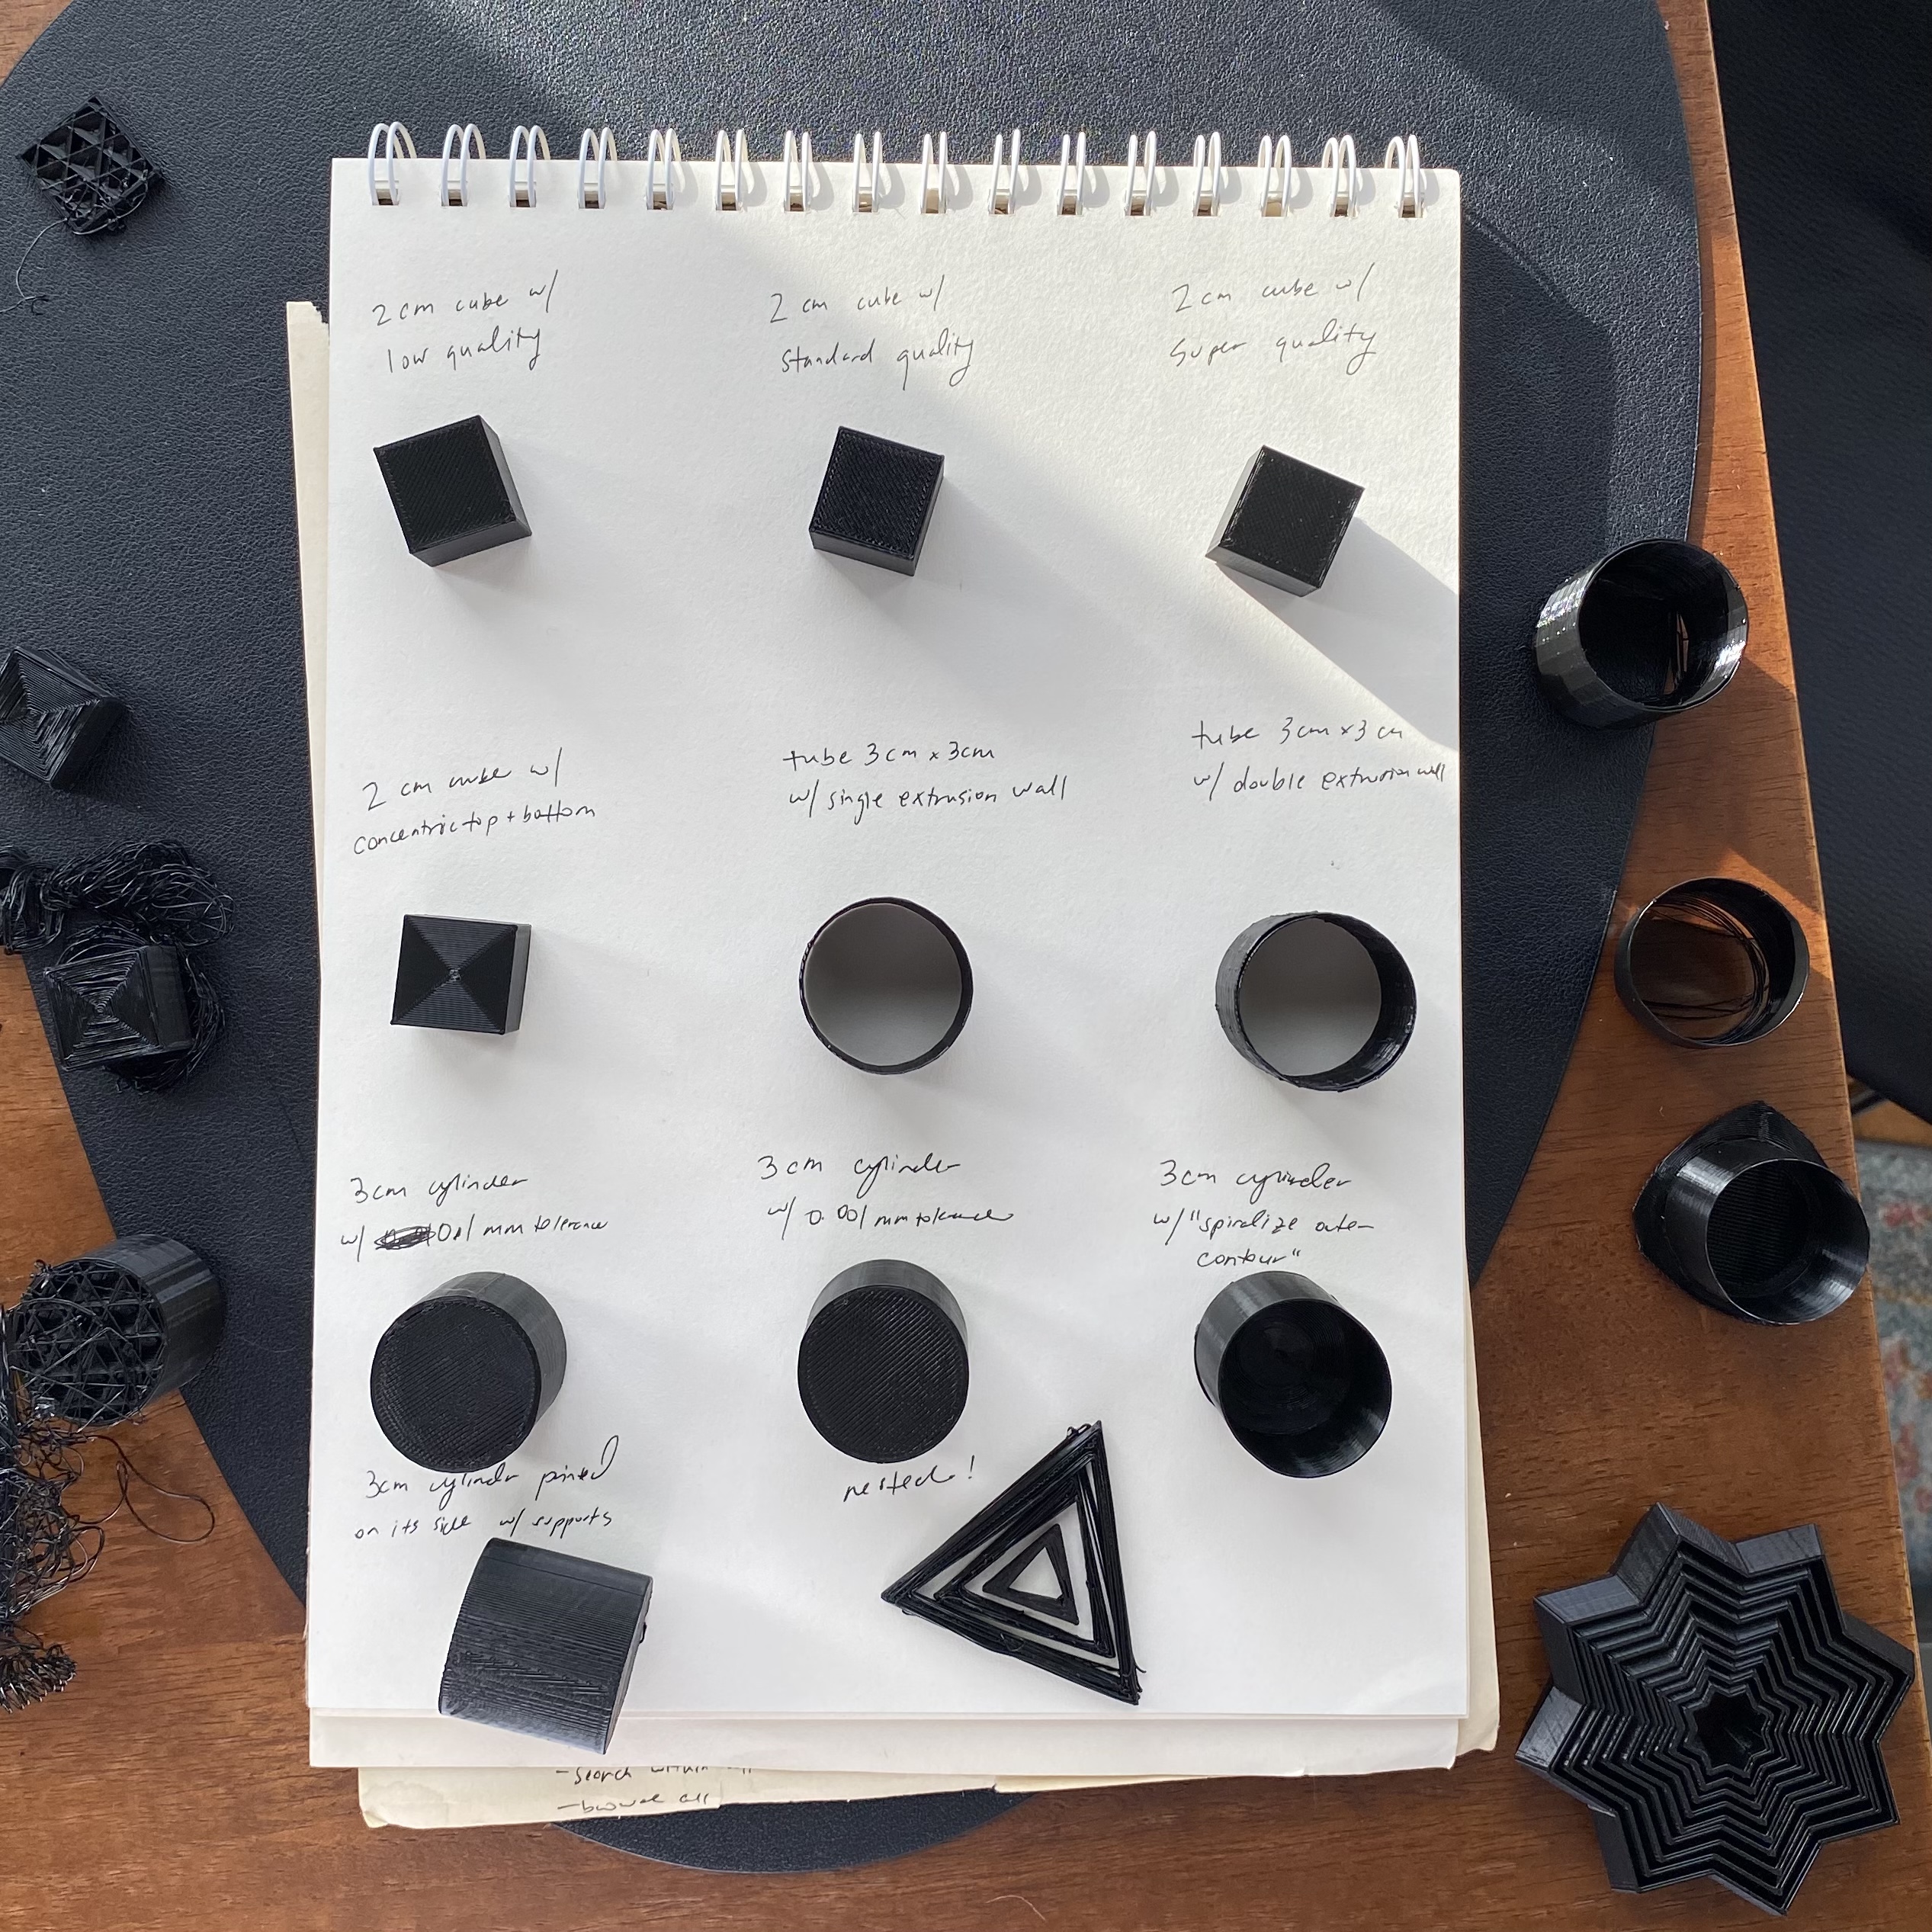
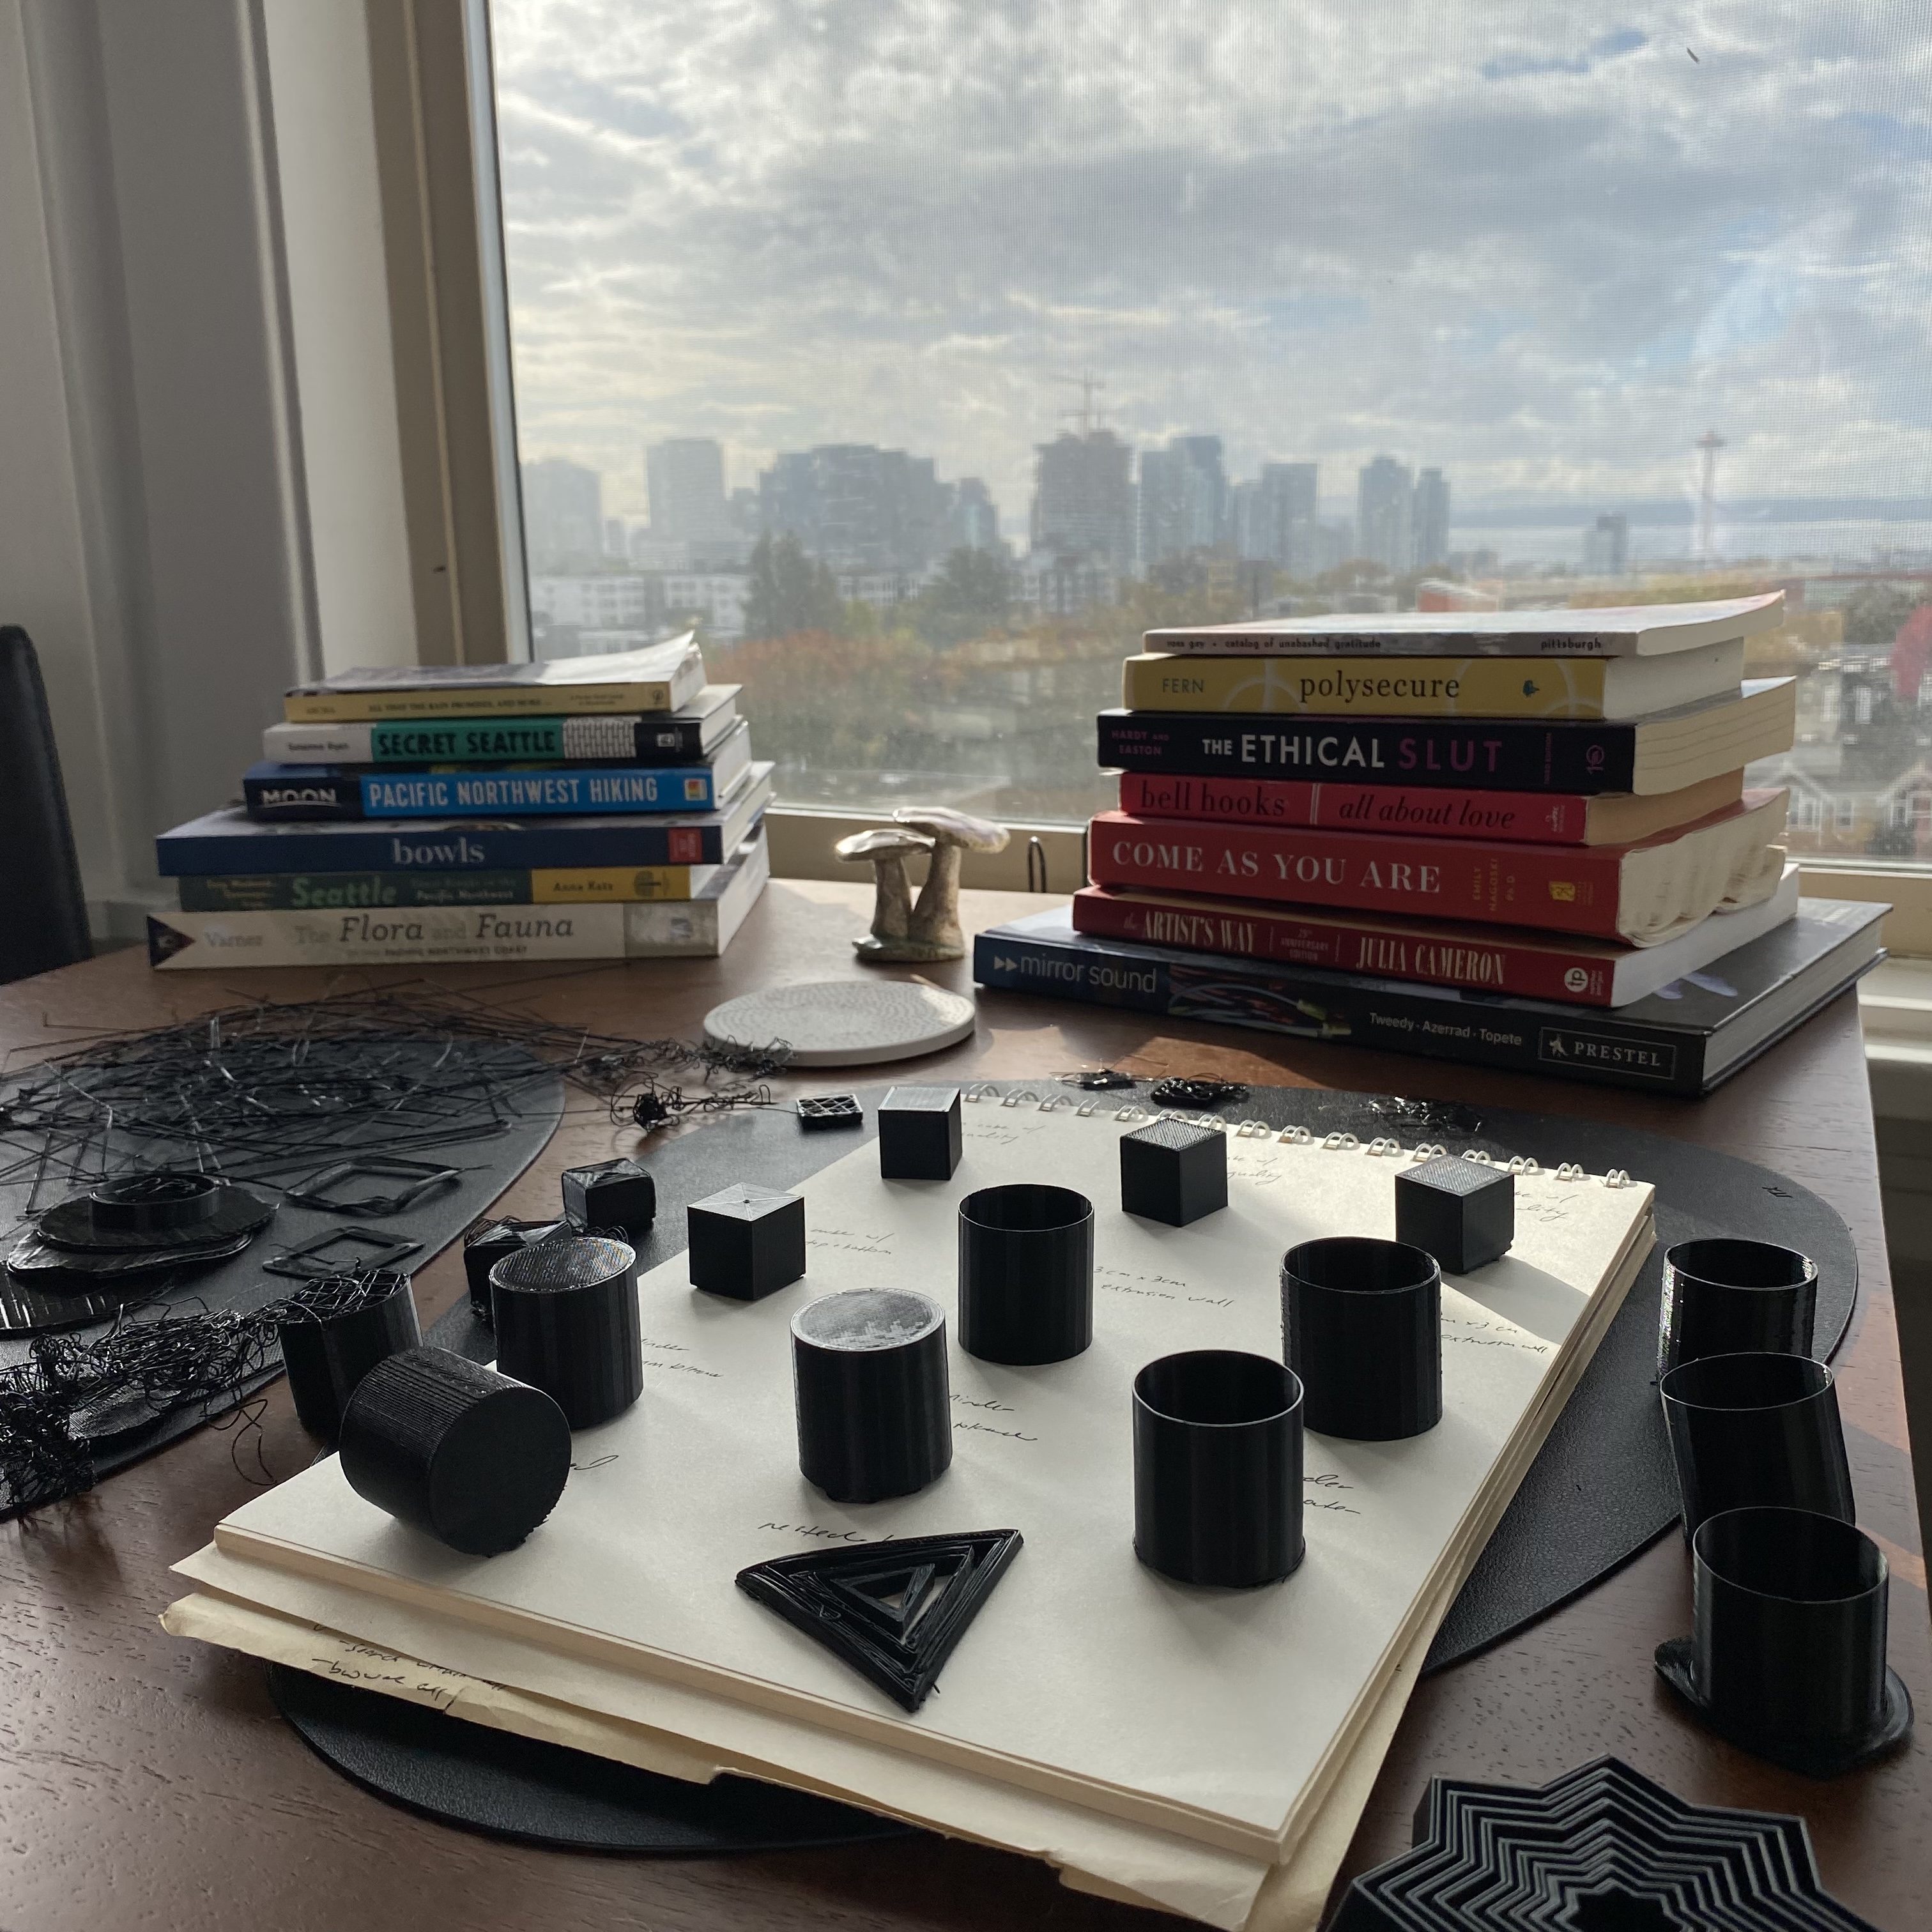
For this assignment, we needed to assemble our new Ender 3 Pro 3D printer and create a variety of shapes in Rhino, slice them in Cura, and print them with it.
I began this process with a zest for life and high hopes. I unboxed this bad boy and laid it all out excitedly. I watched and re-watched dudes doing it on YouTube (1, 2) and found more in-depth assembly instructions and attempted to follow along. My iPad died mid-timelapse, so there's a little bit of uncaptured progress, but you can see that I'm doin the thing. I'm connecting shit, I'm making sure beams line up and parts don't wiggle, I'm plugging in all the wires, etc. I don't feel the need to explain this full process because there's a whole corner of the internet doing that already. All you need to know is that at this point, I feel accomplished. This printer is a complicated lil beast but it's all in one piece now and I did that. I've laid it to rest on a coffee table because I live in a room and use the rest of my desk space constantly and completely. I'm showing pics of it to my friends like it's my new pet.
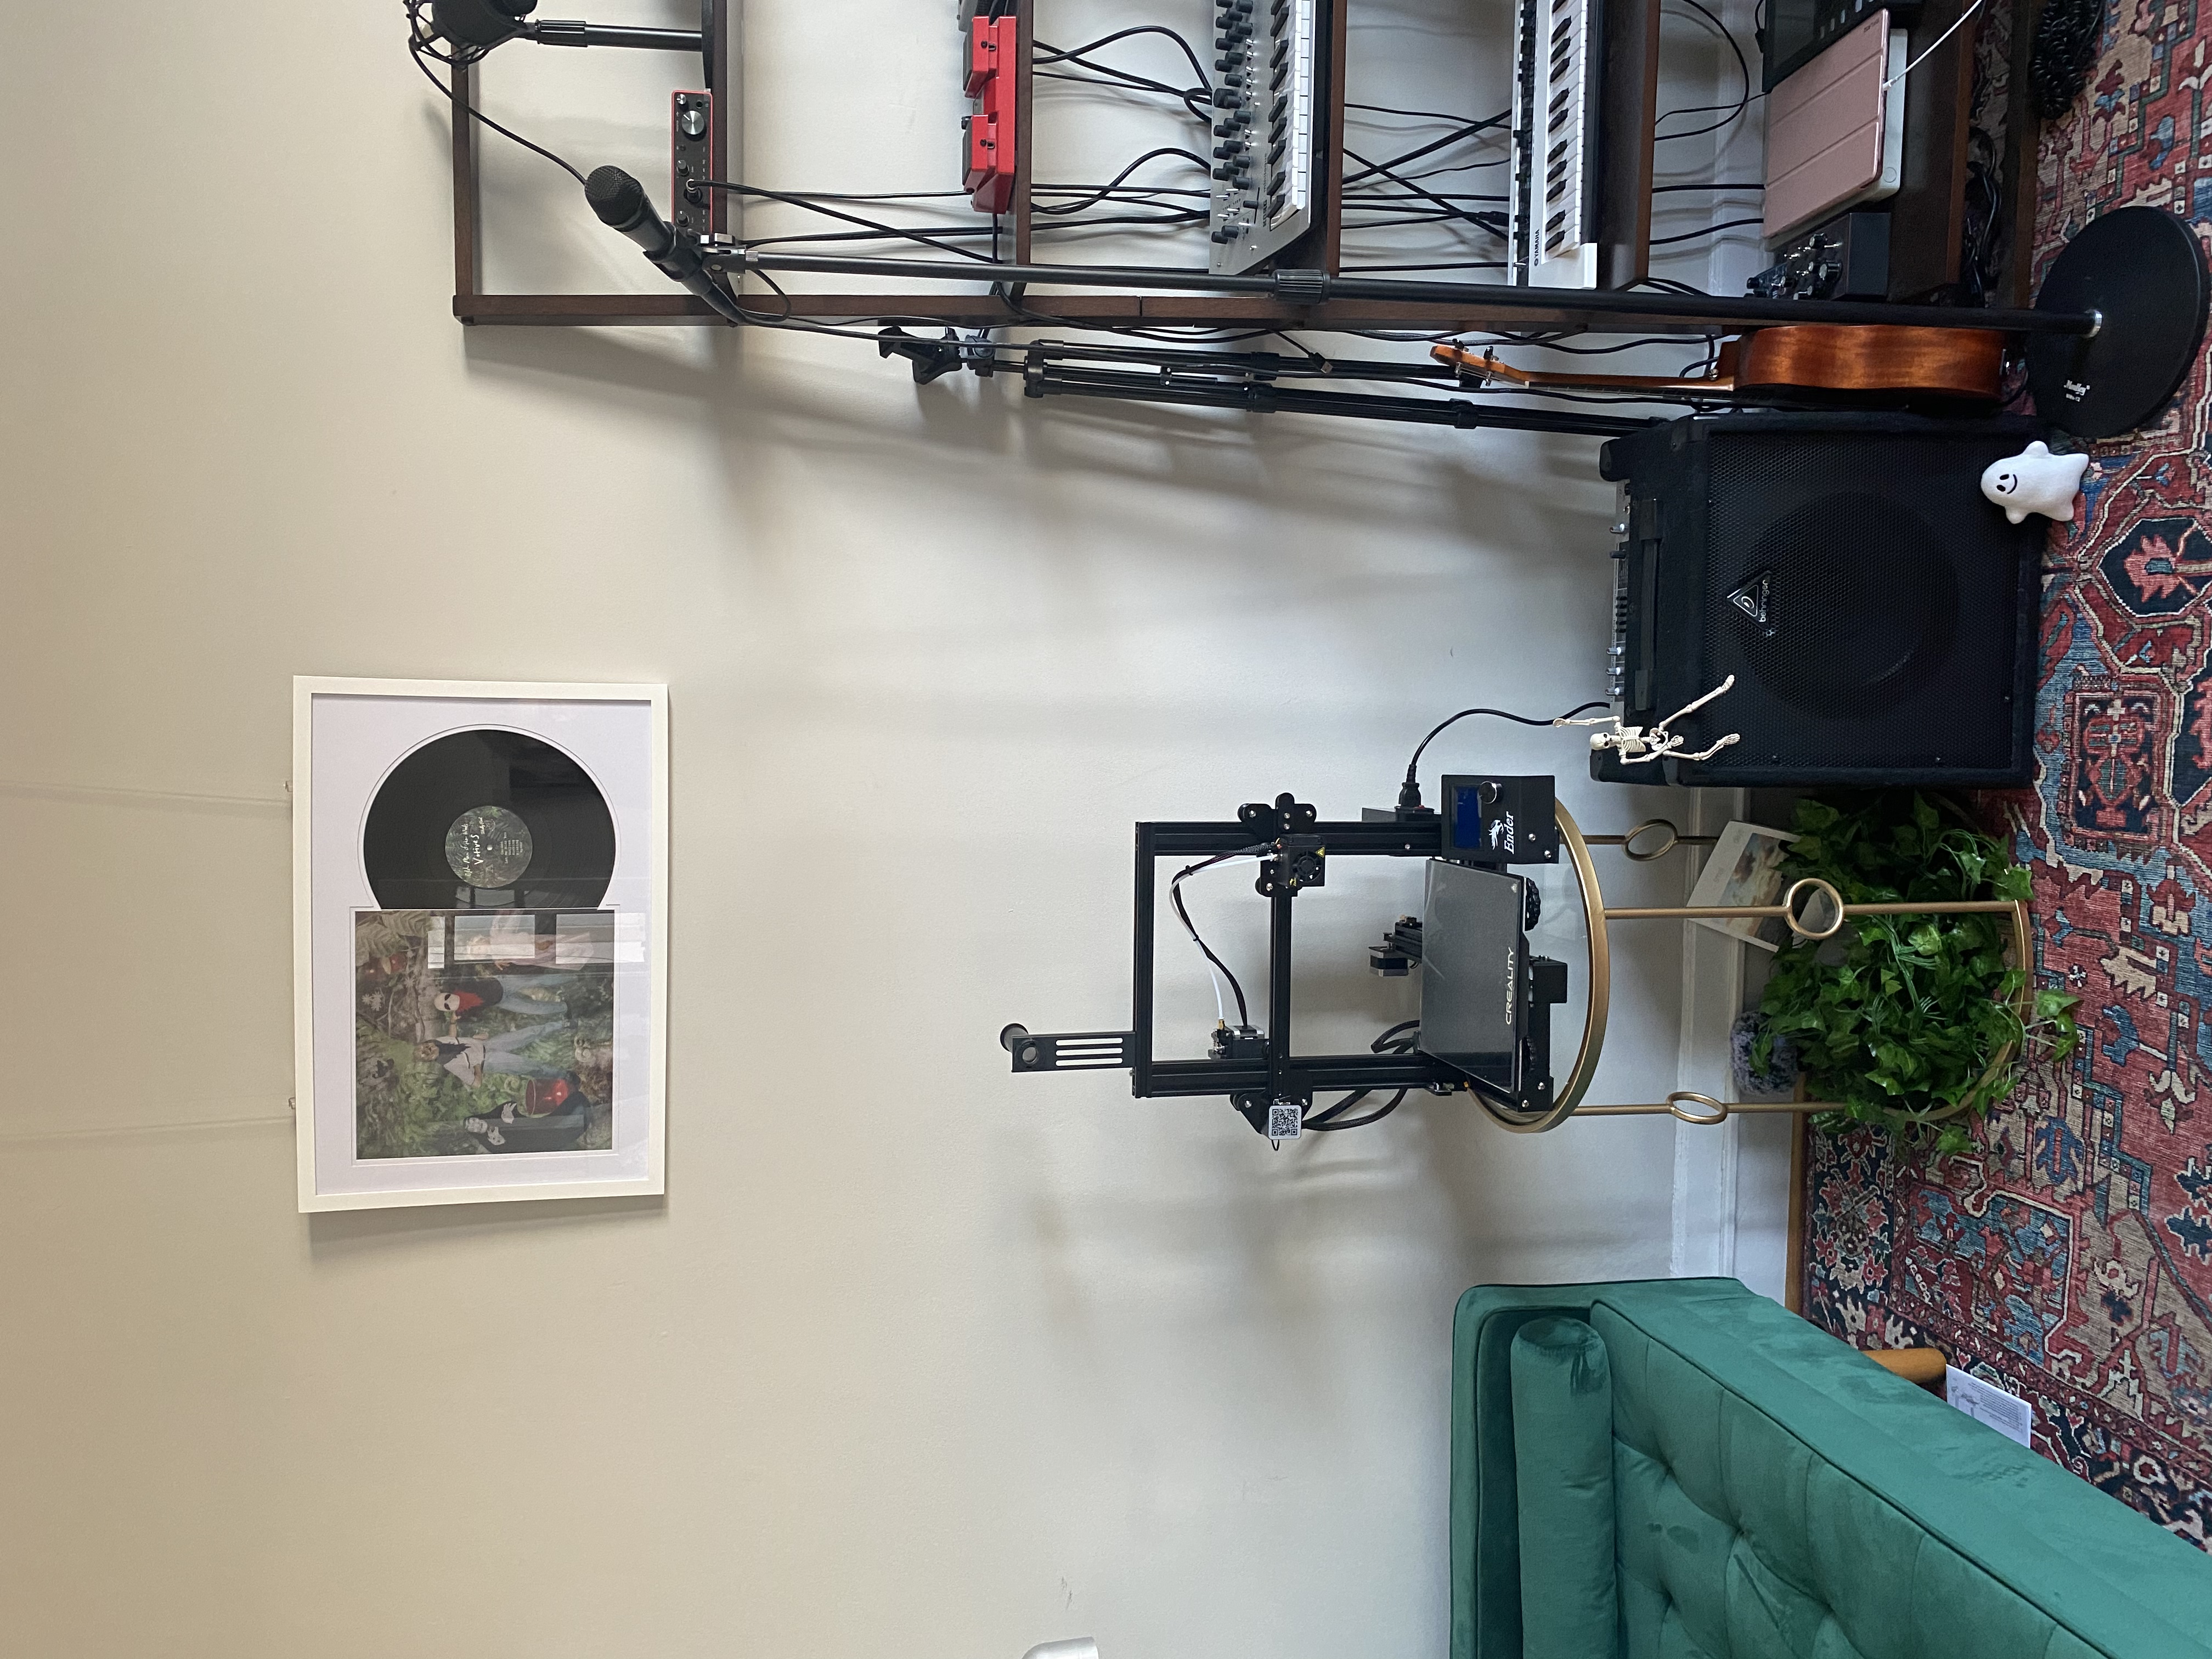
It's now Tuesday night and I'm attending class via Zoom. I realize the printer's cord can't reach any outlet from the coffee table and it's probably a bad idea to be printing on a glass coffee table to begin with, so I move it onto my desk. I watch the endings of the prior YouTube videos again to see how they initially test out that their printer is actually working and see that they both try out the Auto-Home function first. I do the same...with very different results. Mine fails while screaming in metal and I proceed to scour the internet and panic text Jess Hord. After hours of tightening and loosening screws around the base and pressing any switch that looks like it could be pressed (while trying to also pay attention to the lecture), it decides it's down to Auto-Home. I'm like phew that was weird and I feel active anger towards this object so I'm going to bed level tomorrow.
But the anger does not stop there. It will never stop, and I will never know peace again. Everyone on the class Discord is well aware because I spammed the shit out of it. Bed leveling is a disaster. I download the files from Thingiverse, I put em on the SD card, I put that in the printer. I follow along with the video. What I see is simply not what they see. The nozzle is eternally too far away, and Andy Moon and Junchao tell me to try with the glass bed on and adjust the z-switch location. After minor tweaks for hours, I finally get it looking relatively okay. Are the bed leveling squares as perfect and flat as the video? No. Do I care anymore? No. I'm gonna print this damn cube.
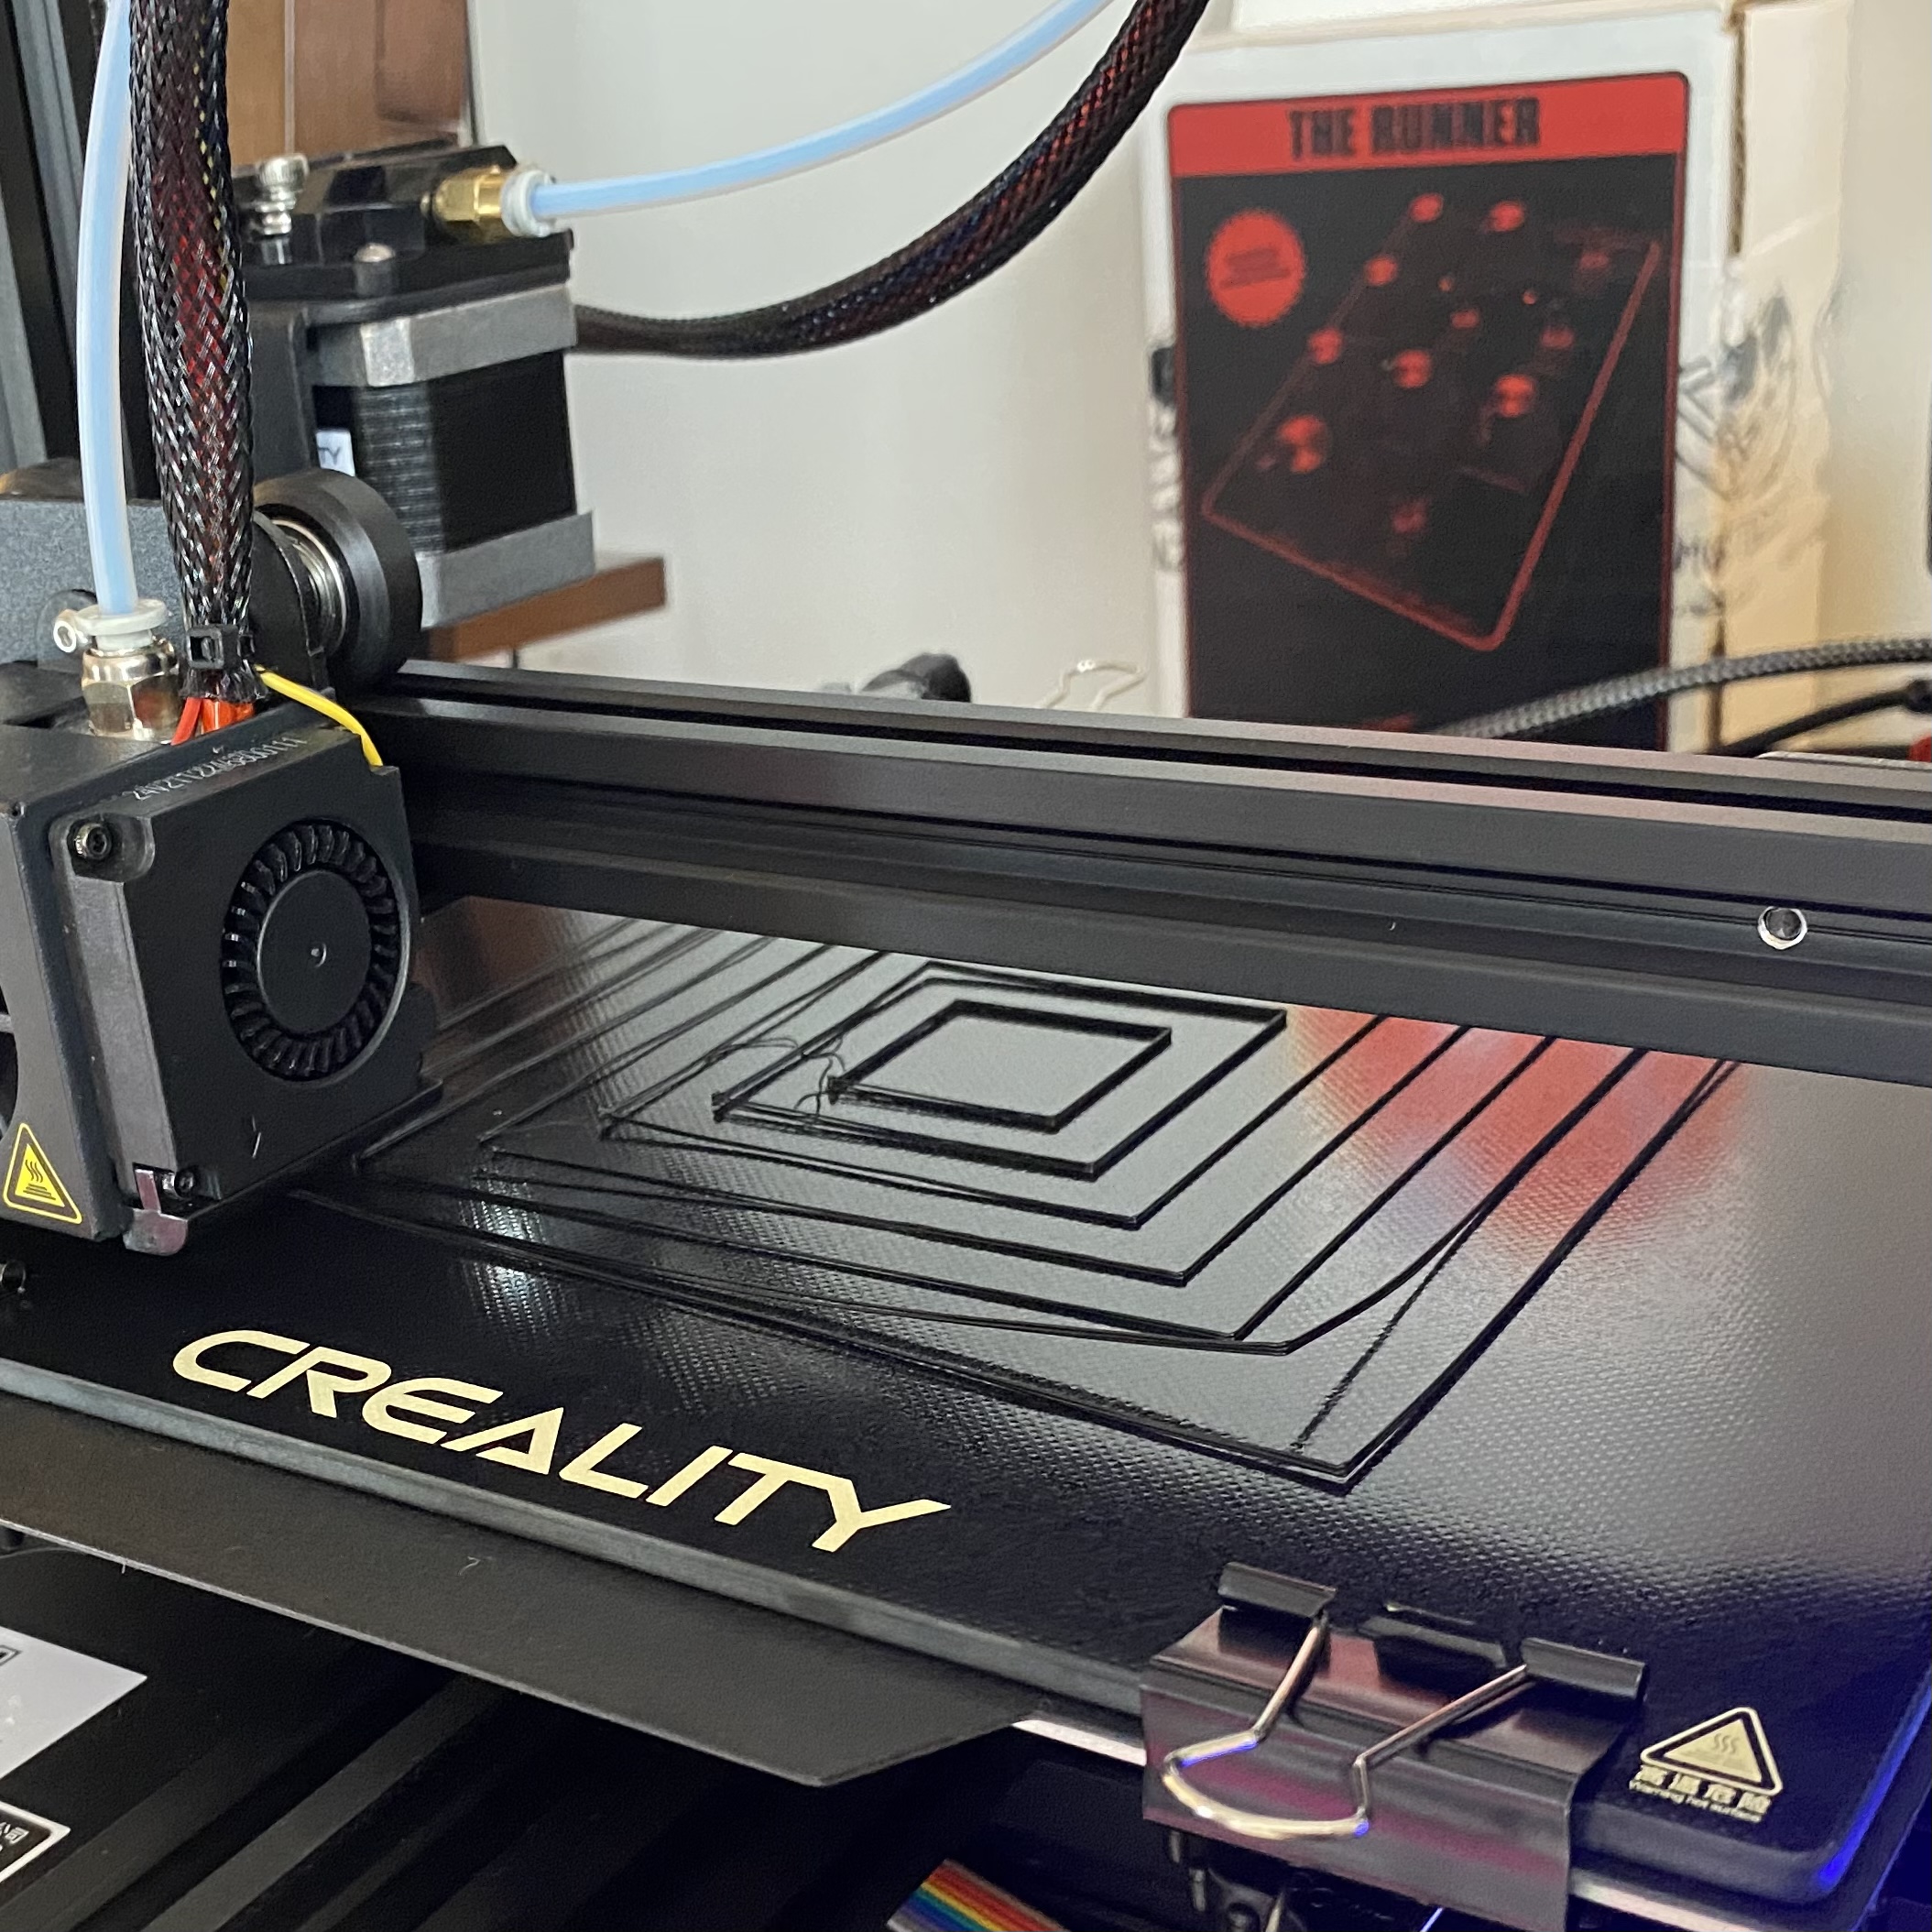
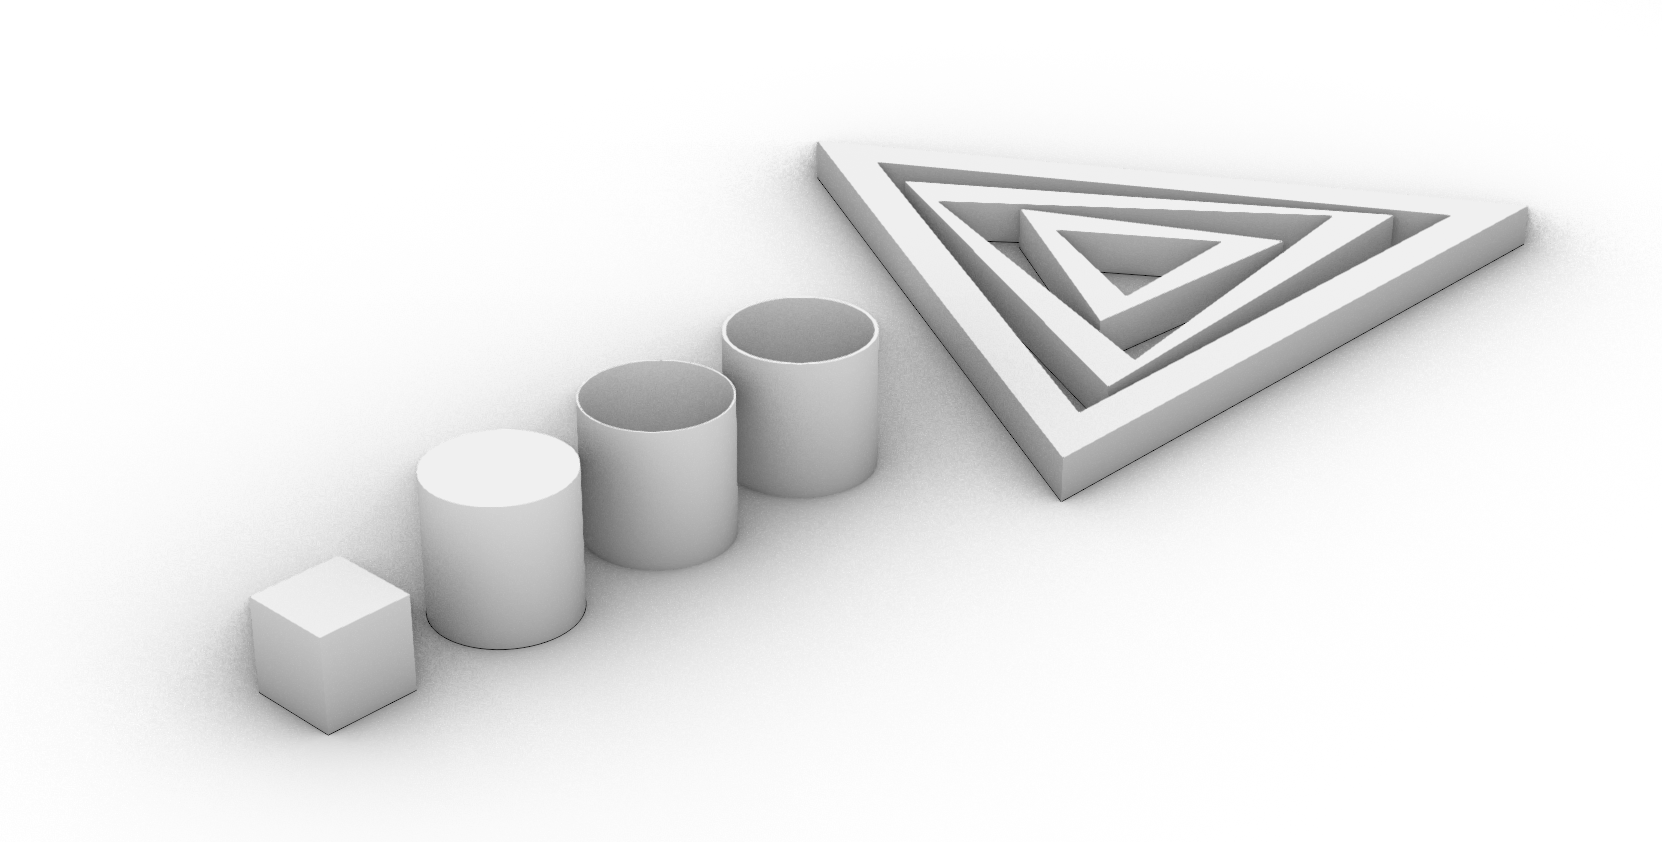
What a cliffhanger! But to talk about the shapes, we do need to take a step back onto the computer. I modeled each shape in Rhino in cm and exported it as a .stl with a tolerance of 0.01cm (except the one cylinder that specified needing a smaller tolerance). Here's the Rhino file of every shape.
I then imported that .stl into Cura and scaled it up from 100% to 1000%, because Cura imported the shape in mm even though I exported it in cm. The internet said this was normal, so I didn't worry too much about it. I then sliced the shape in Cura based on the specifications of the assignment and learned experience of my printer's quirks and preferences over time, and exported that slice as a .gcode file and saved it onto the SD card to print from. In each shape's section, I'll detail what settings I used and link the .stl and .gcode files.

Okay, back to the main event. I print my first cube with low quality and it WORKS. IT WORKS!!!!!! Here is real footage of me, deliriously proud of this damn cube.
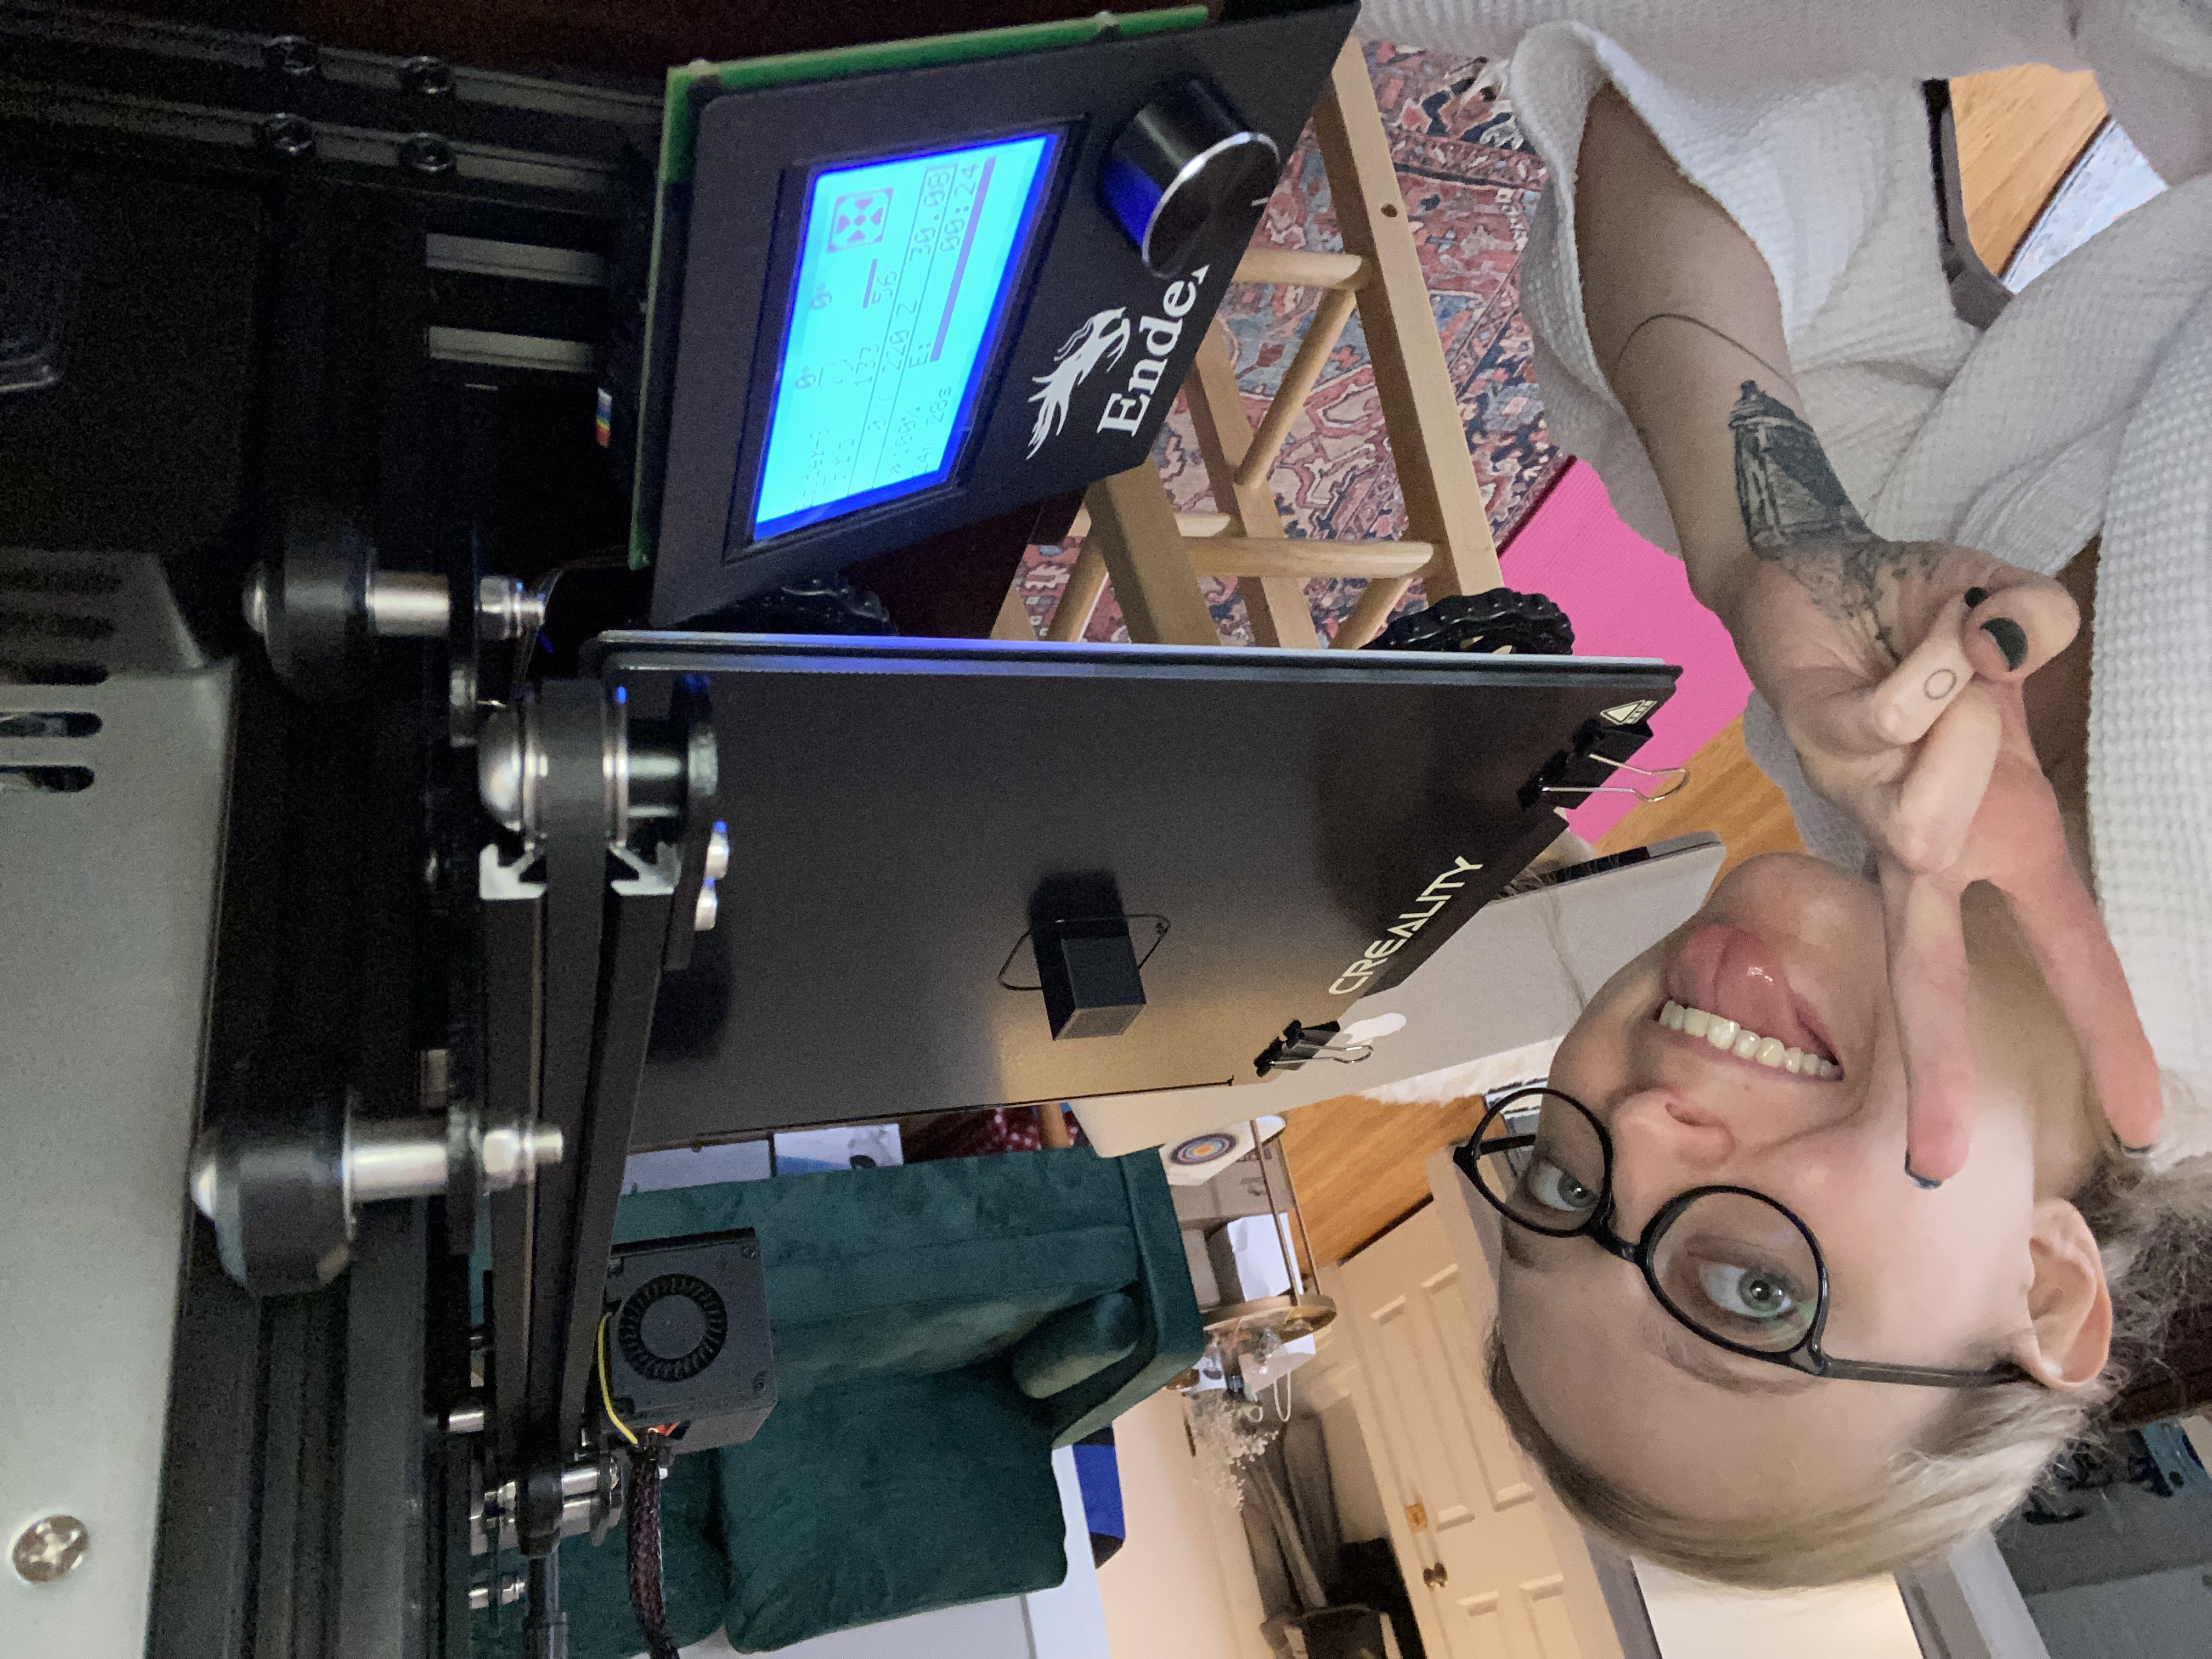
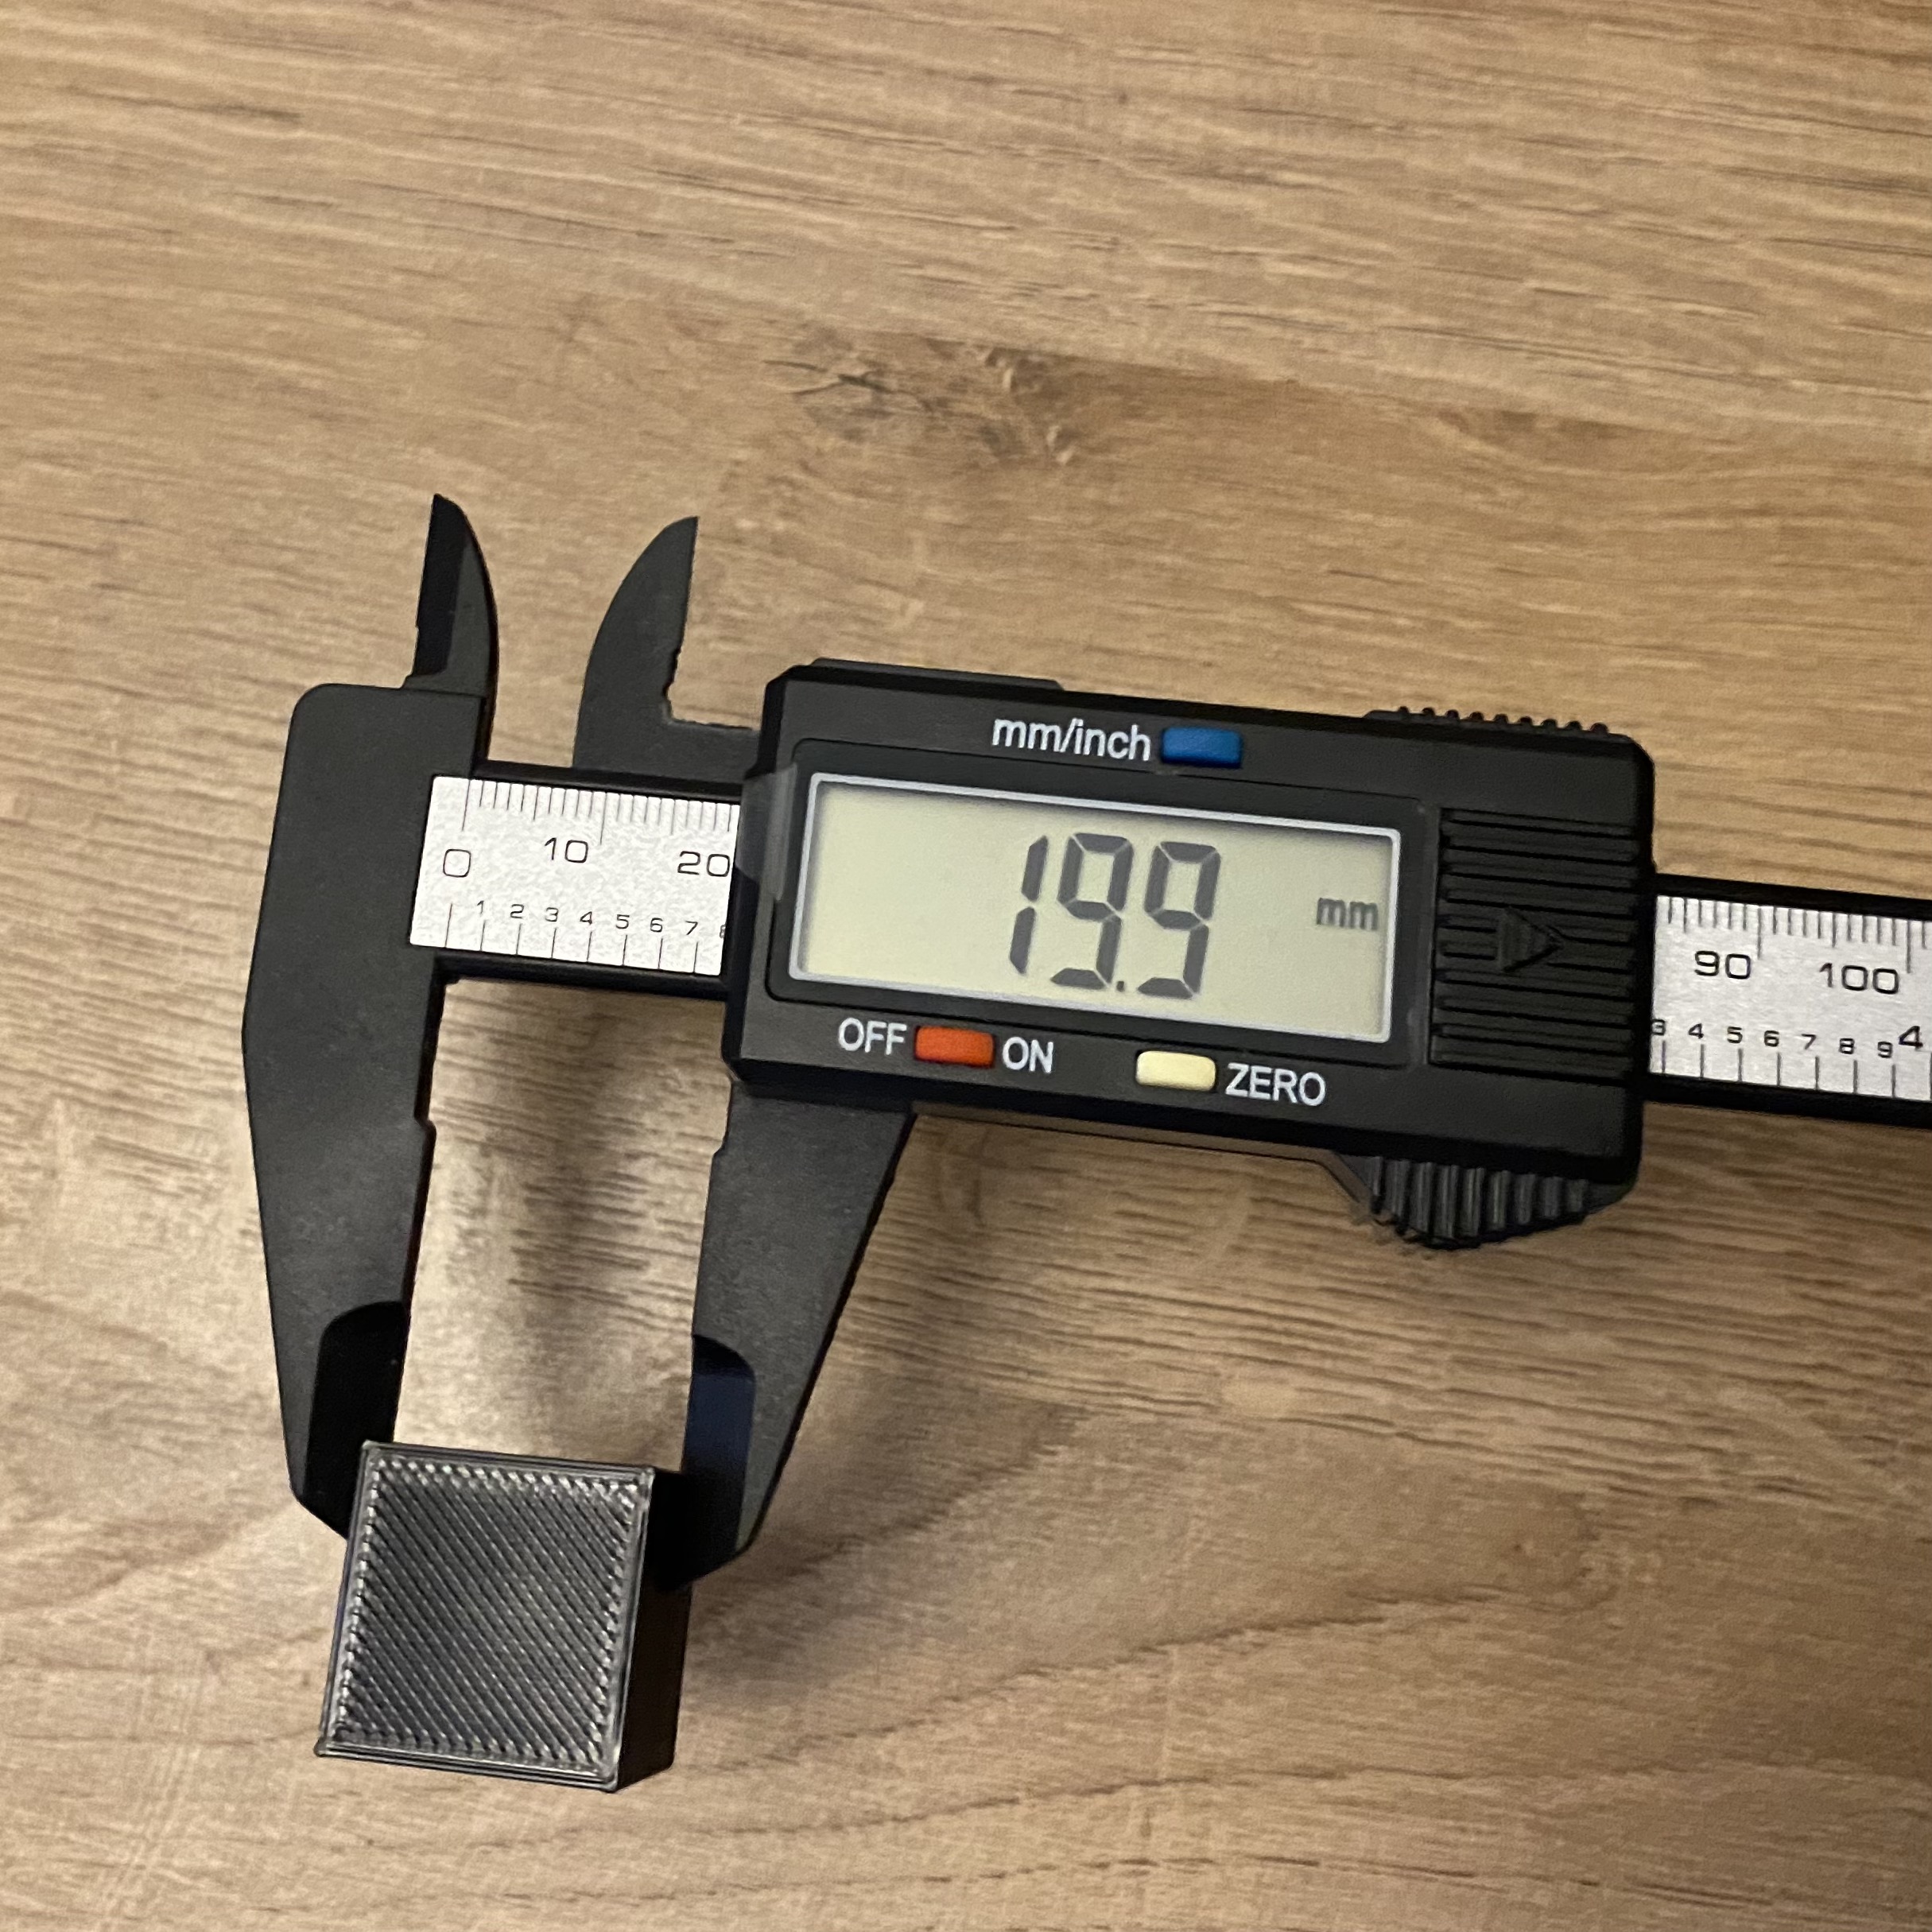
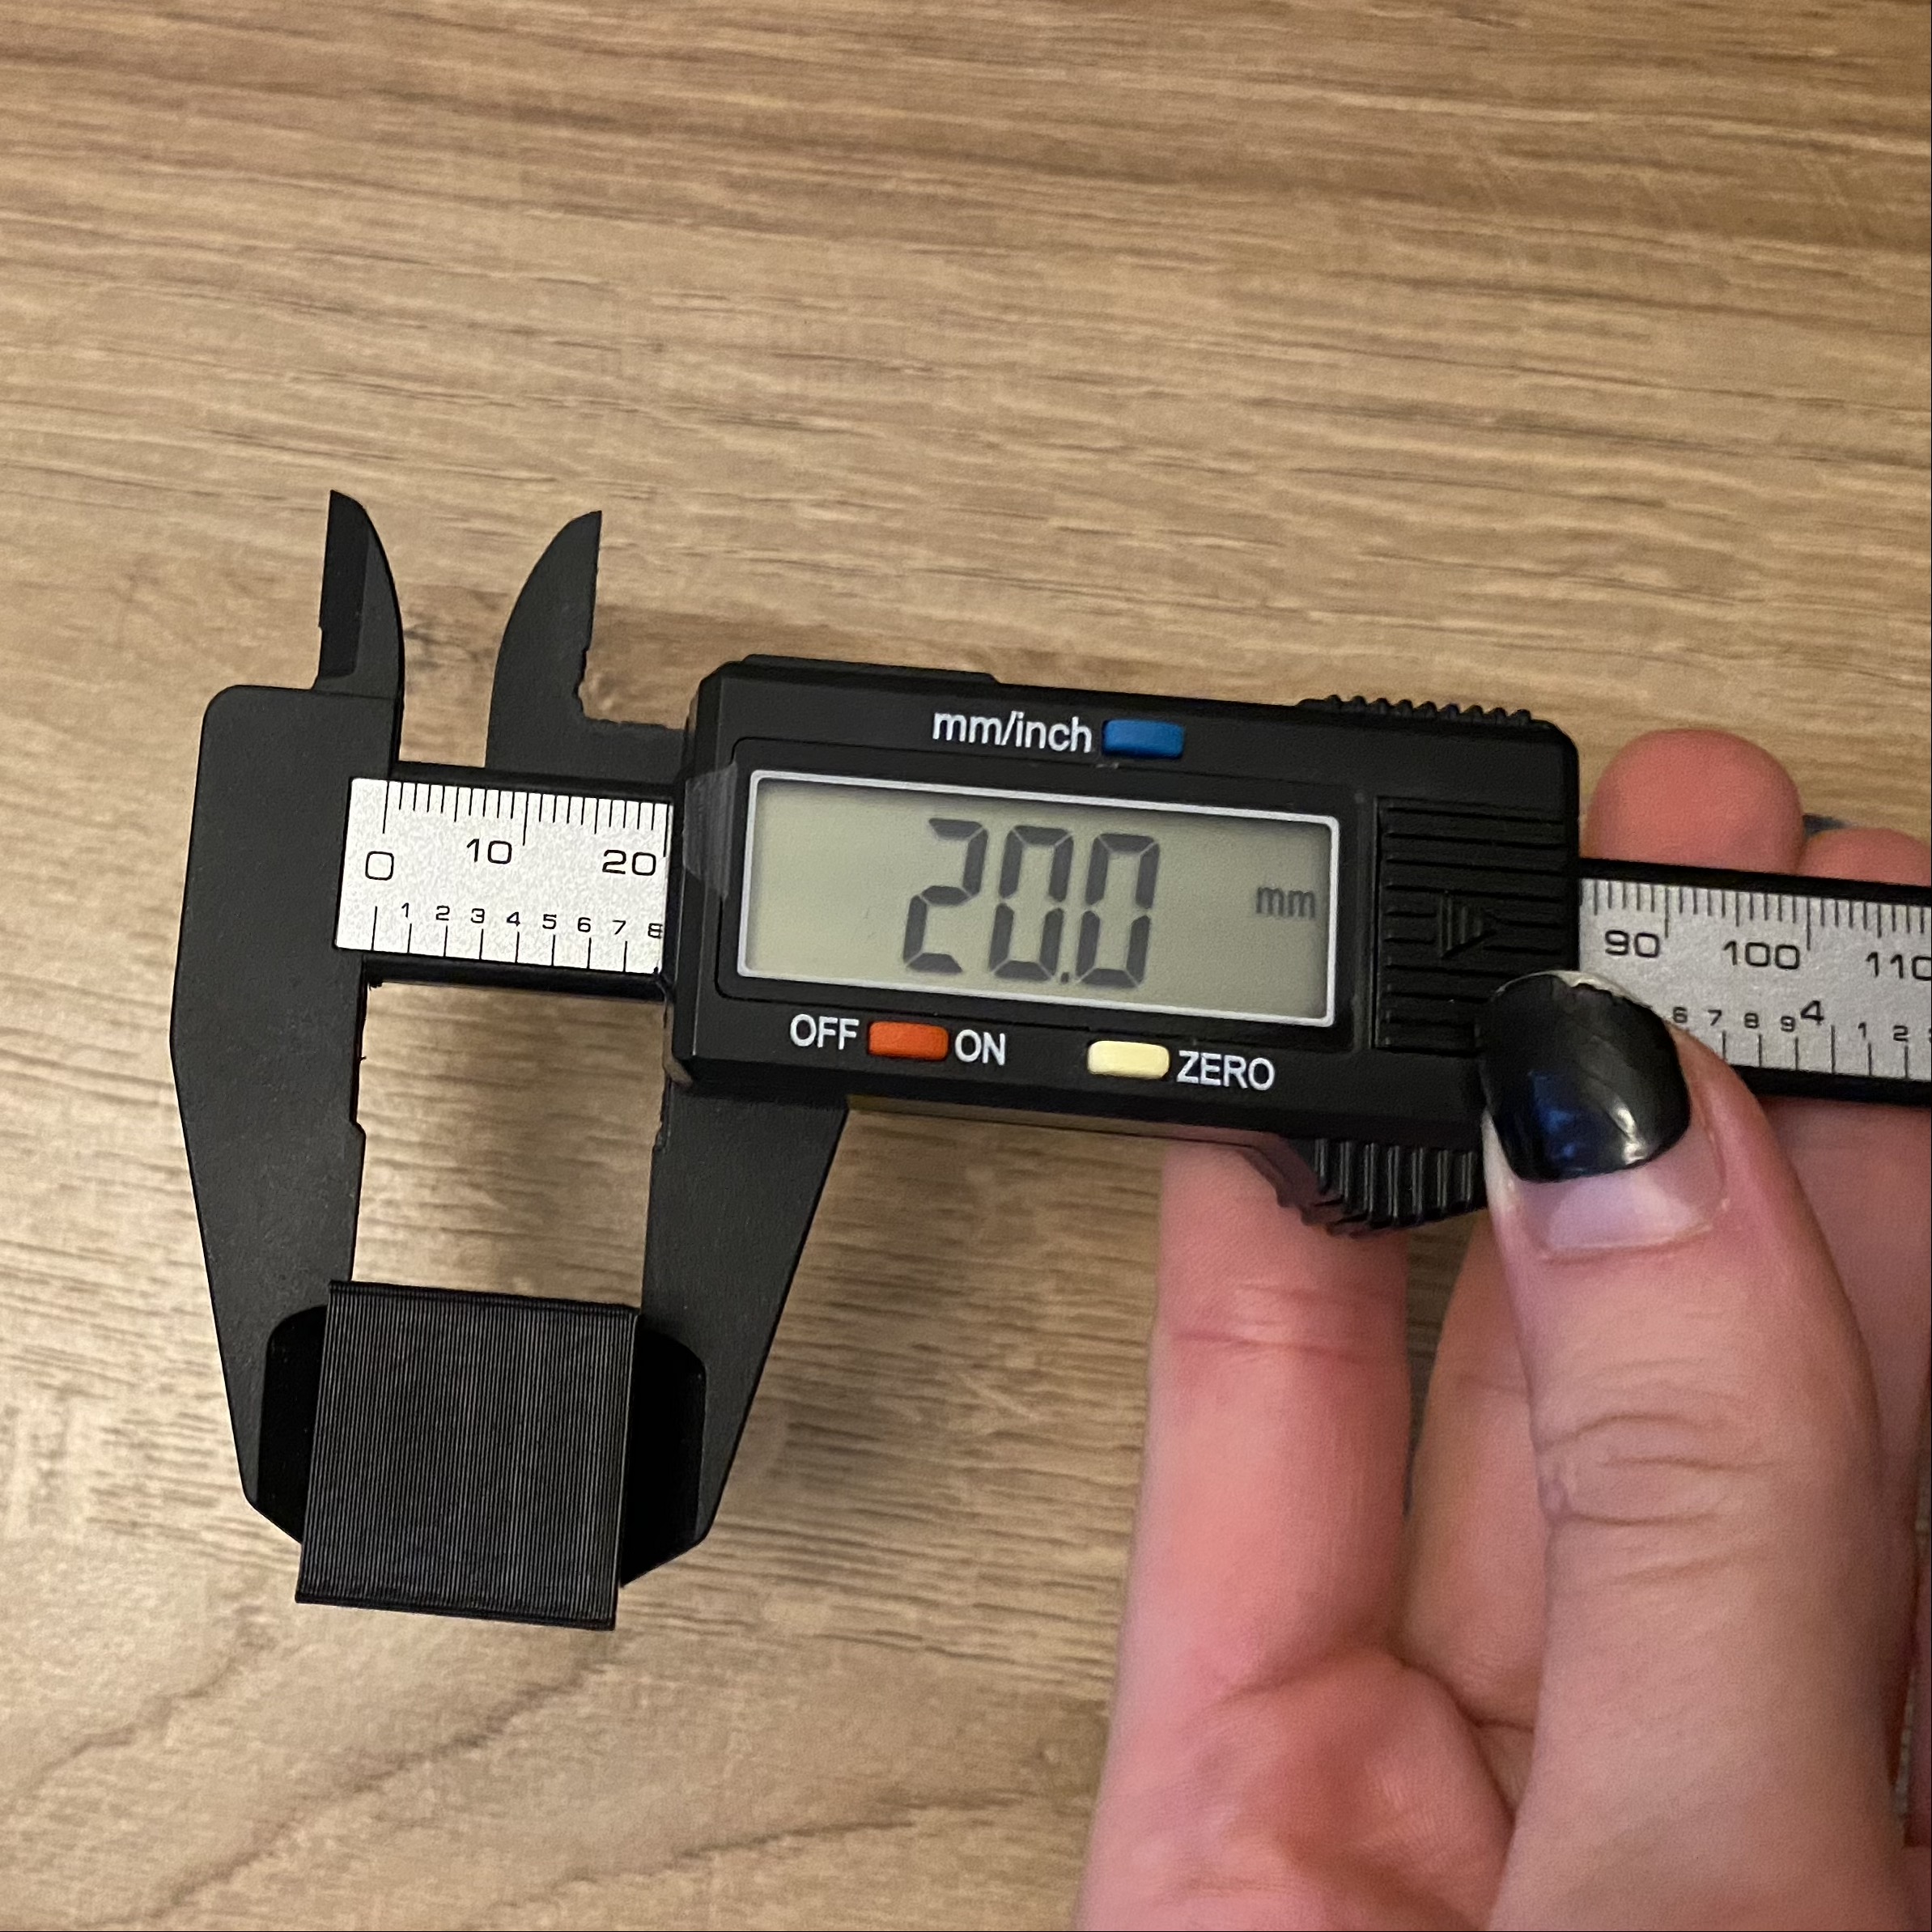
The celebration is short-lived when my standard cube becomes full spaghetti monster at the midway point of its build. I turn to Discord again and proceed to re-level my bed and use a raft based on advice from Jess and Junchao. The back left corner is still weirdly high, but I go for it anyway, and it pays off. The standard cube is born.
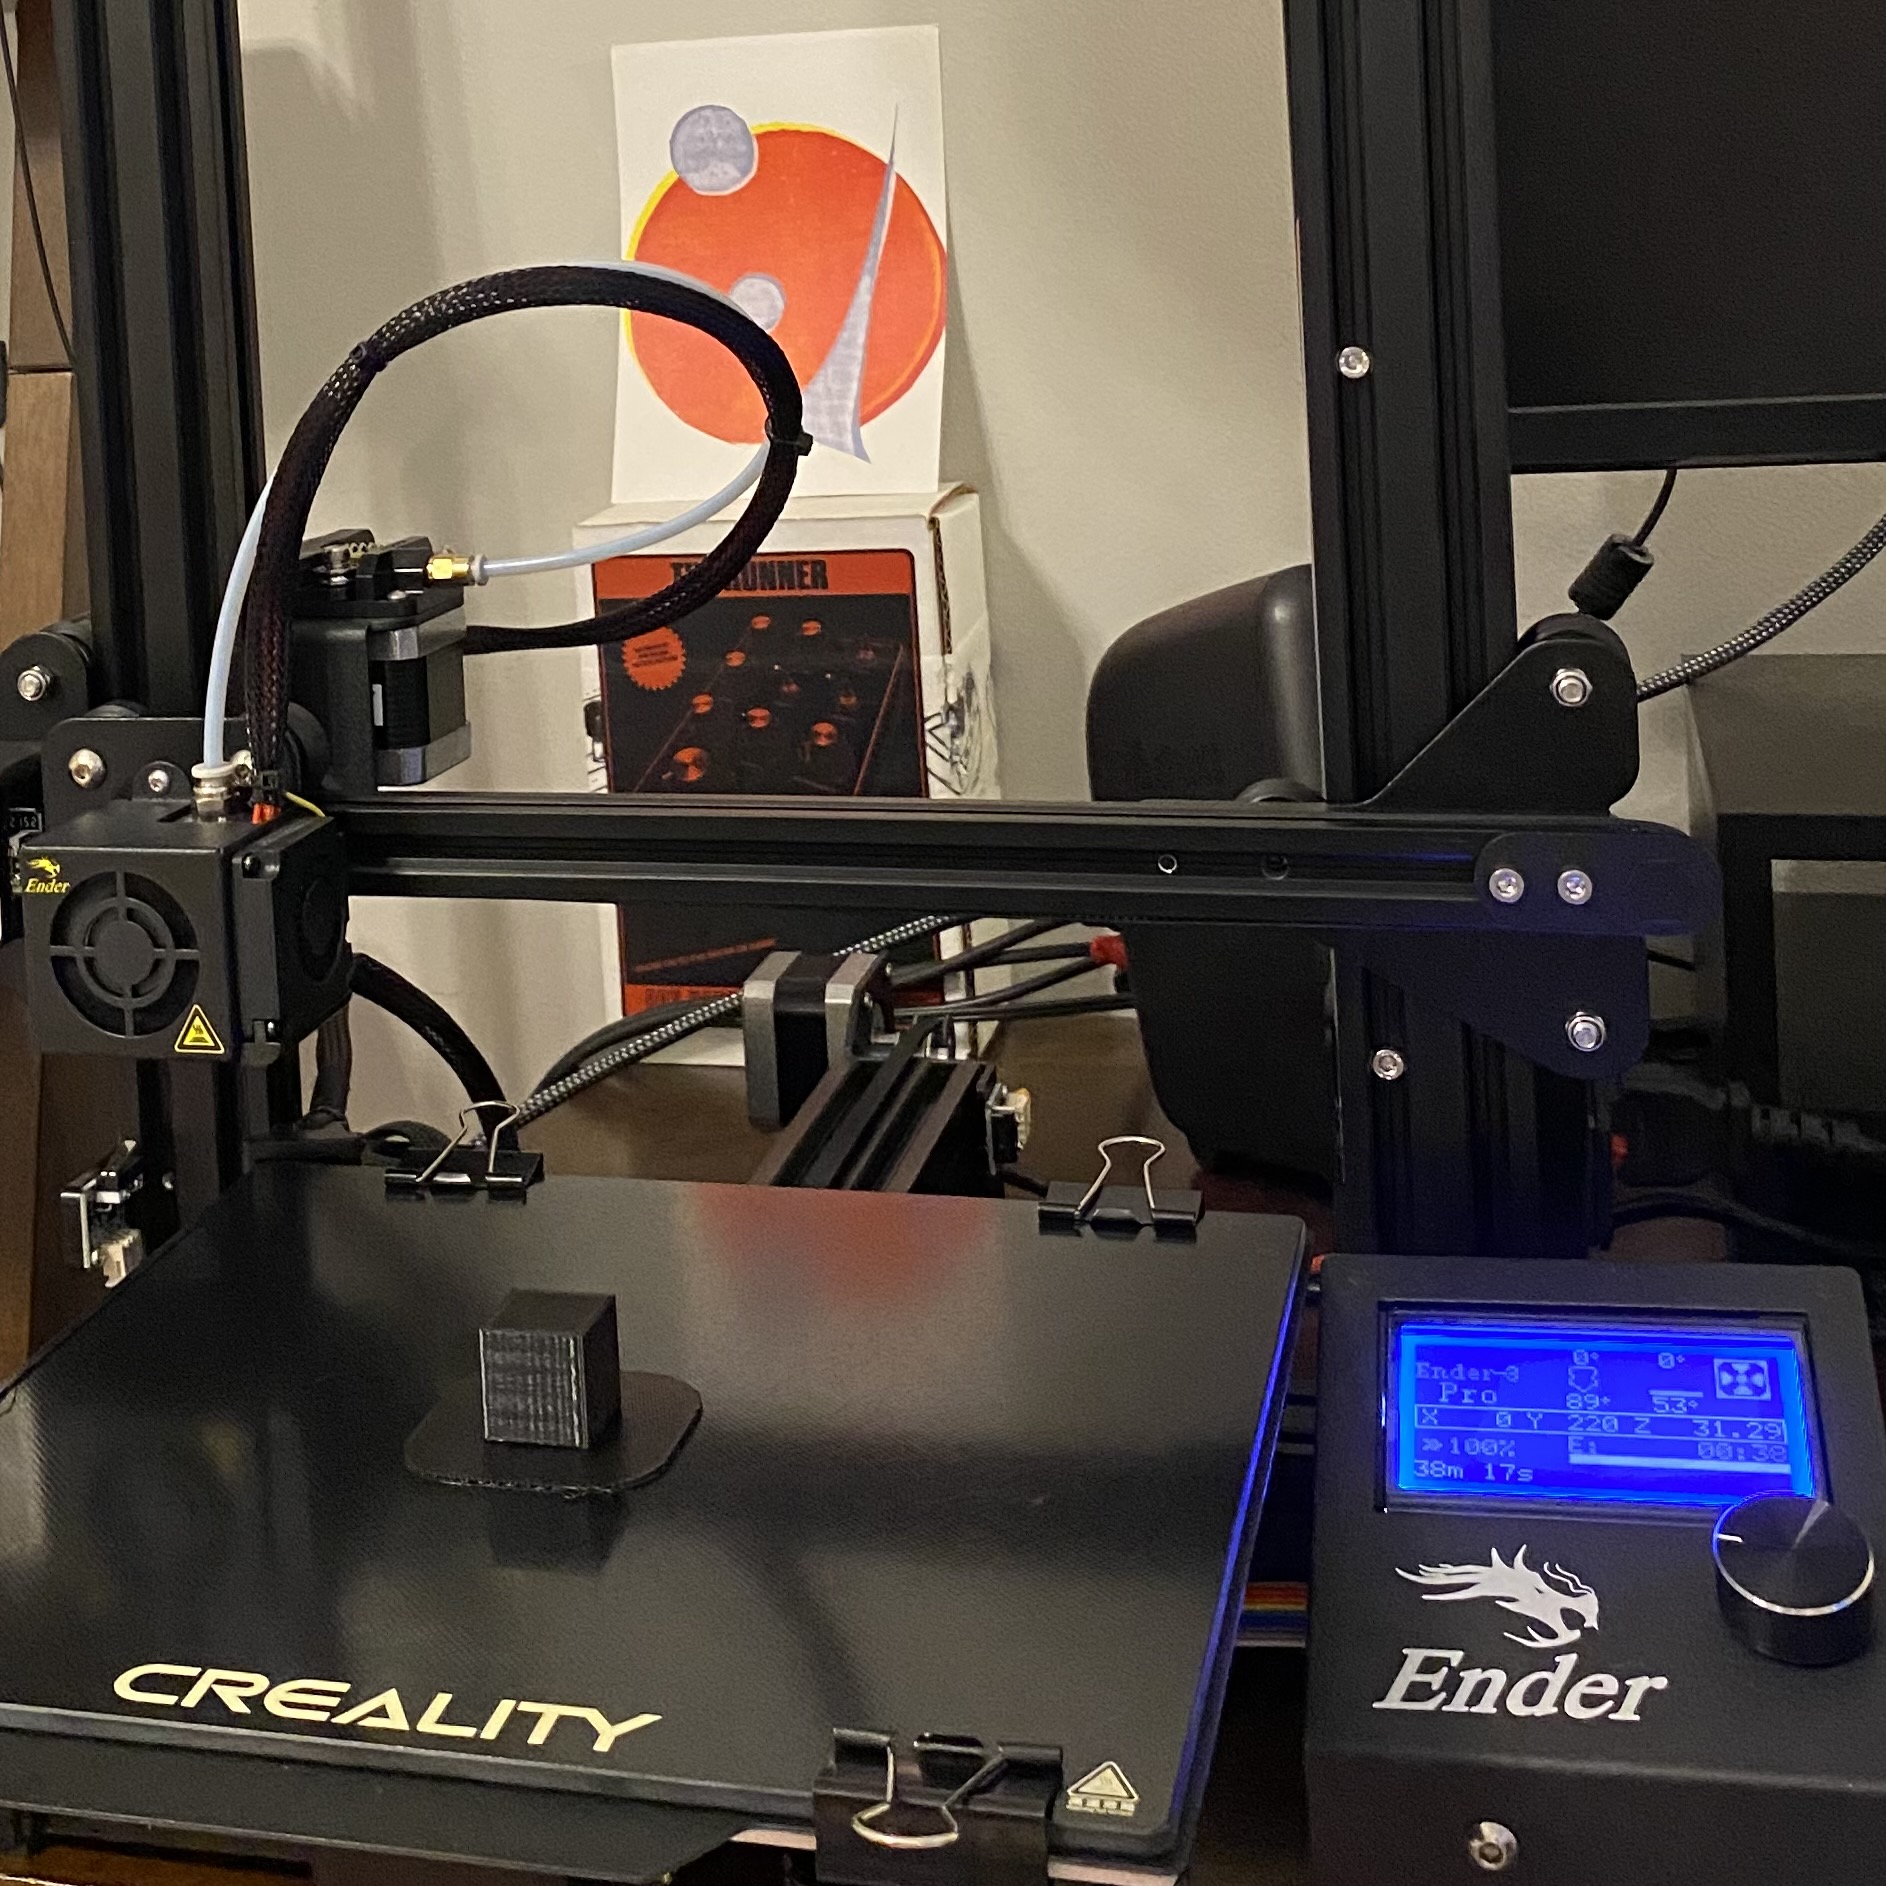
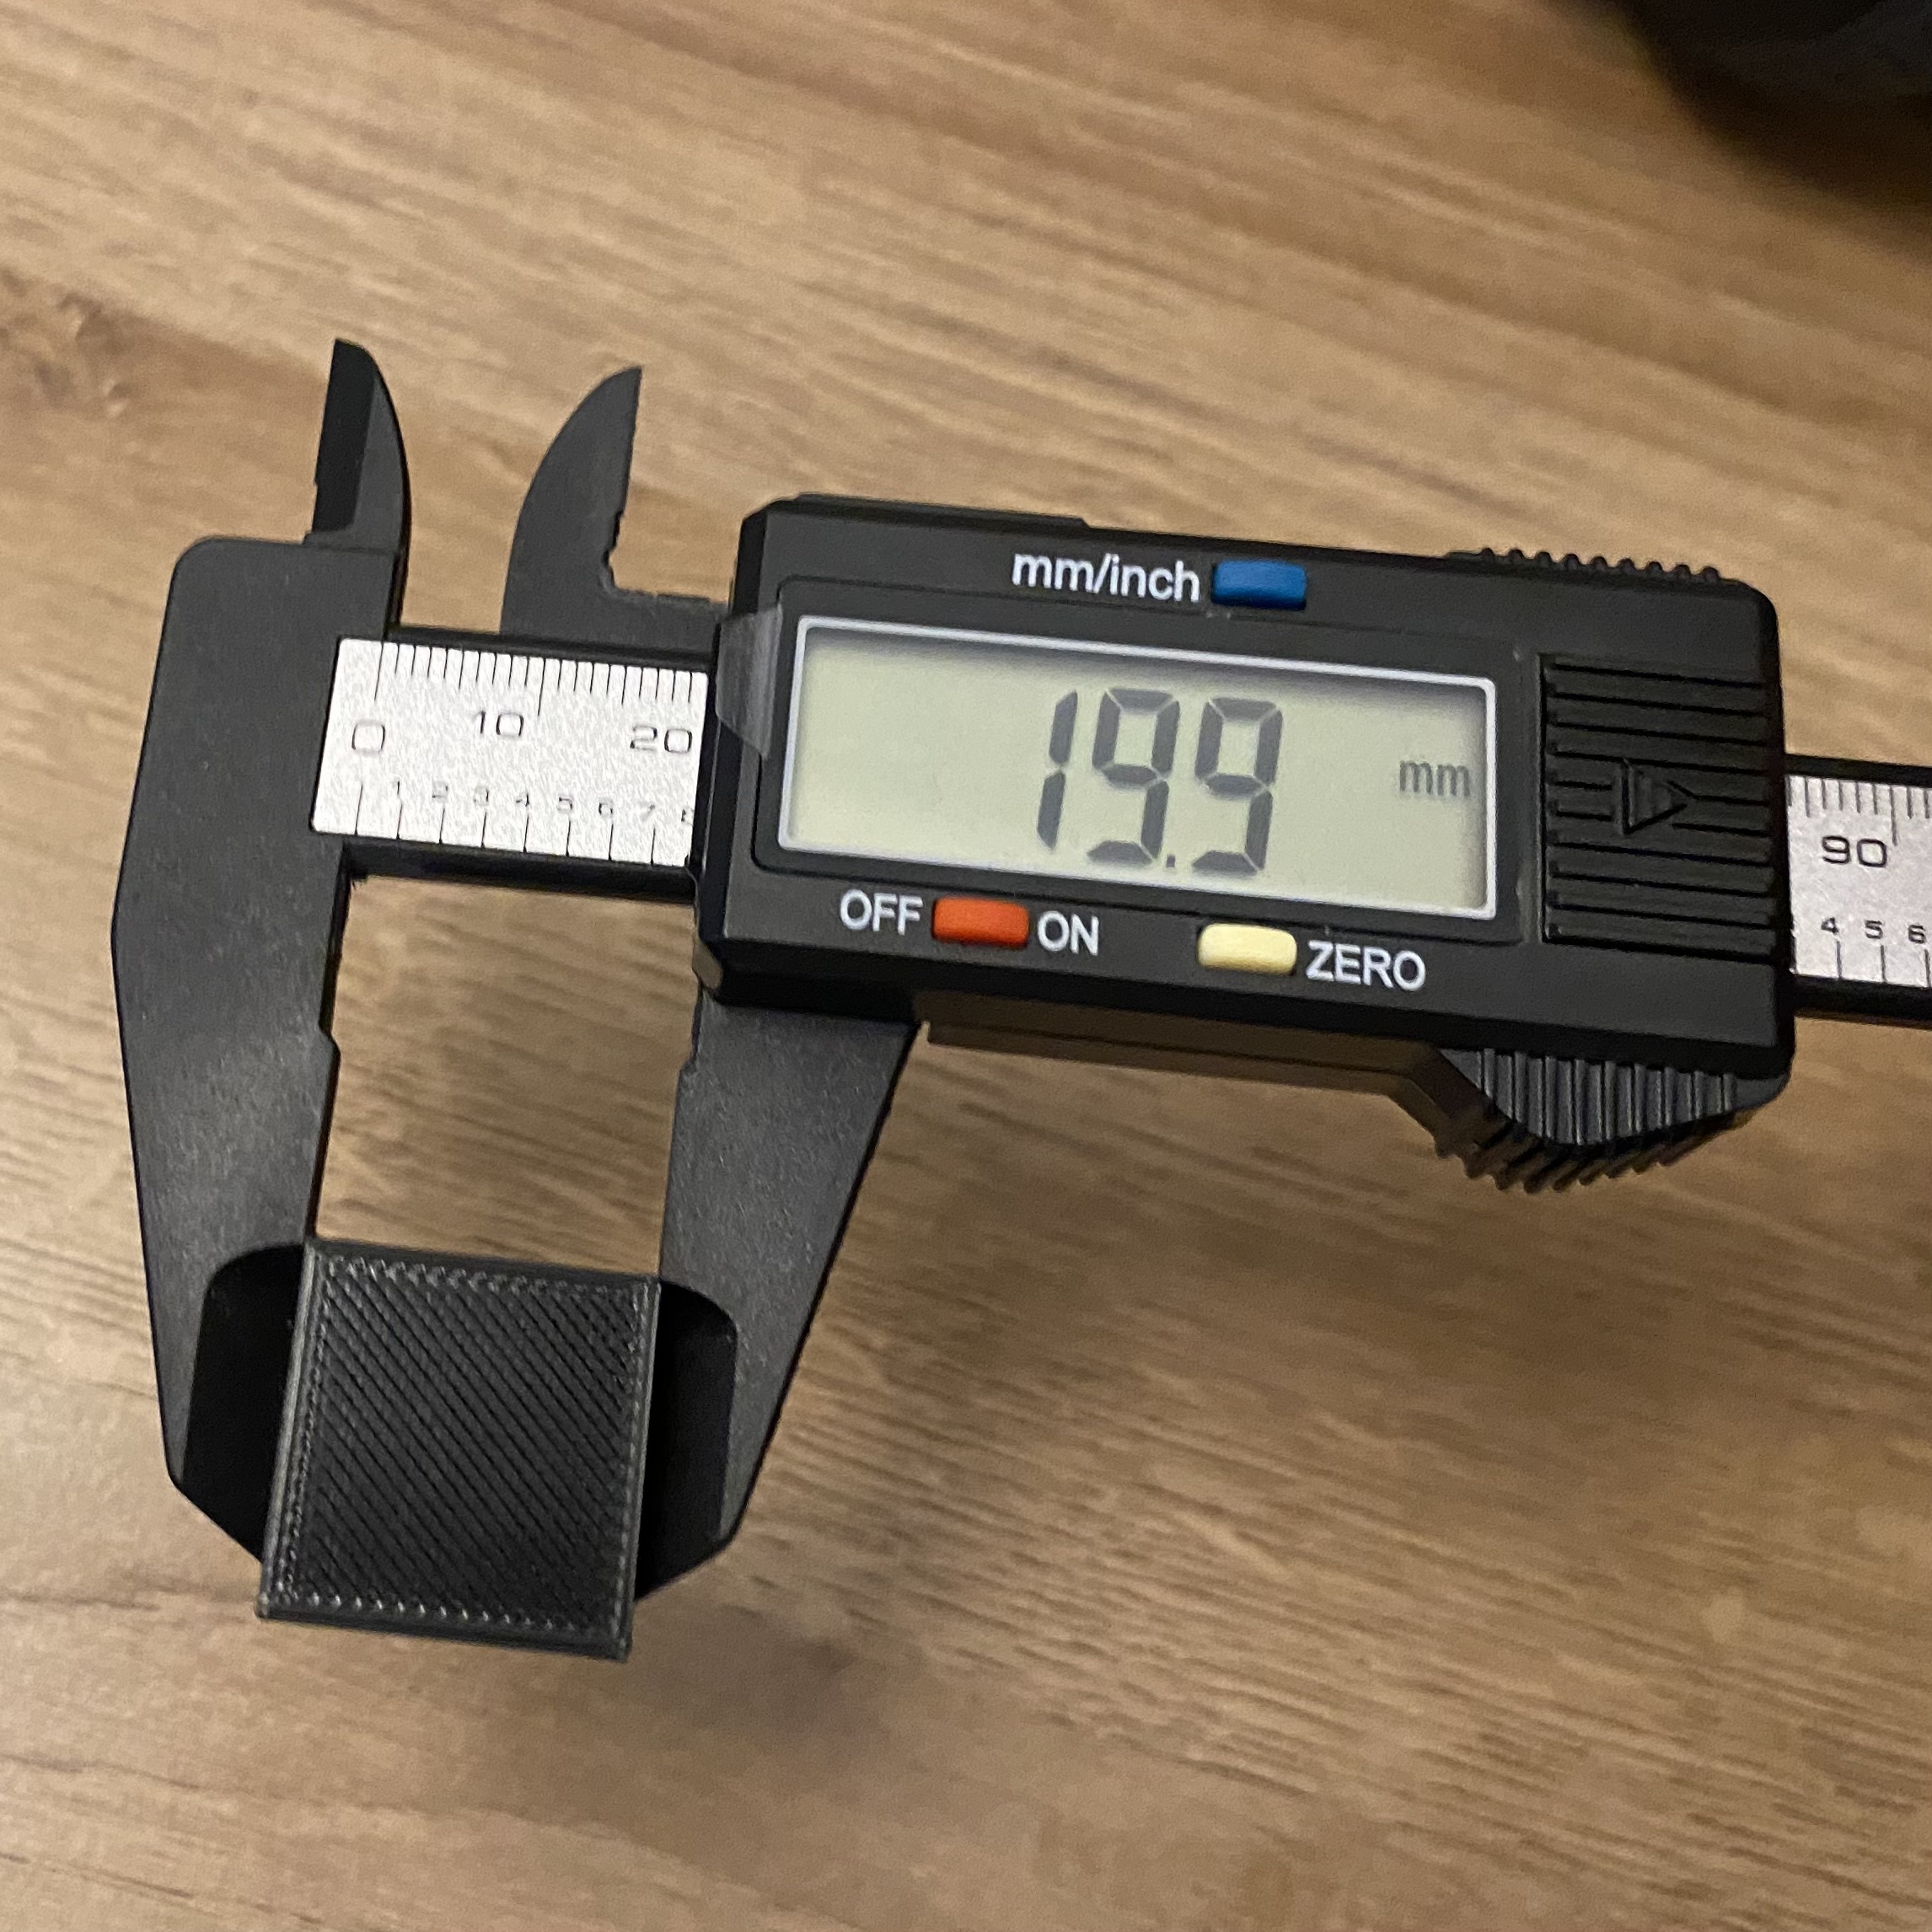
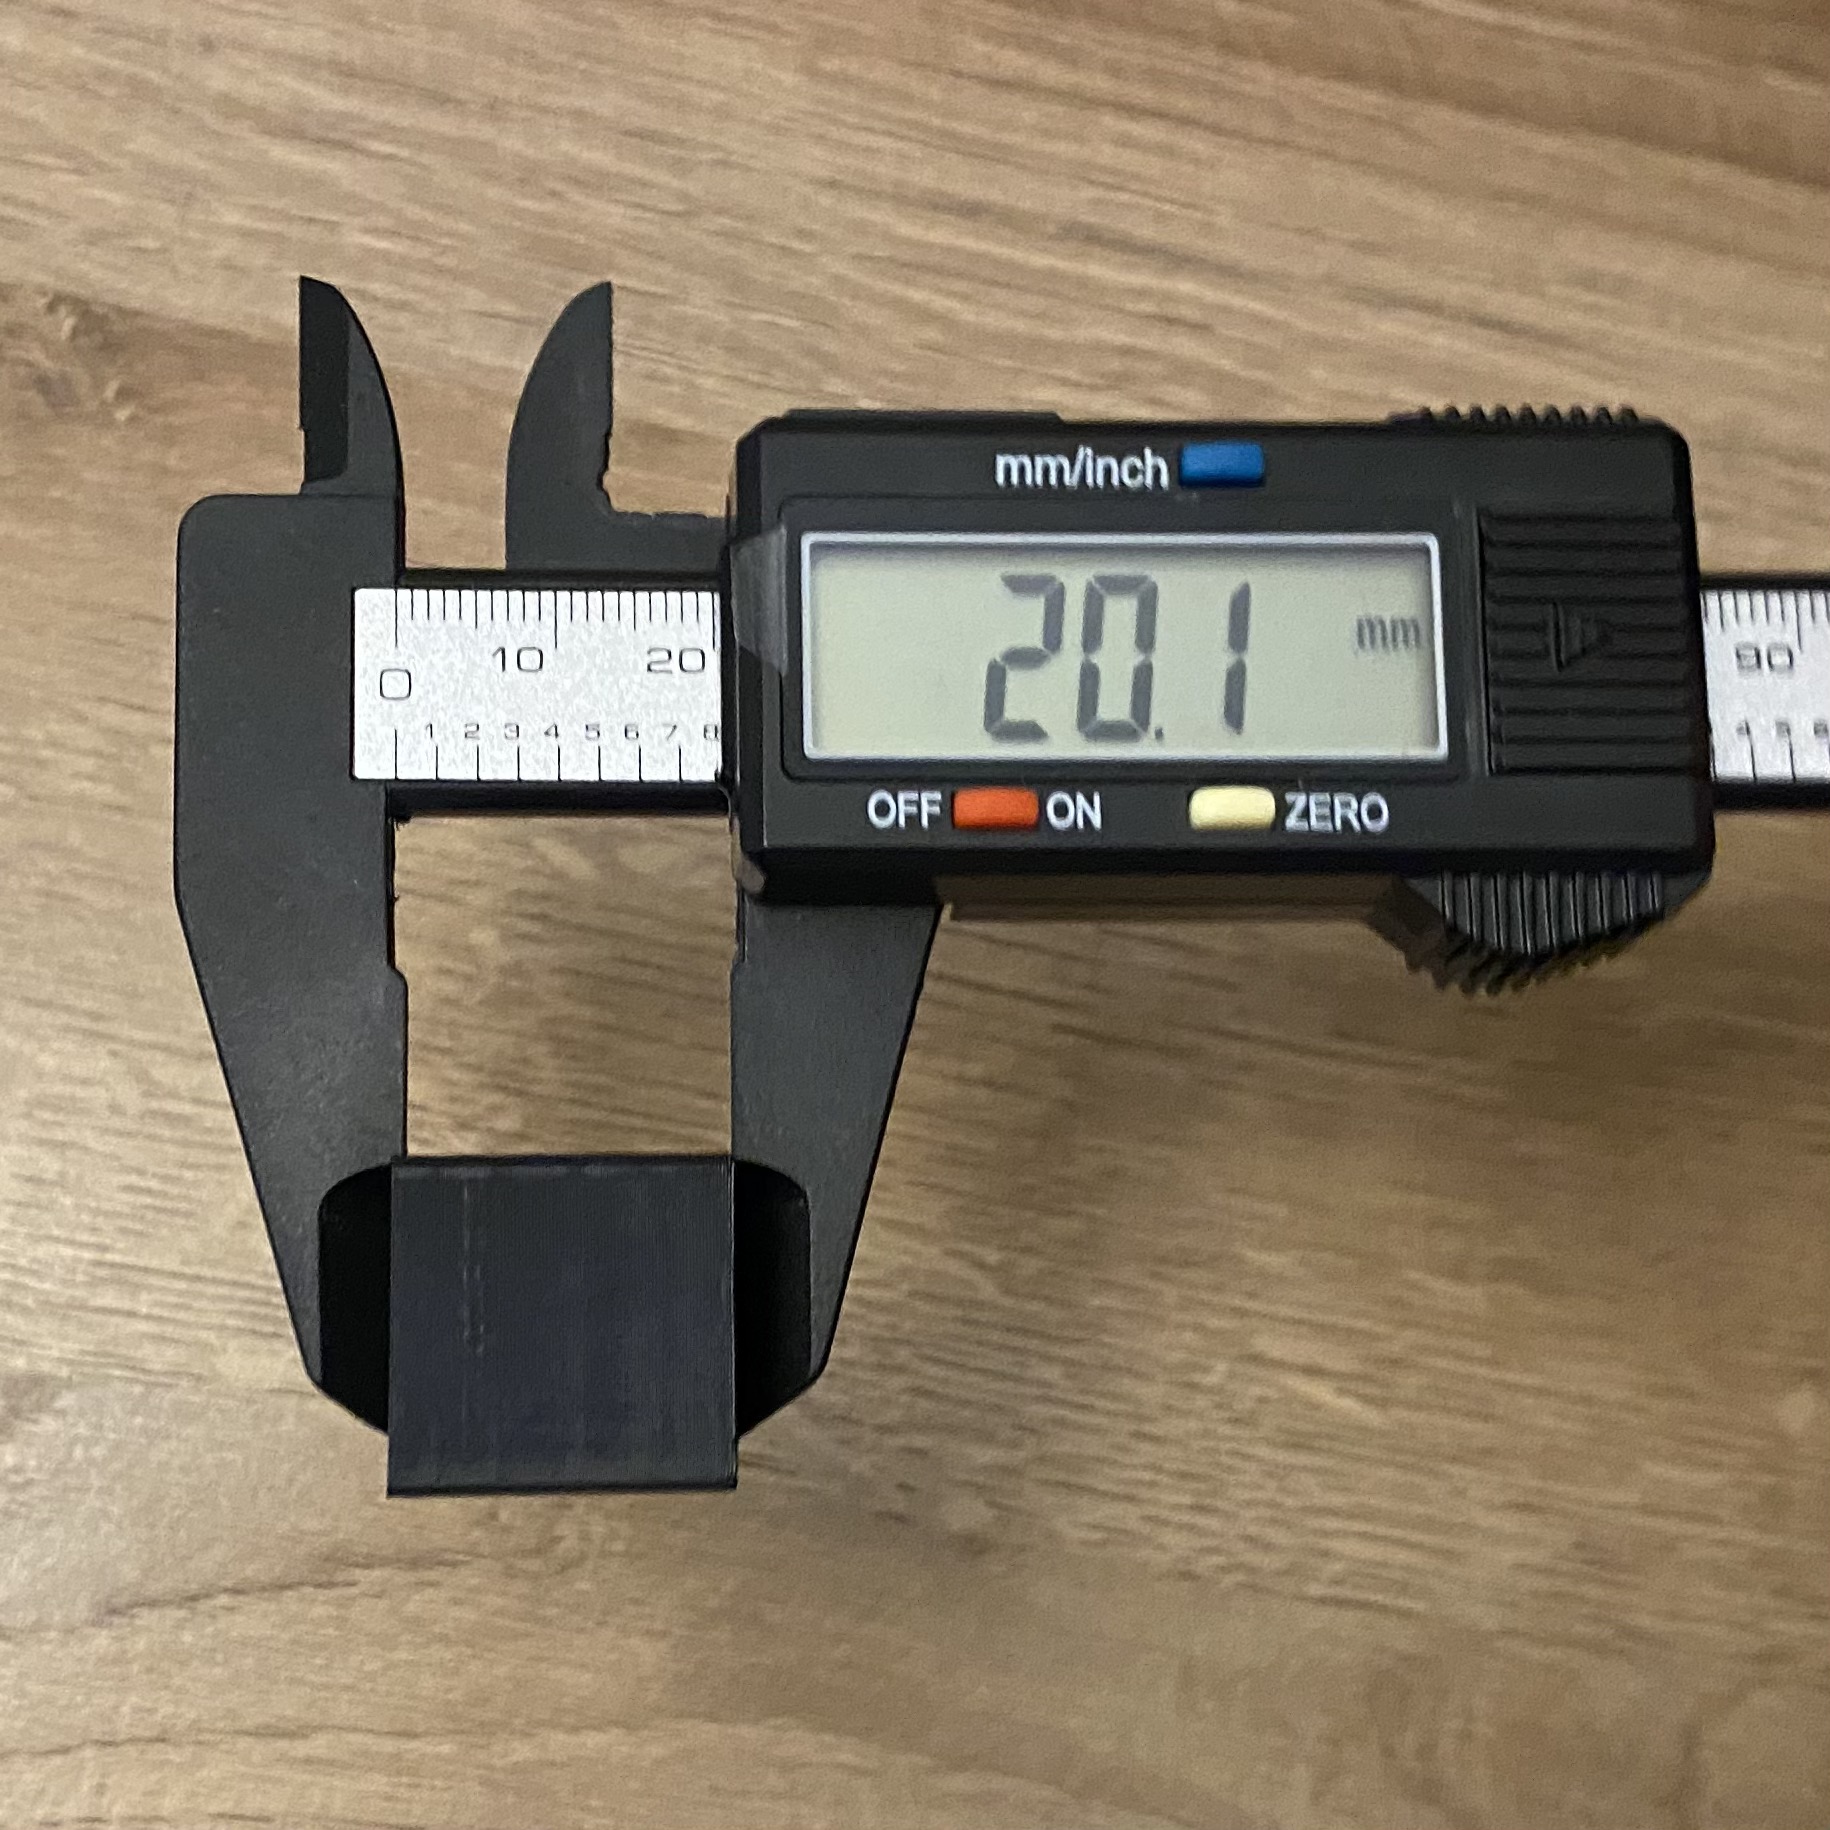
Sadly, the same refinements don't work for the super cube. I kick the print off, go to a concert, come home, and my filament is clogged around the nozzle into oblivion. I suspect the still not-quite-level bed has something to do with it and watch a bunch of videos about common bed leveling mistakes that lead me to take apart the frame and put it back together again. I don't record this because I'm also beginning to suspect my printer is camera shy. The bed seems slightly more level after hours of checking right angles, but now my filament isn't feeding. I ask Discord for help and ultimately shove it through with all of the angst in my heart, and it starts finally coming back out, but it's not sticking to anything. Alas, eventually I re-level the bed and raise the bed temp to 100 per Vanessa's suggestion that the bed may need to be hotter for the prints to adhere in Discord. Finally, the super cube is born.
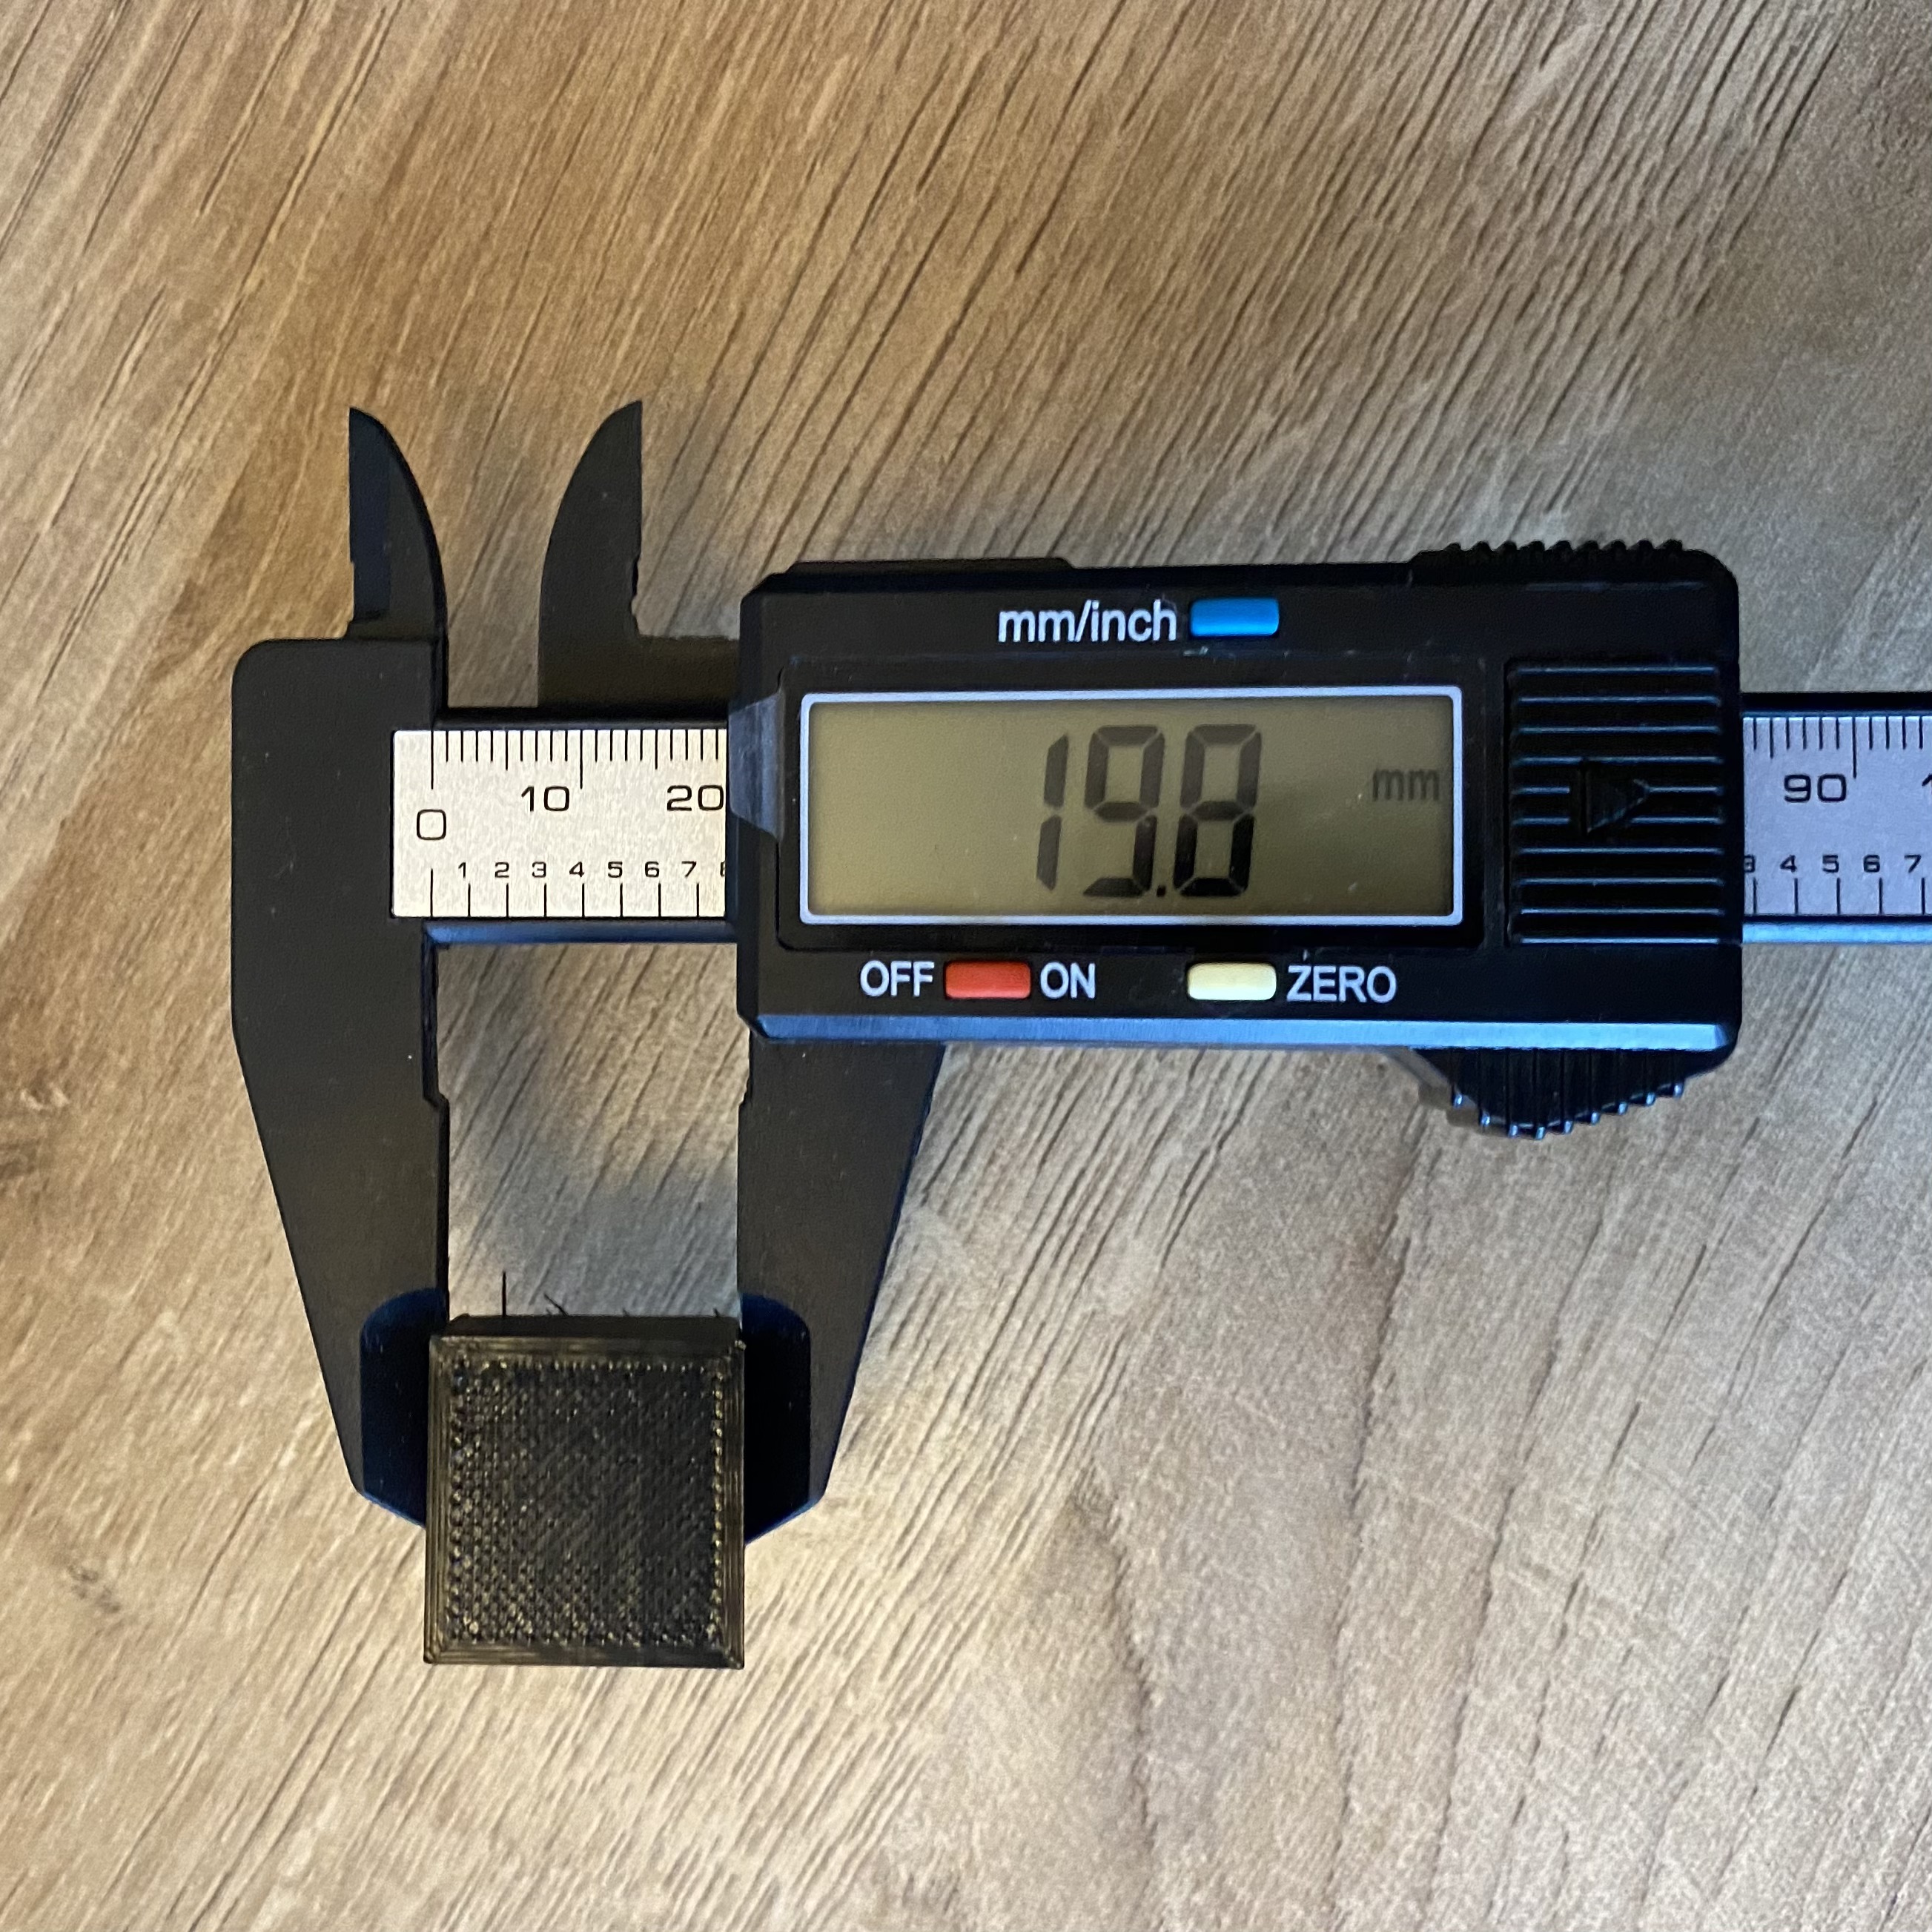
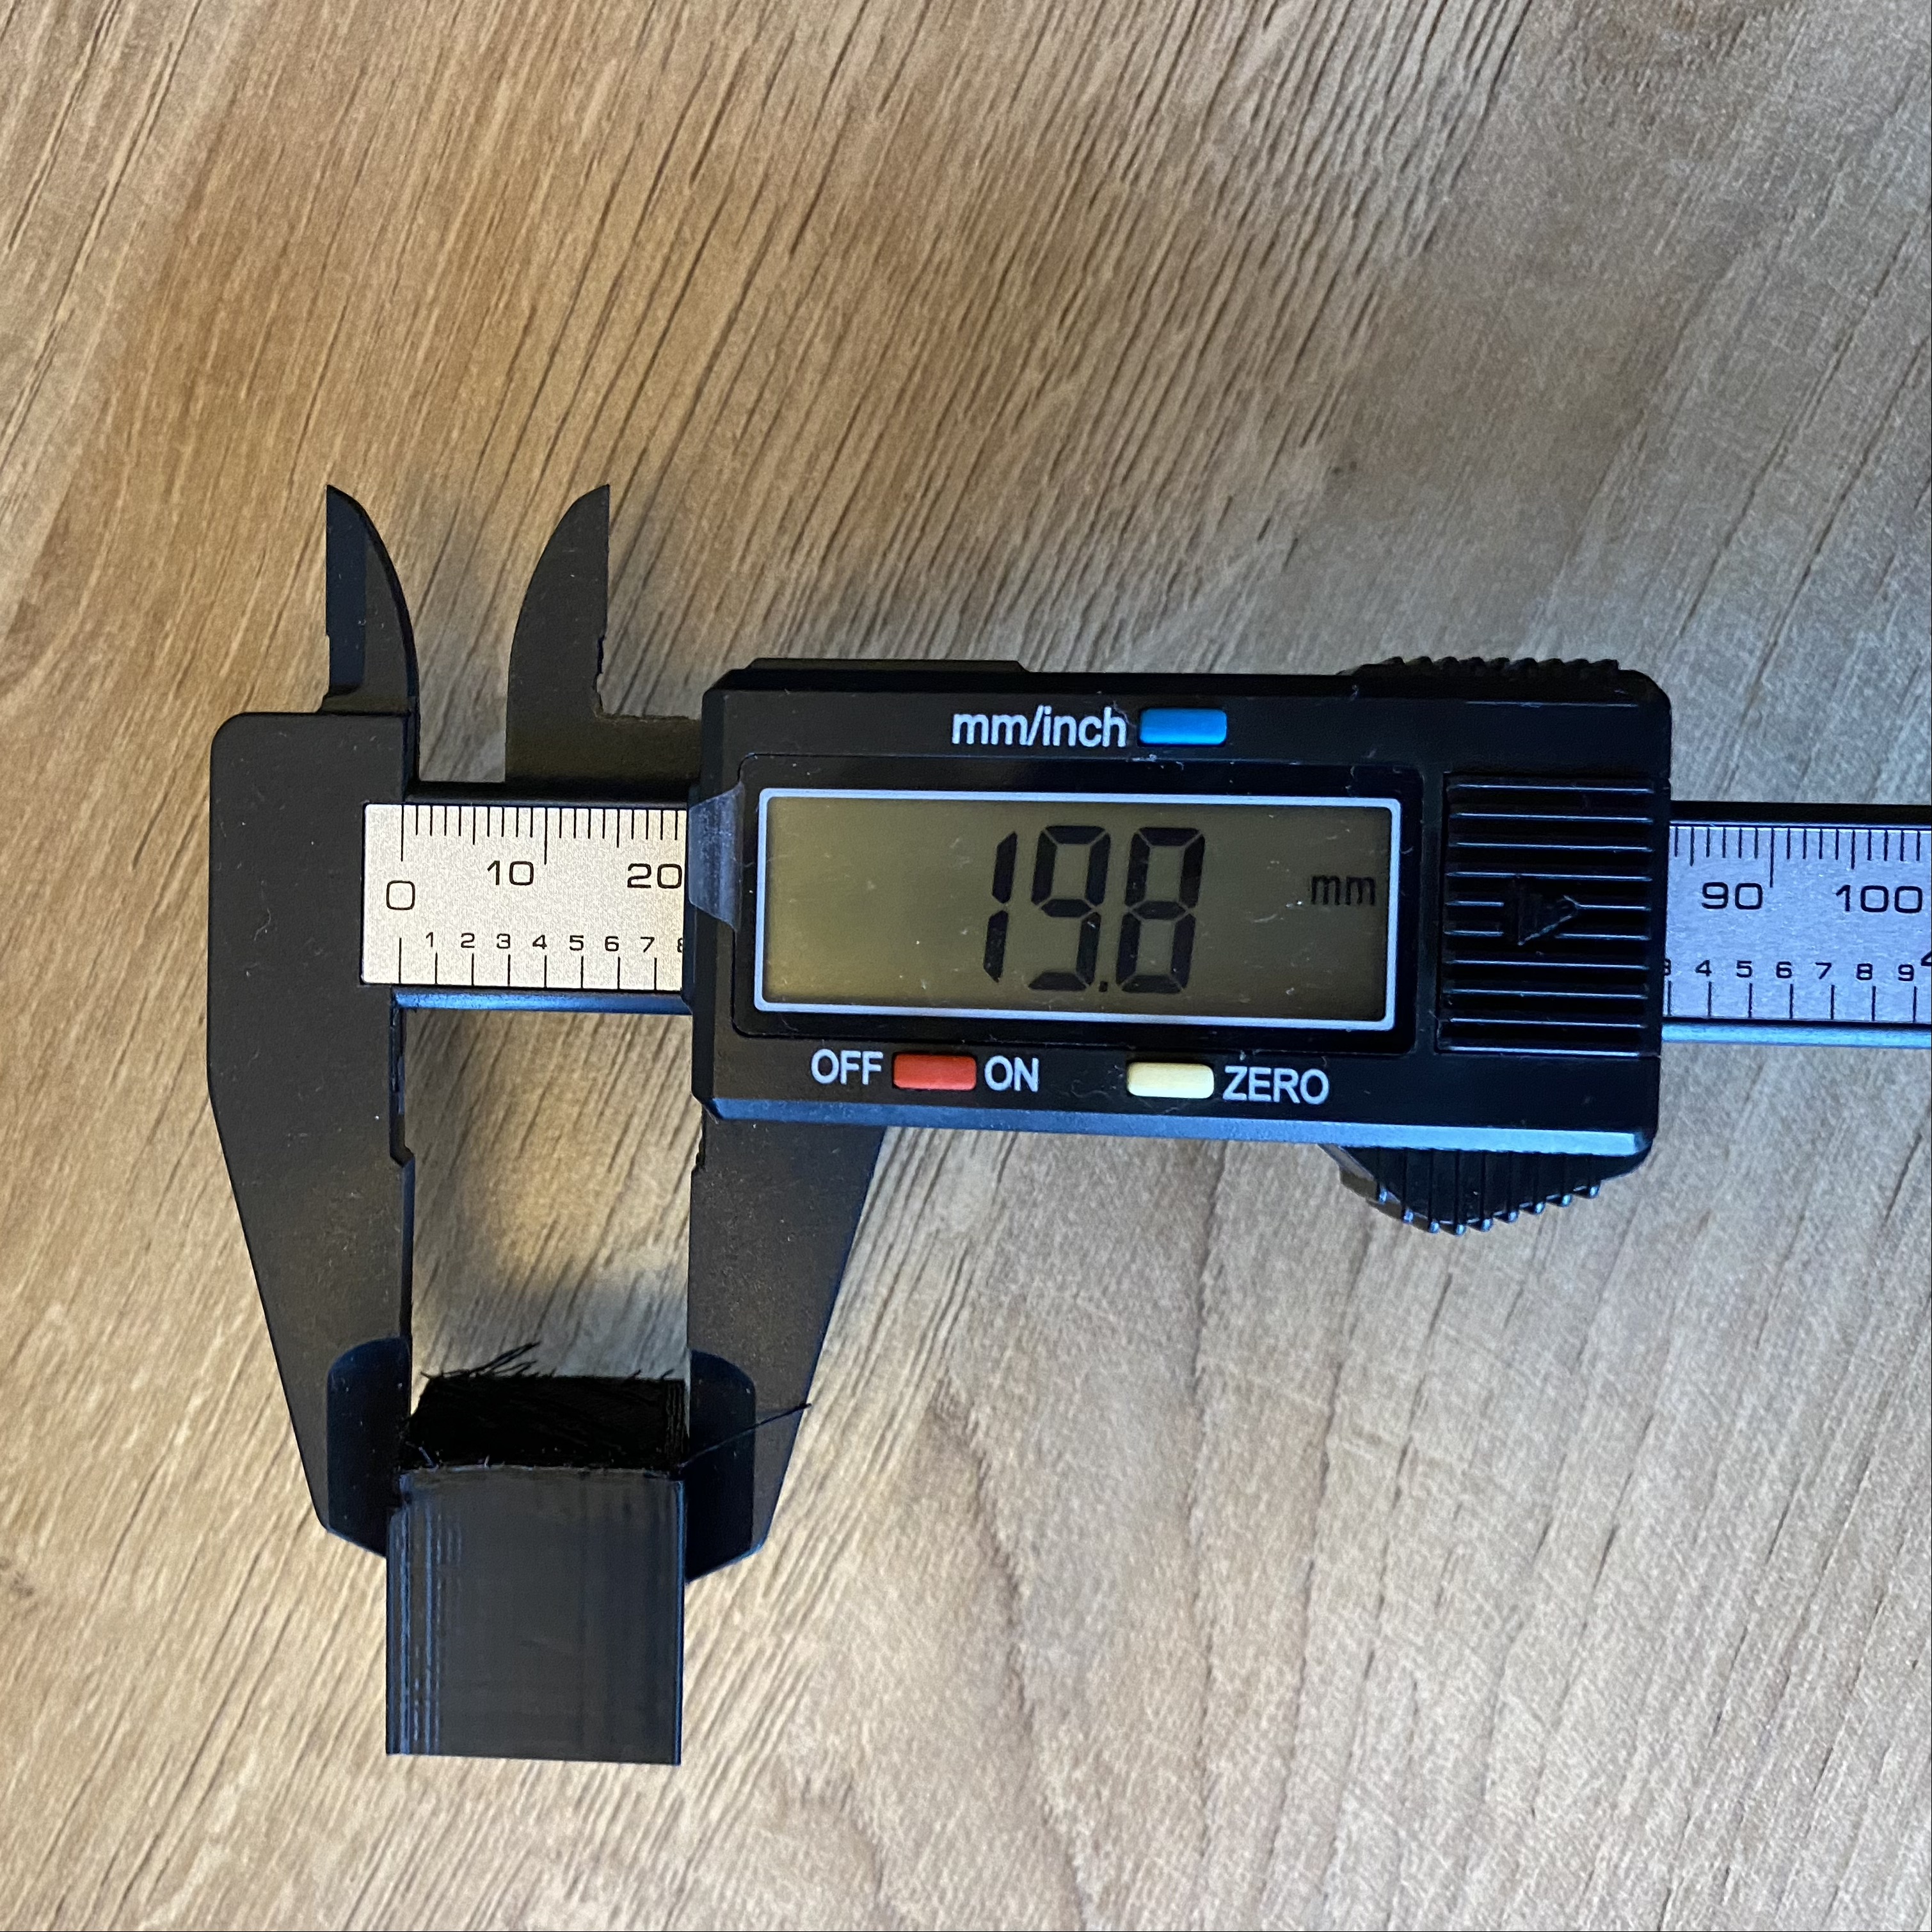
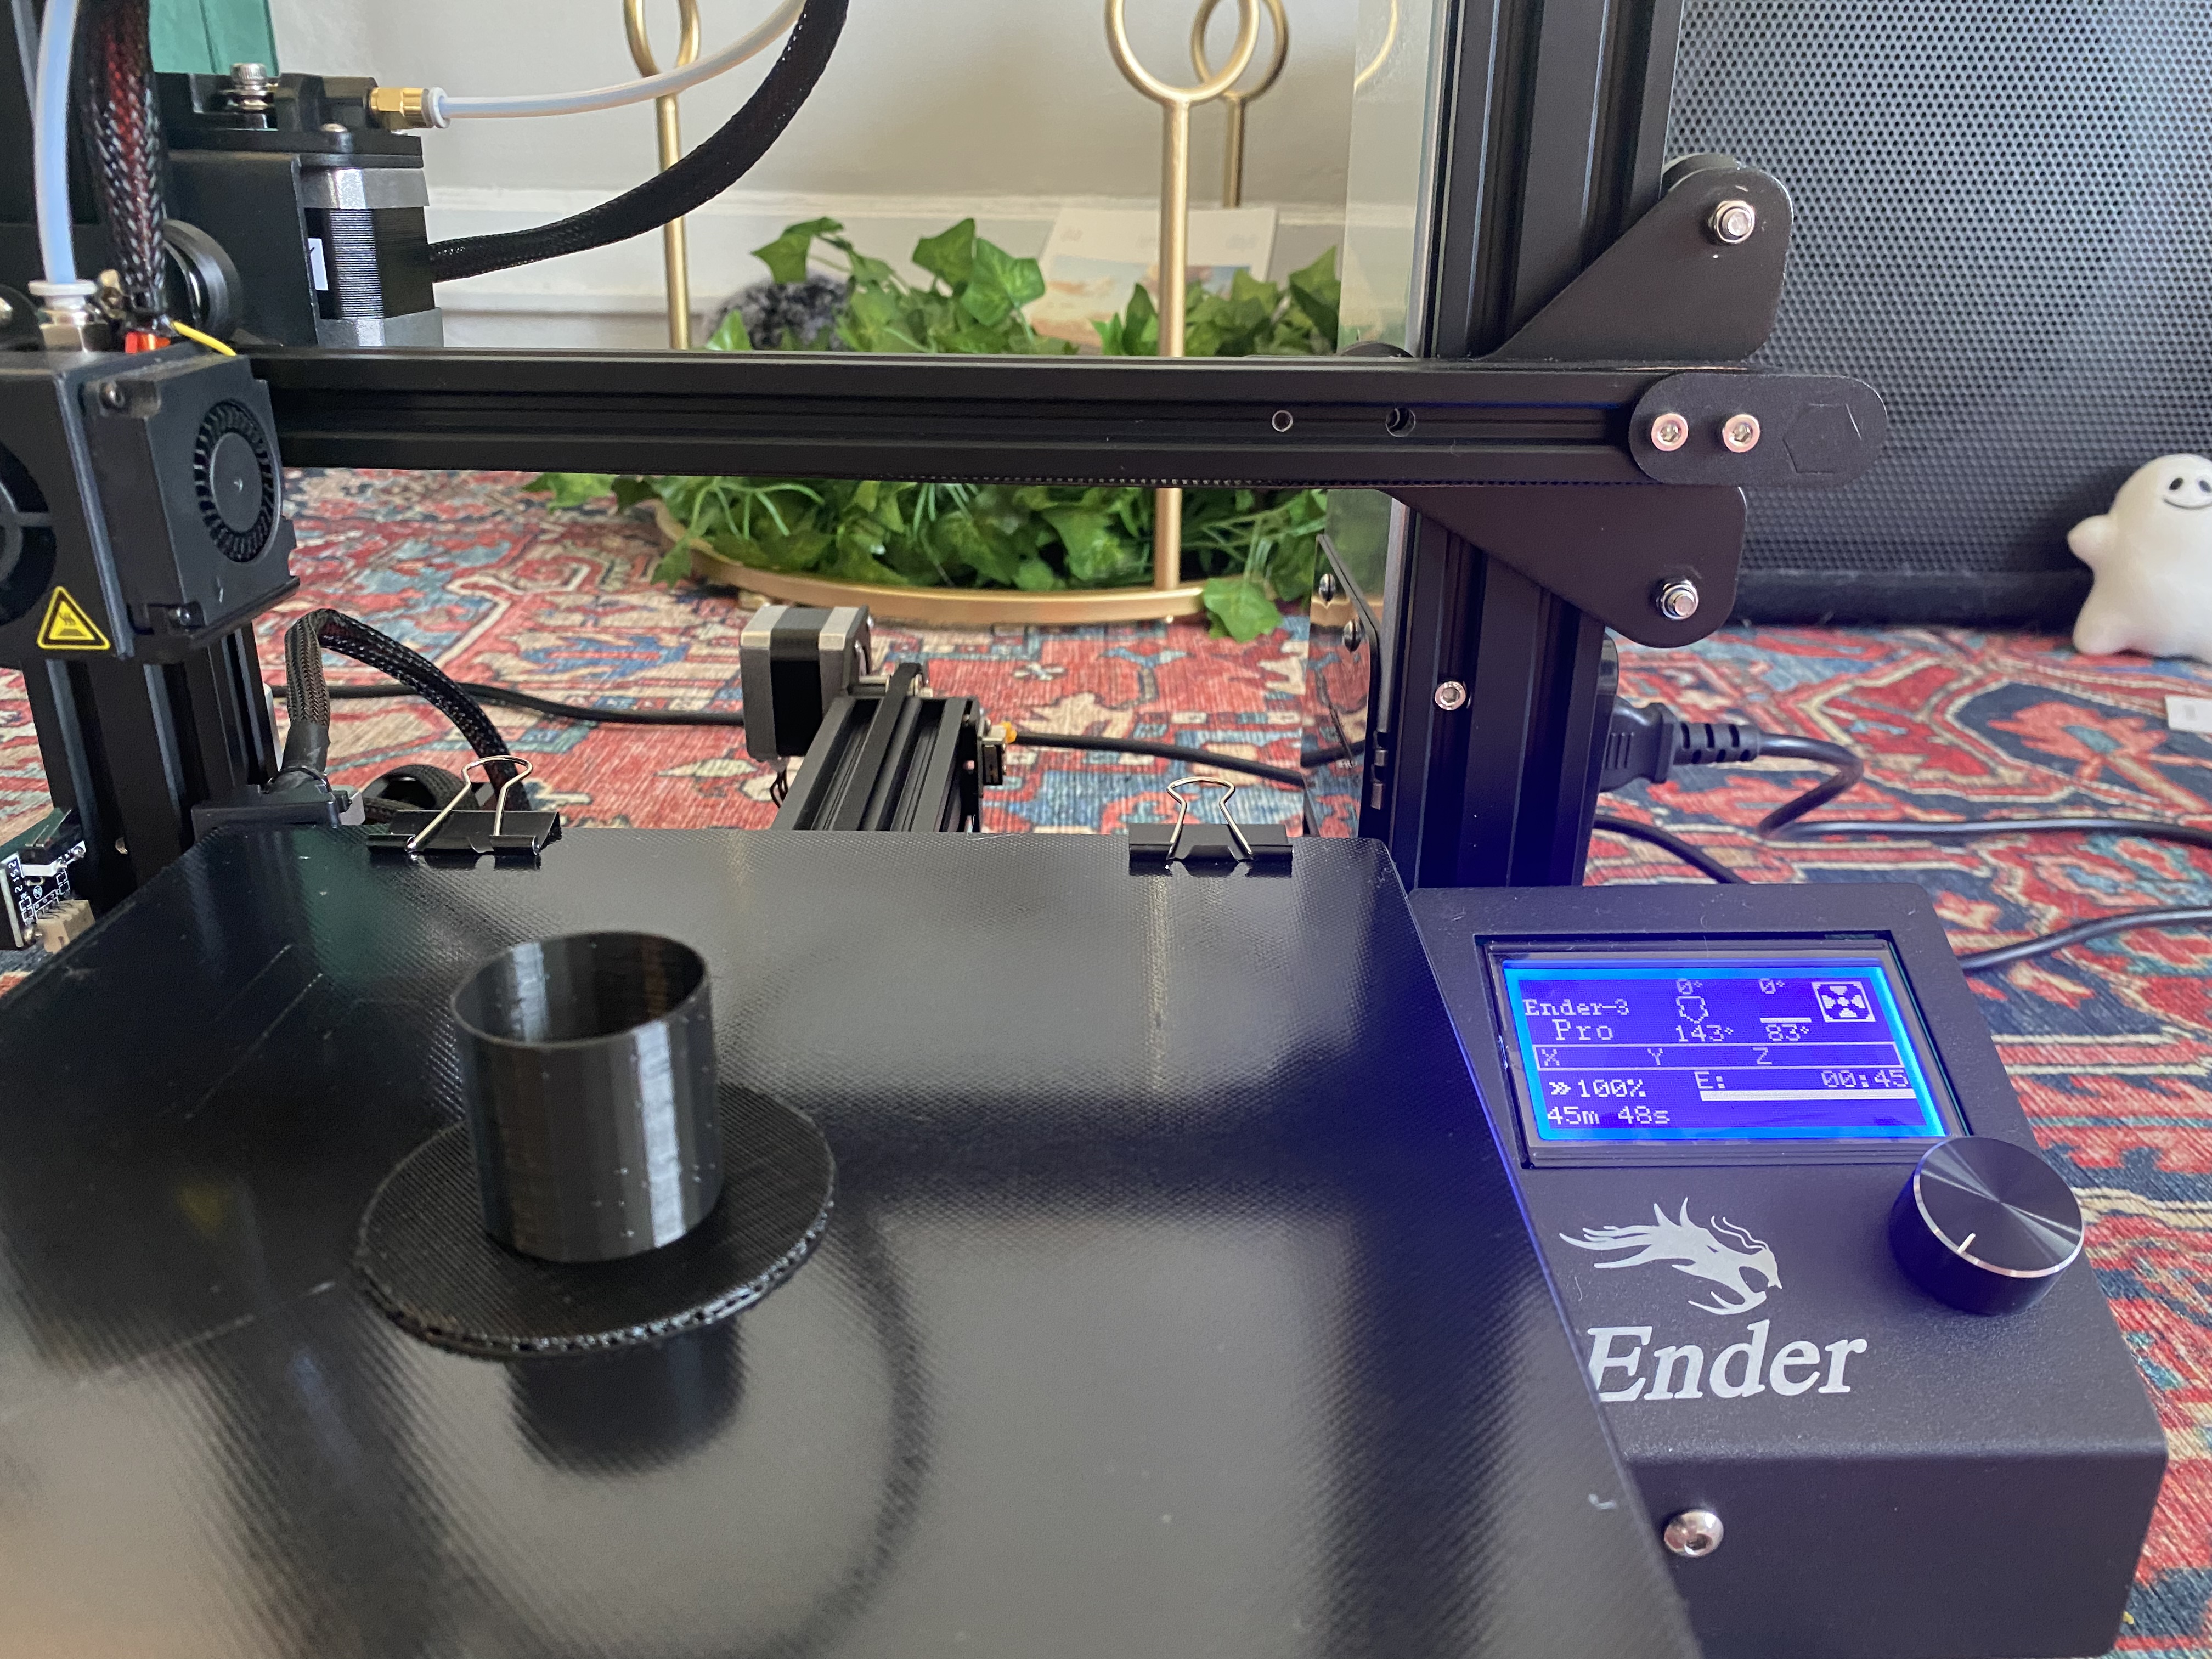
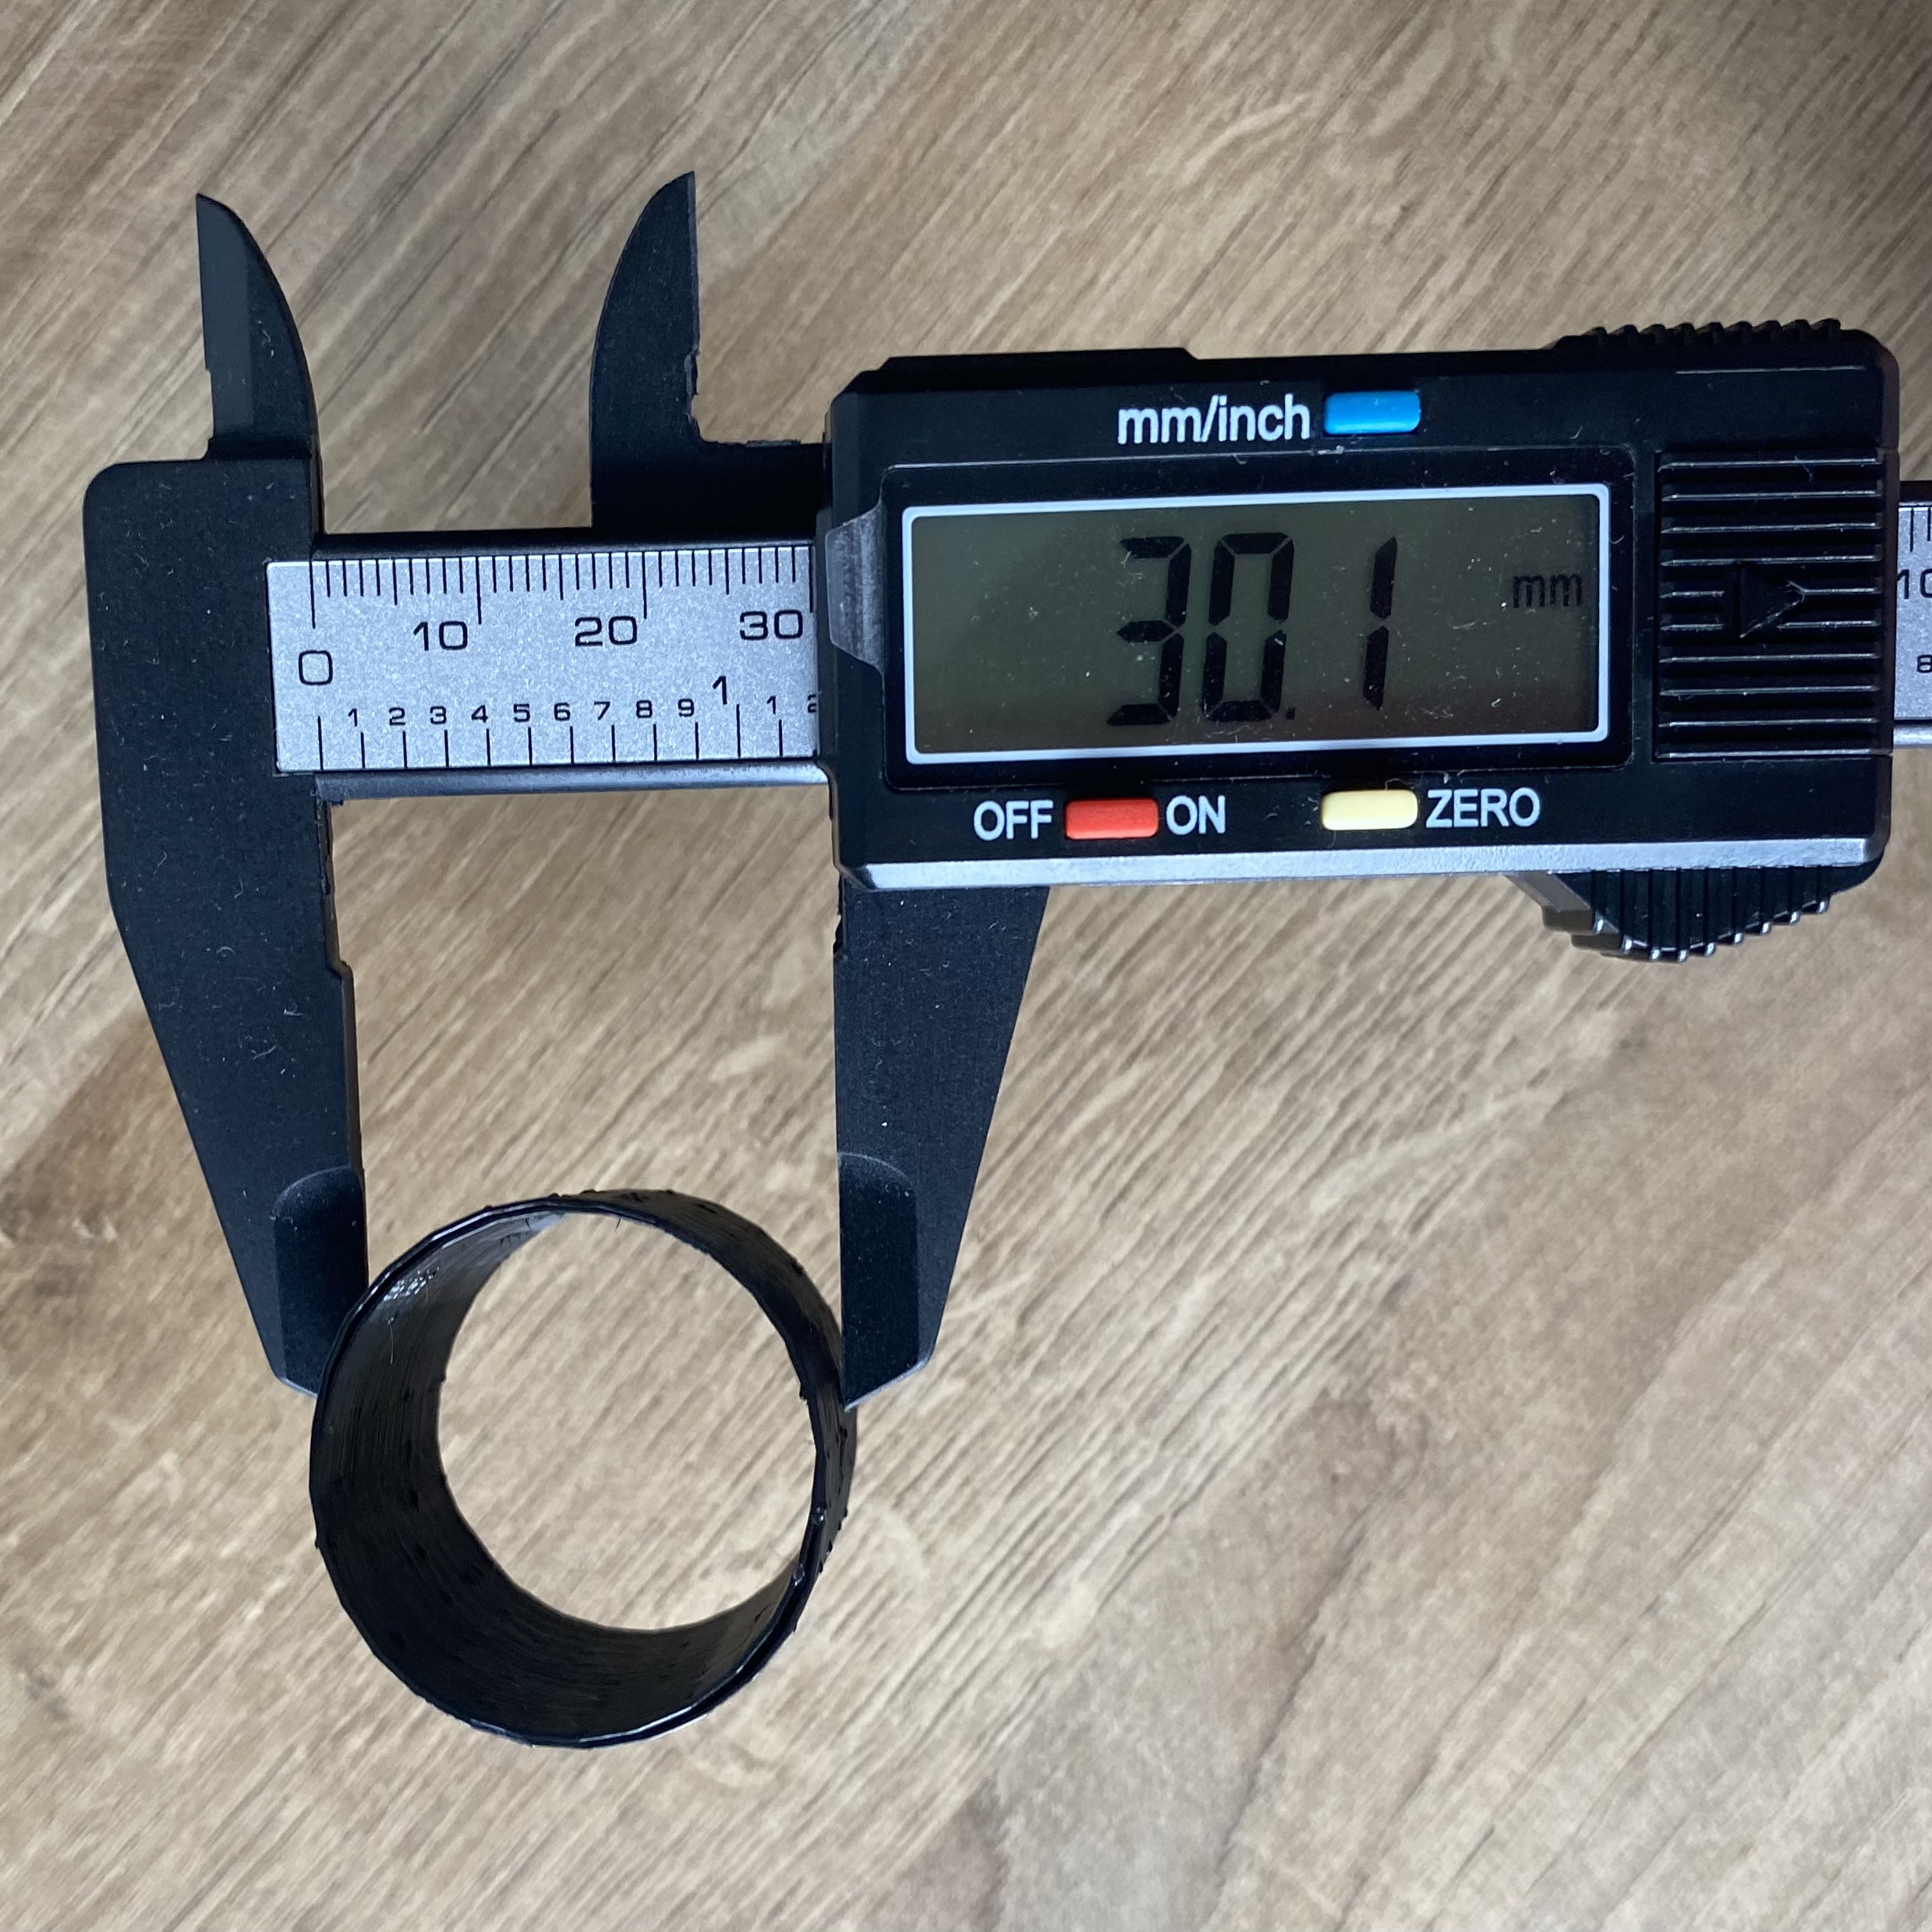
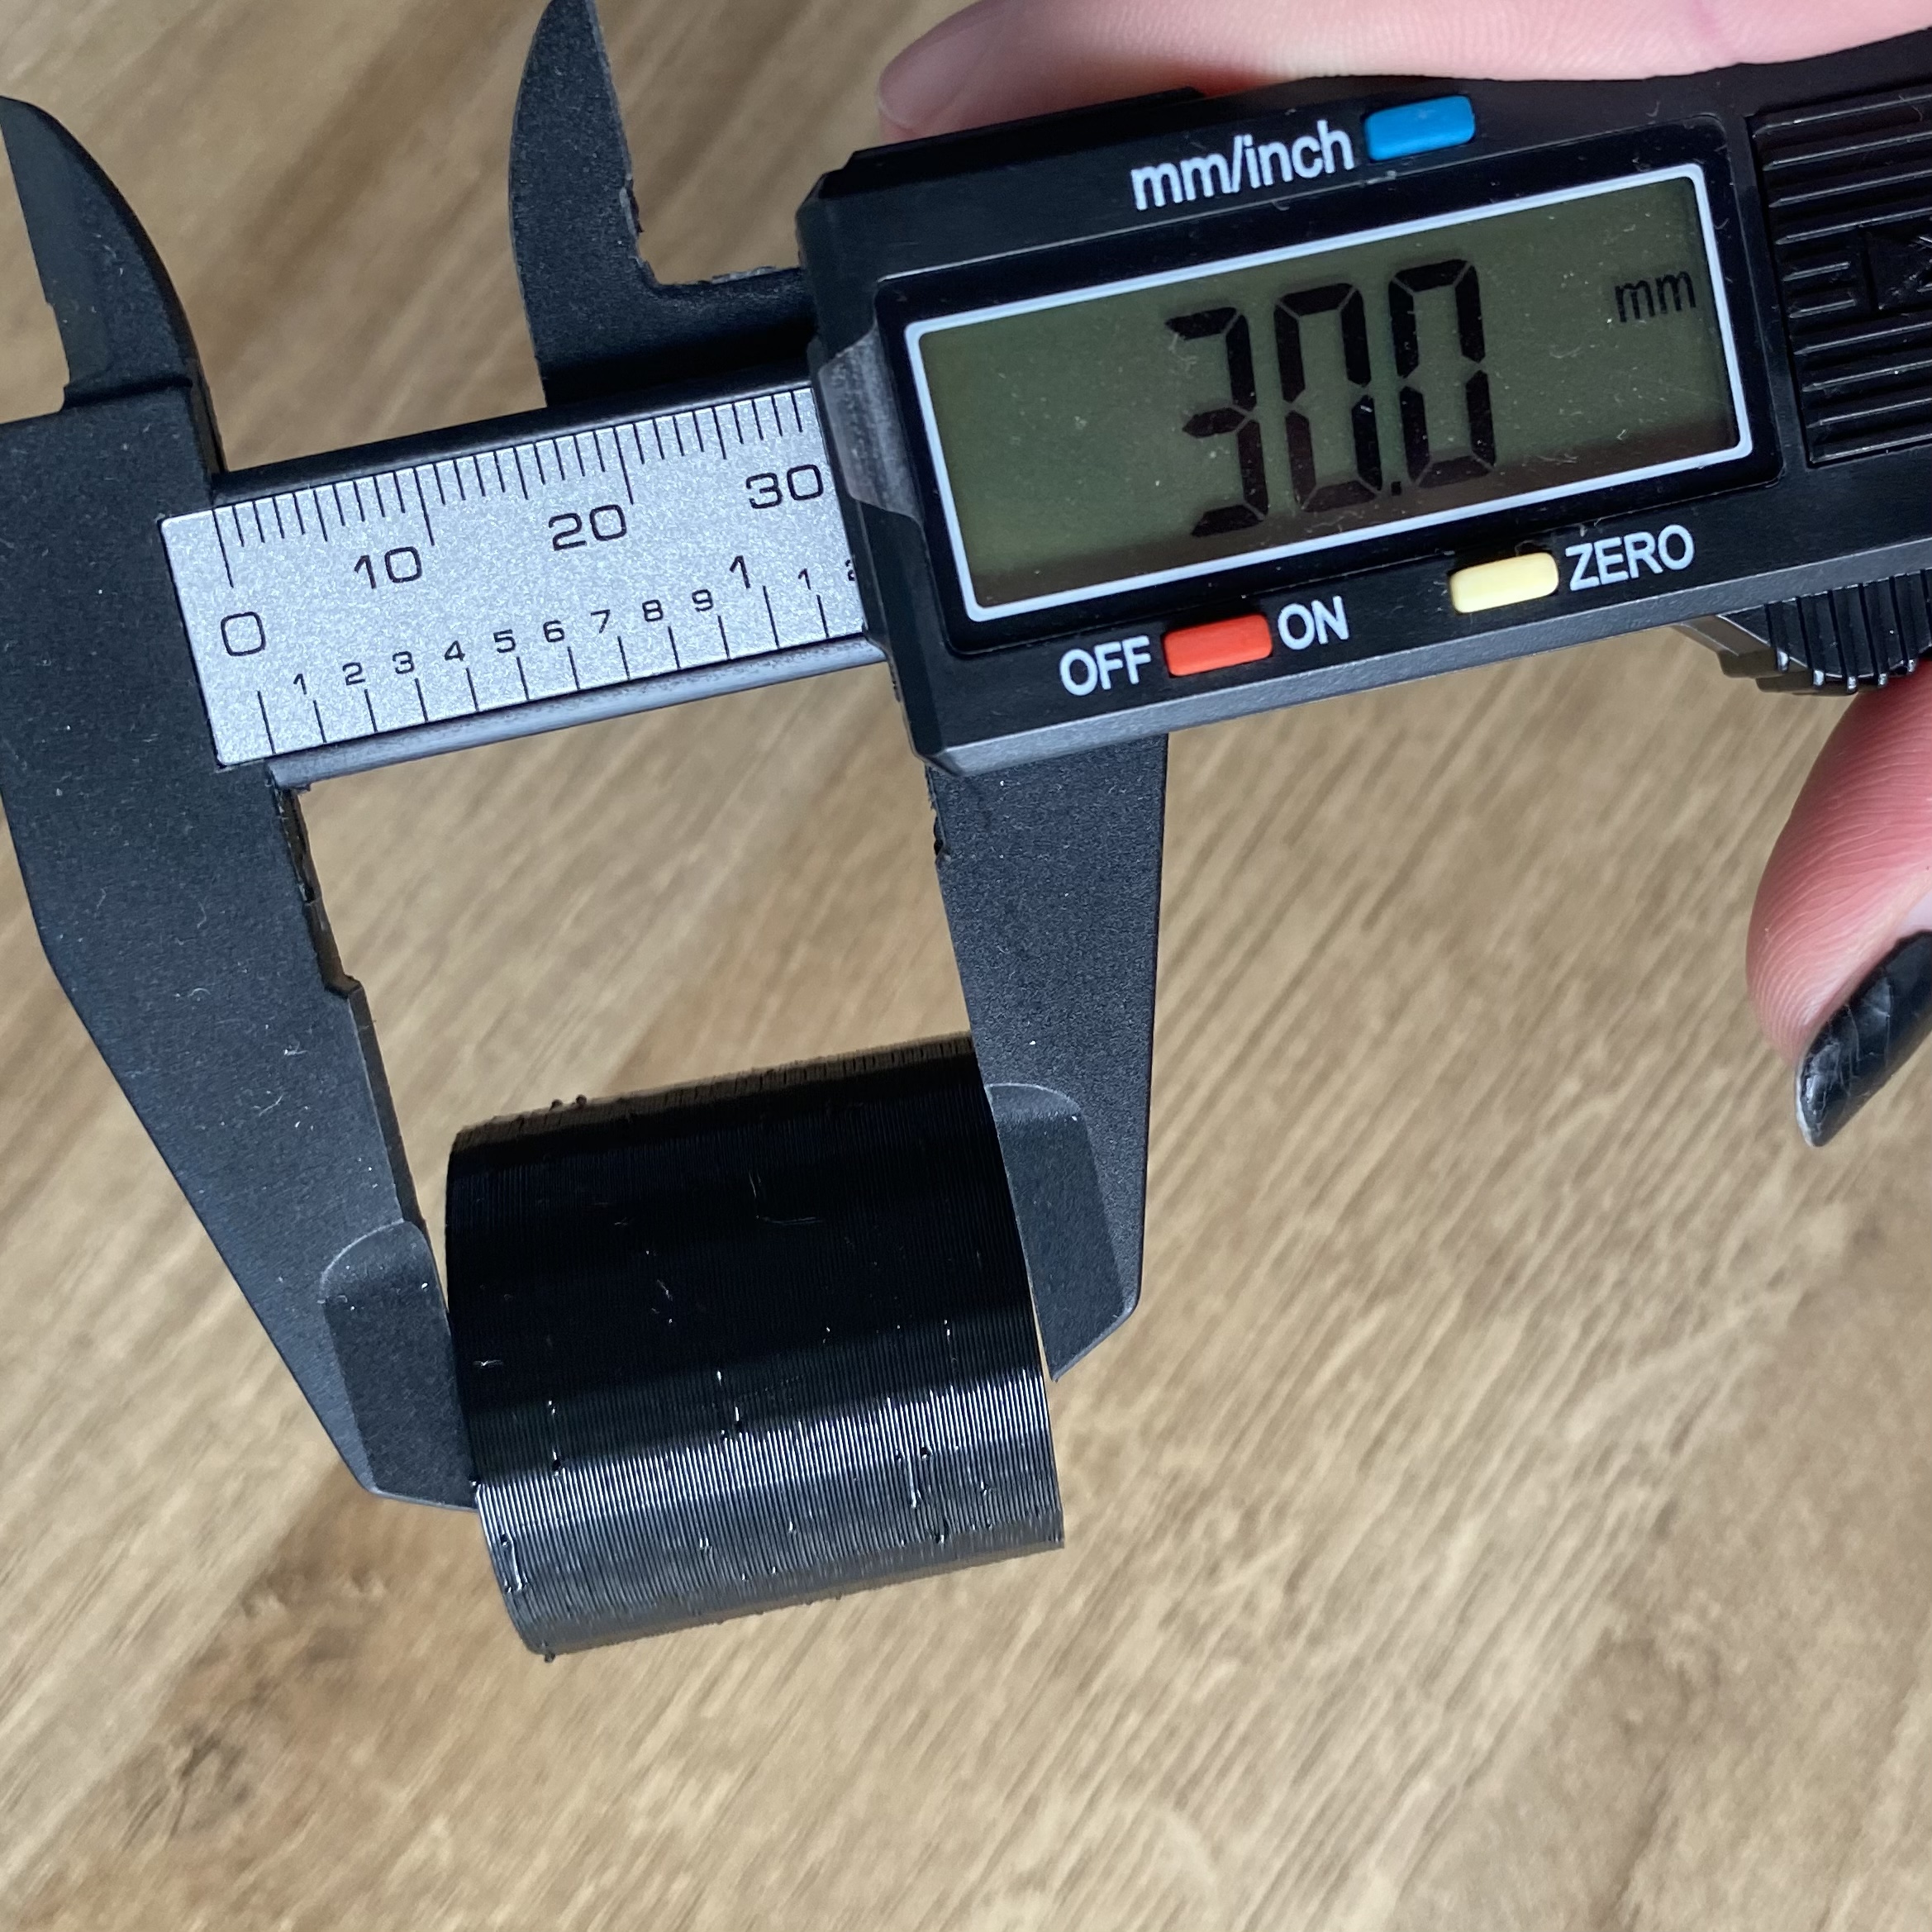
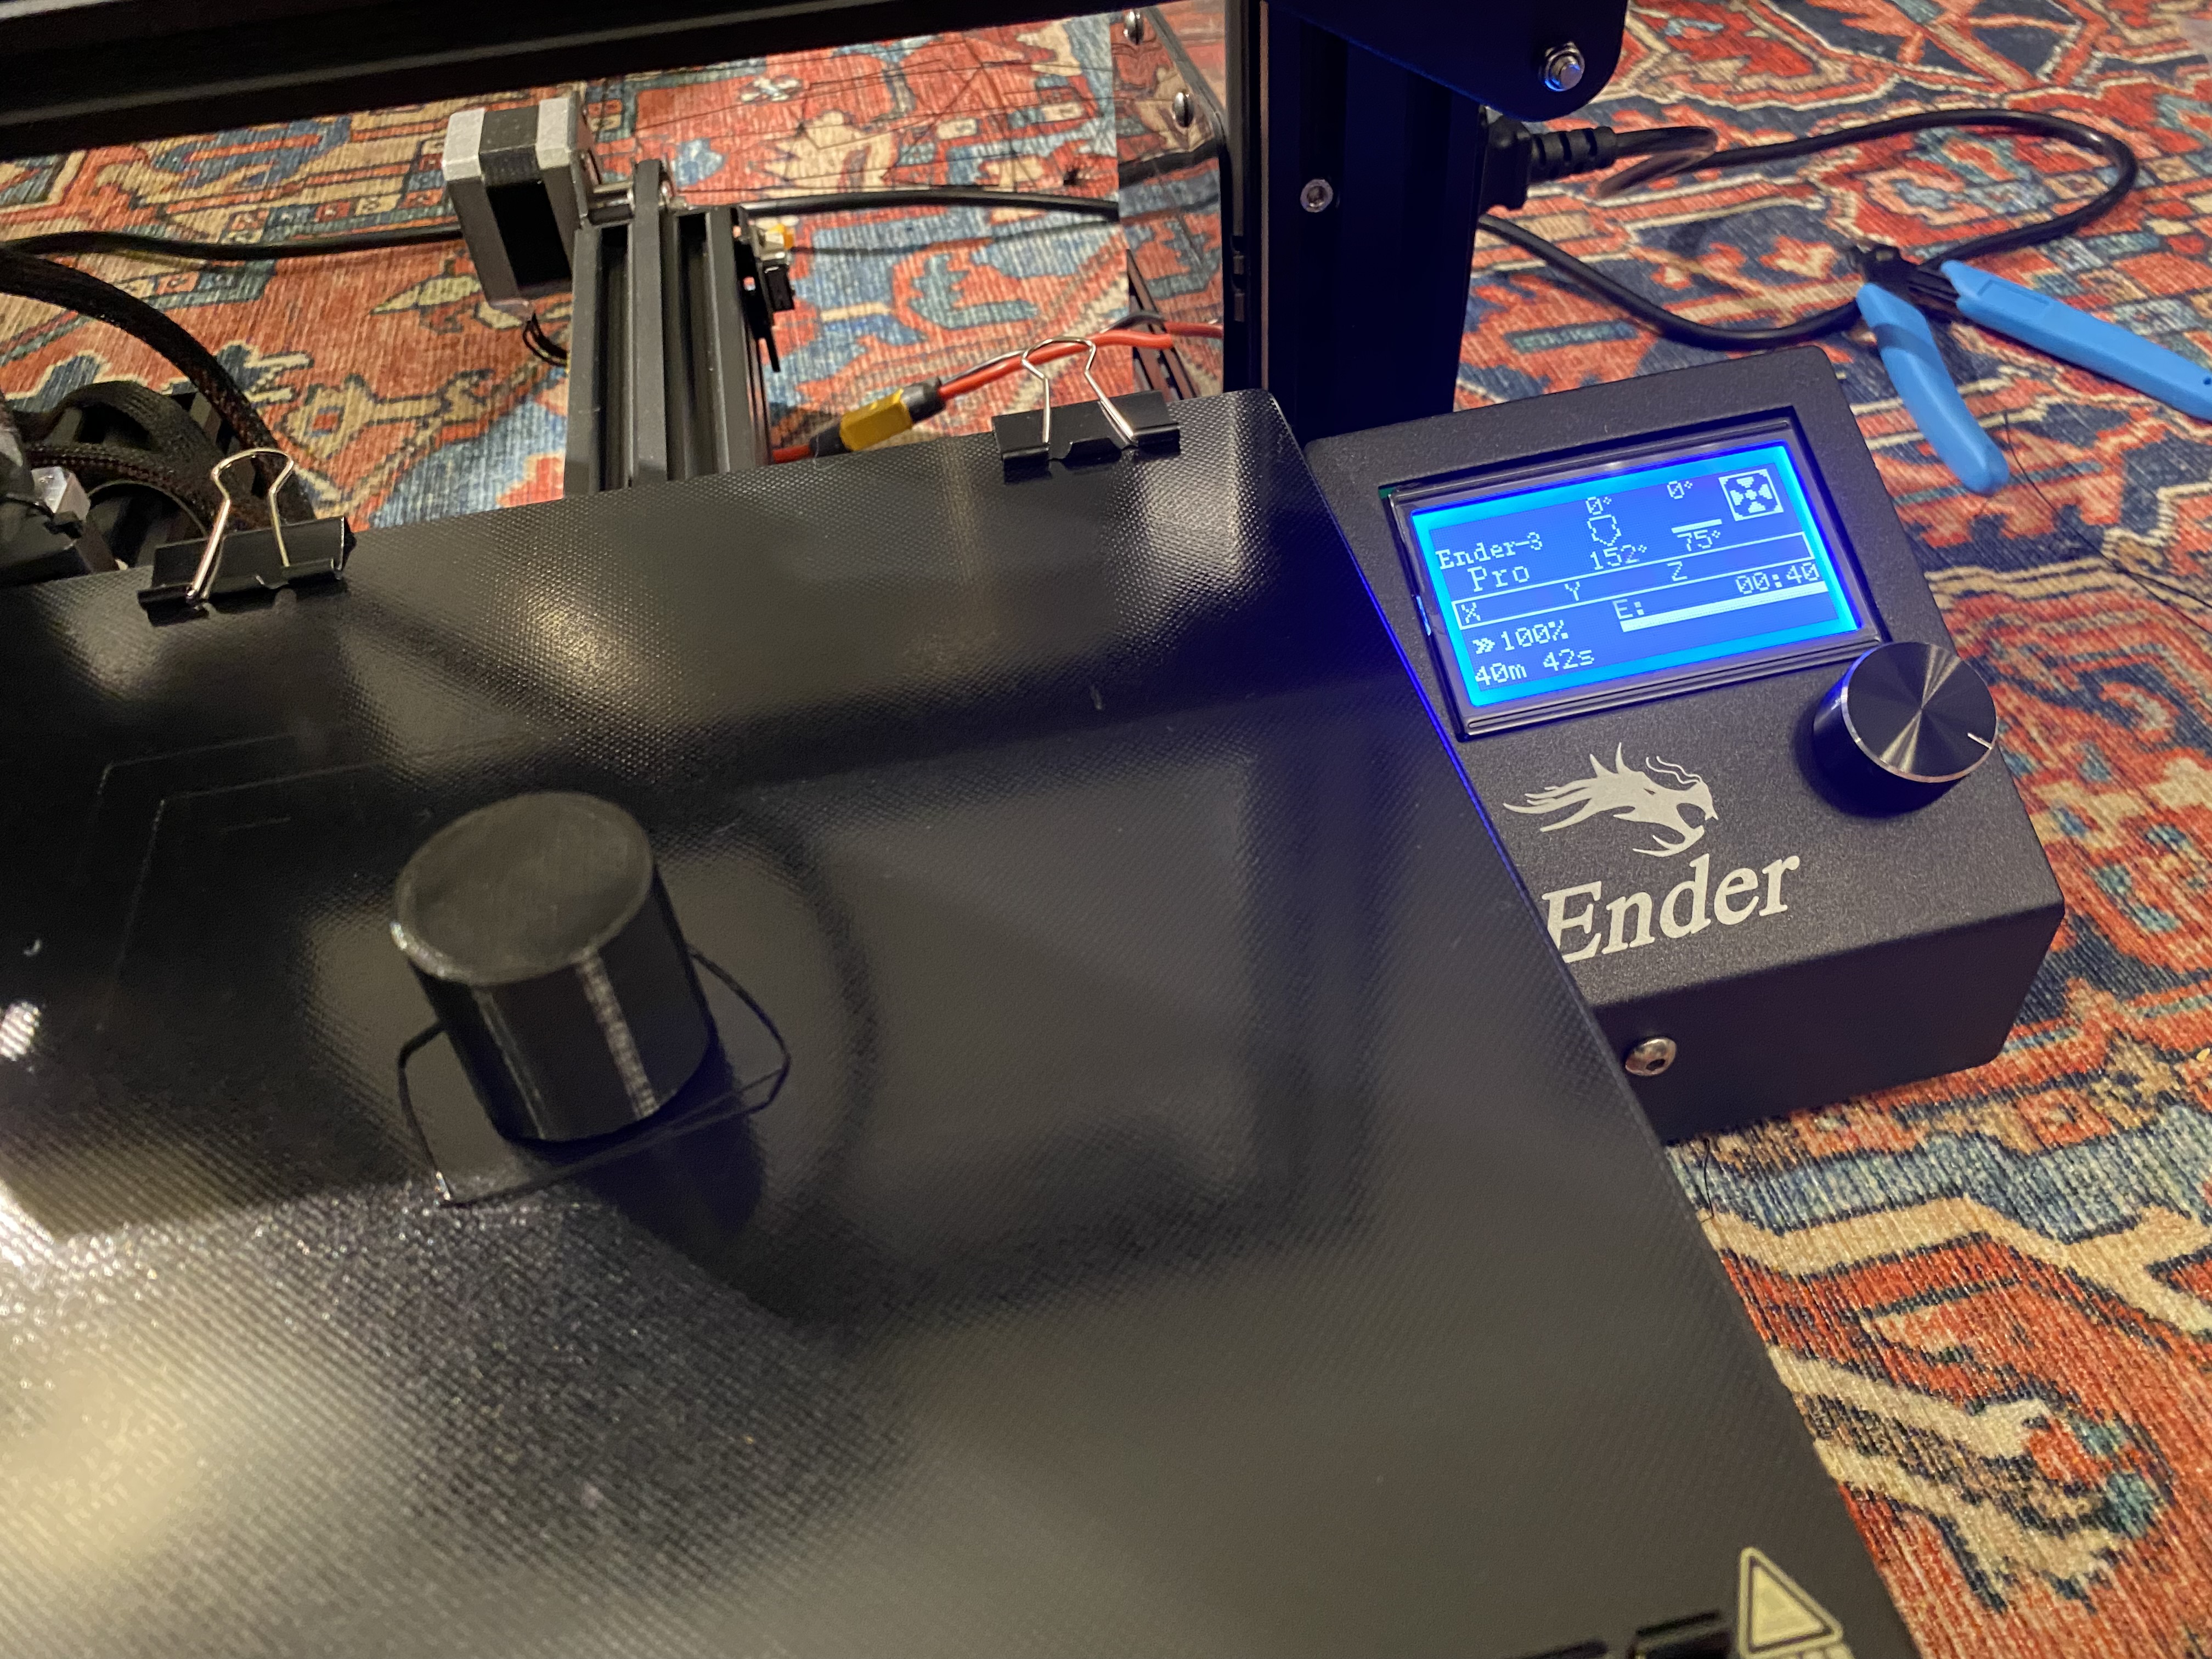
I make the bed a little less hot (90) because the super cube came out a lil sticky on the bottom, I use "low" quality (from here on out) because time, and I try out a brim instead of a raft. She's beautiful.
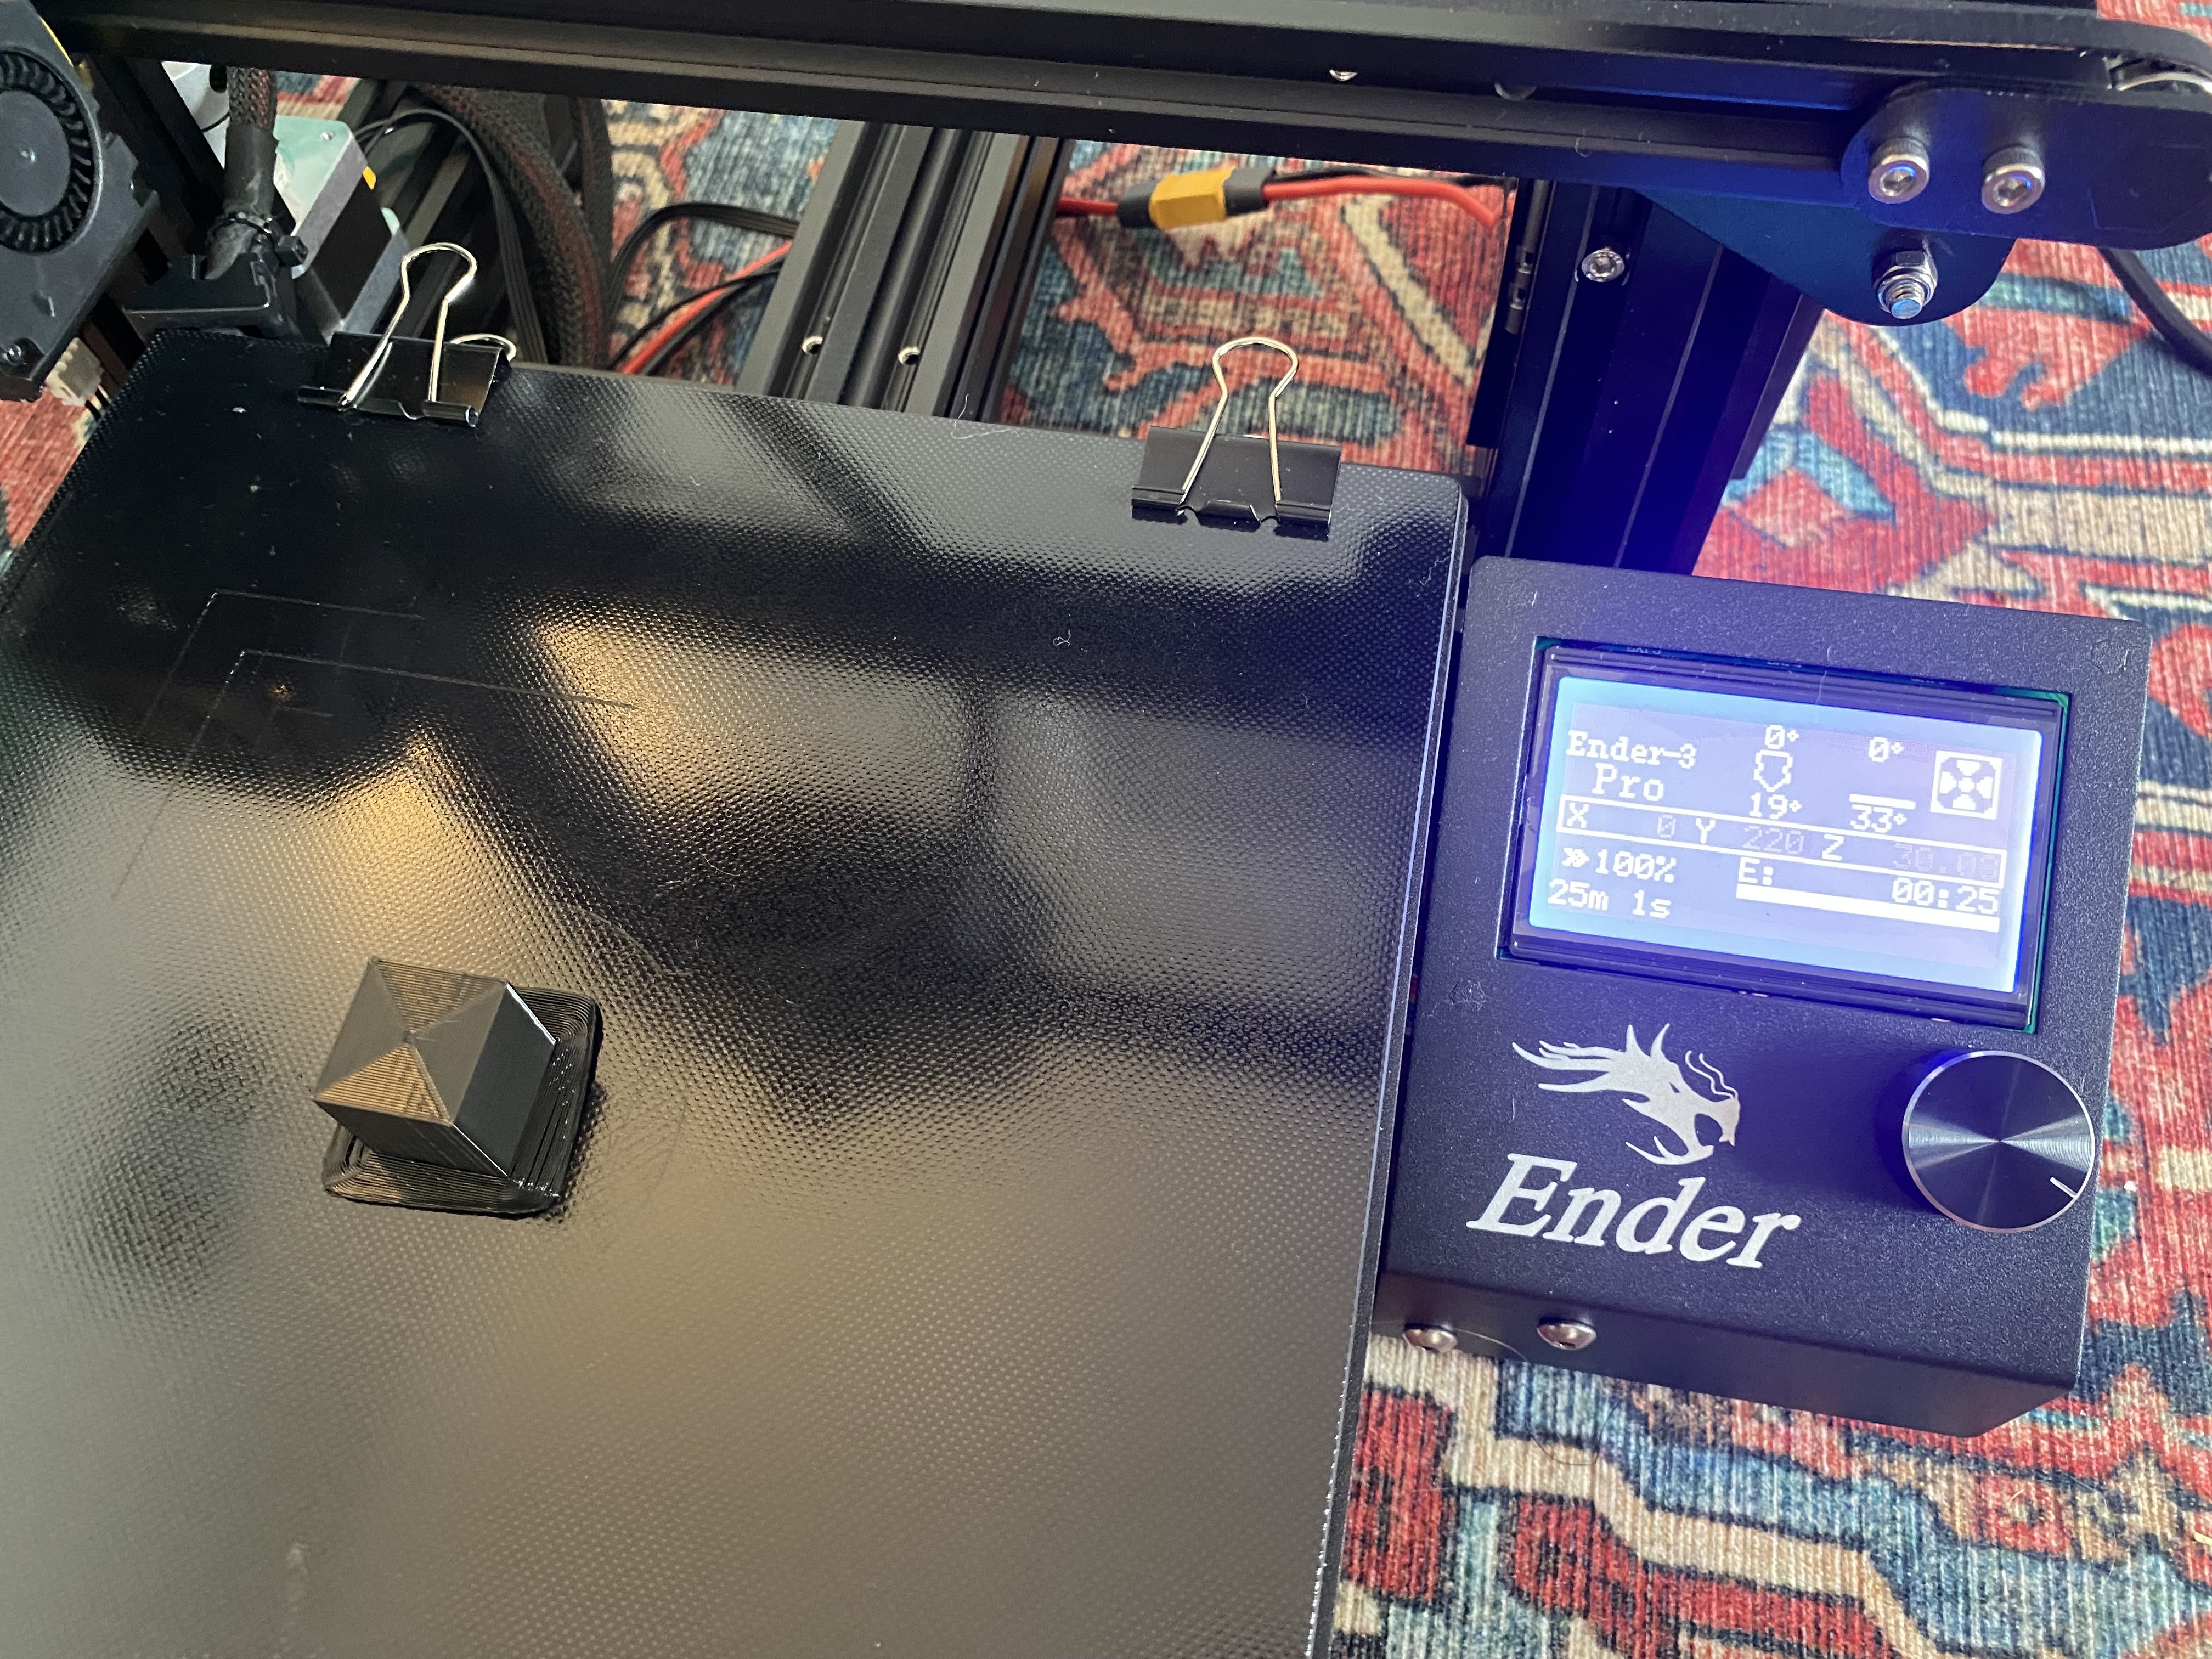
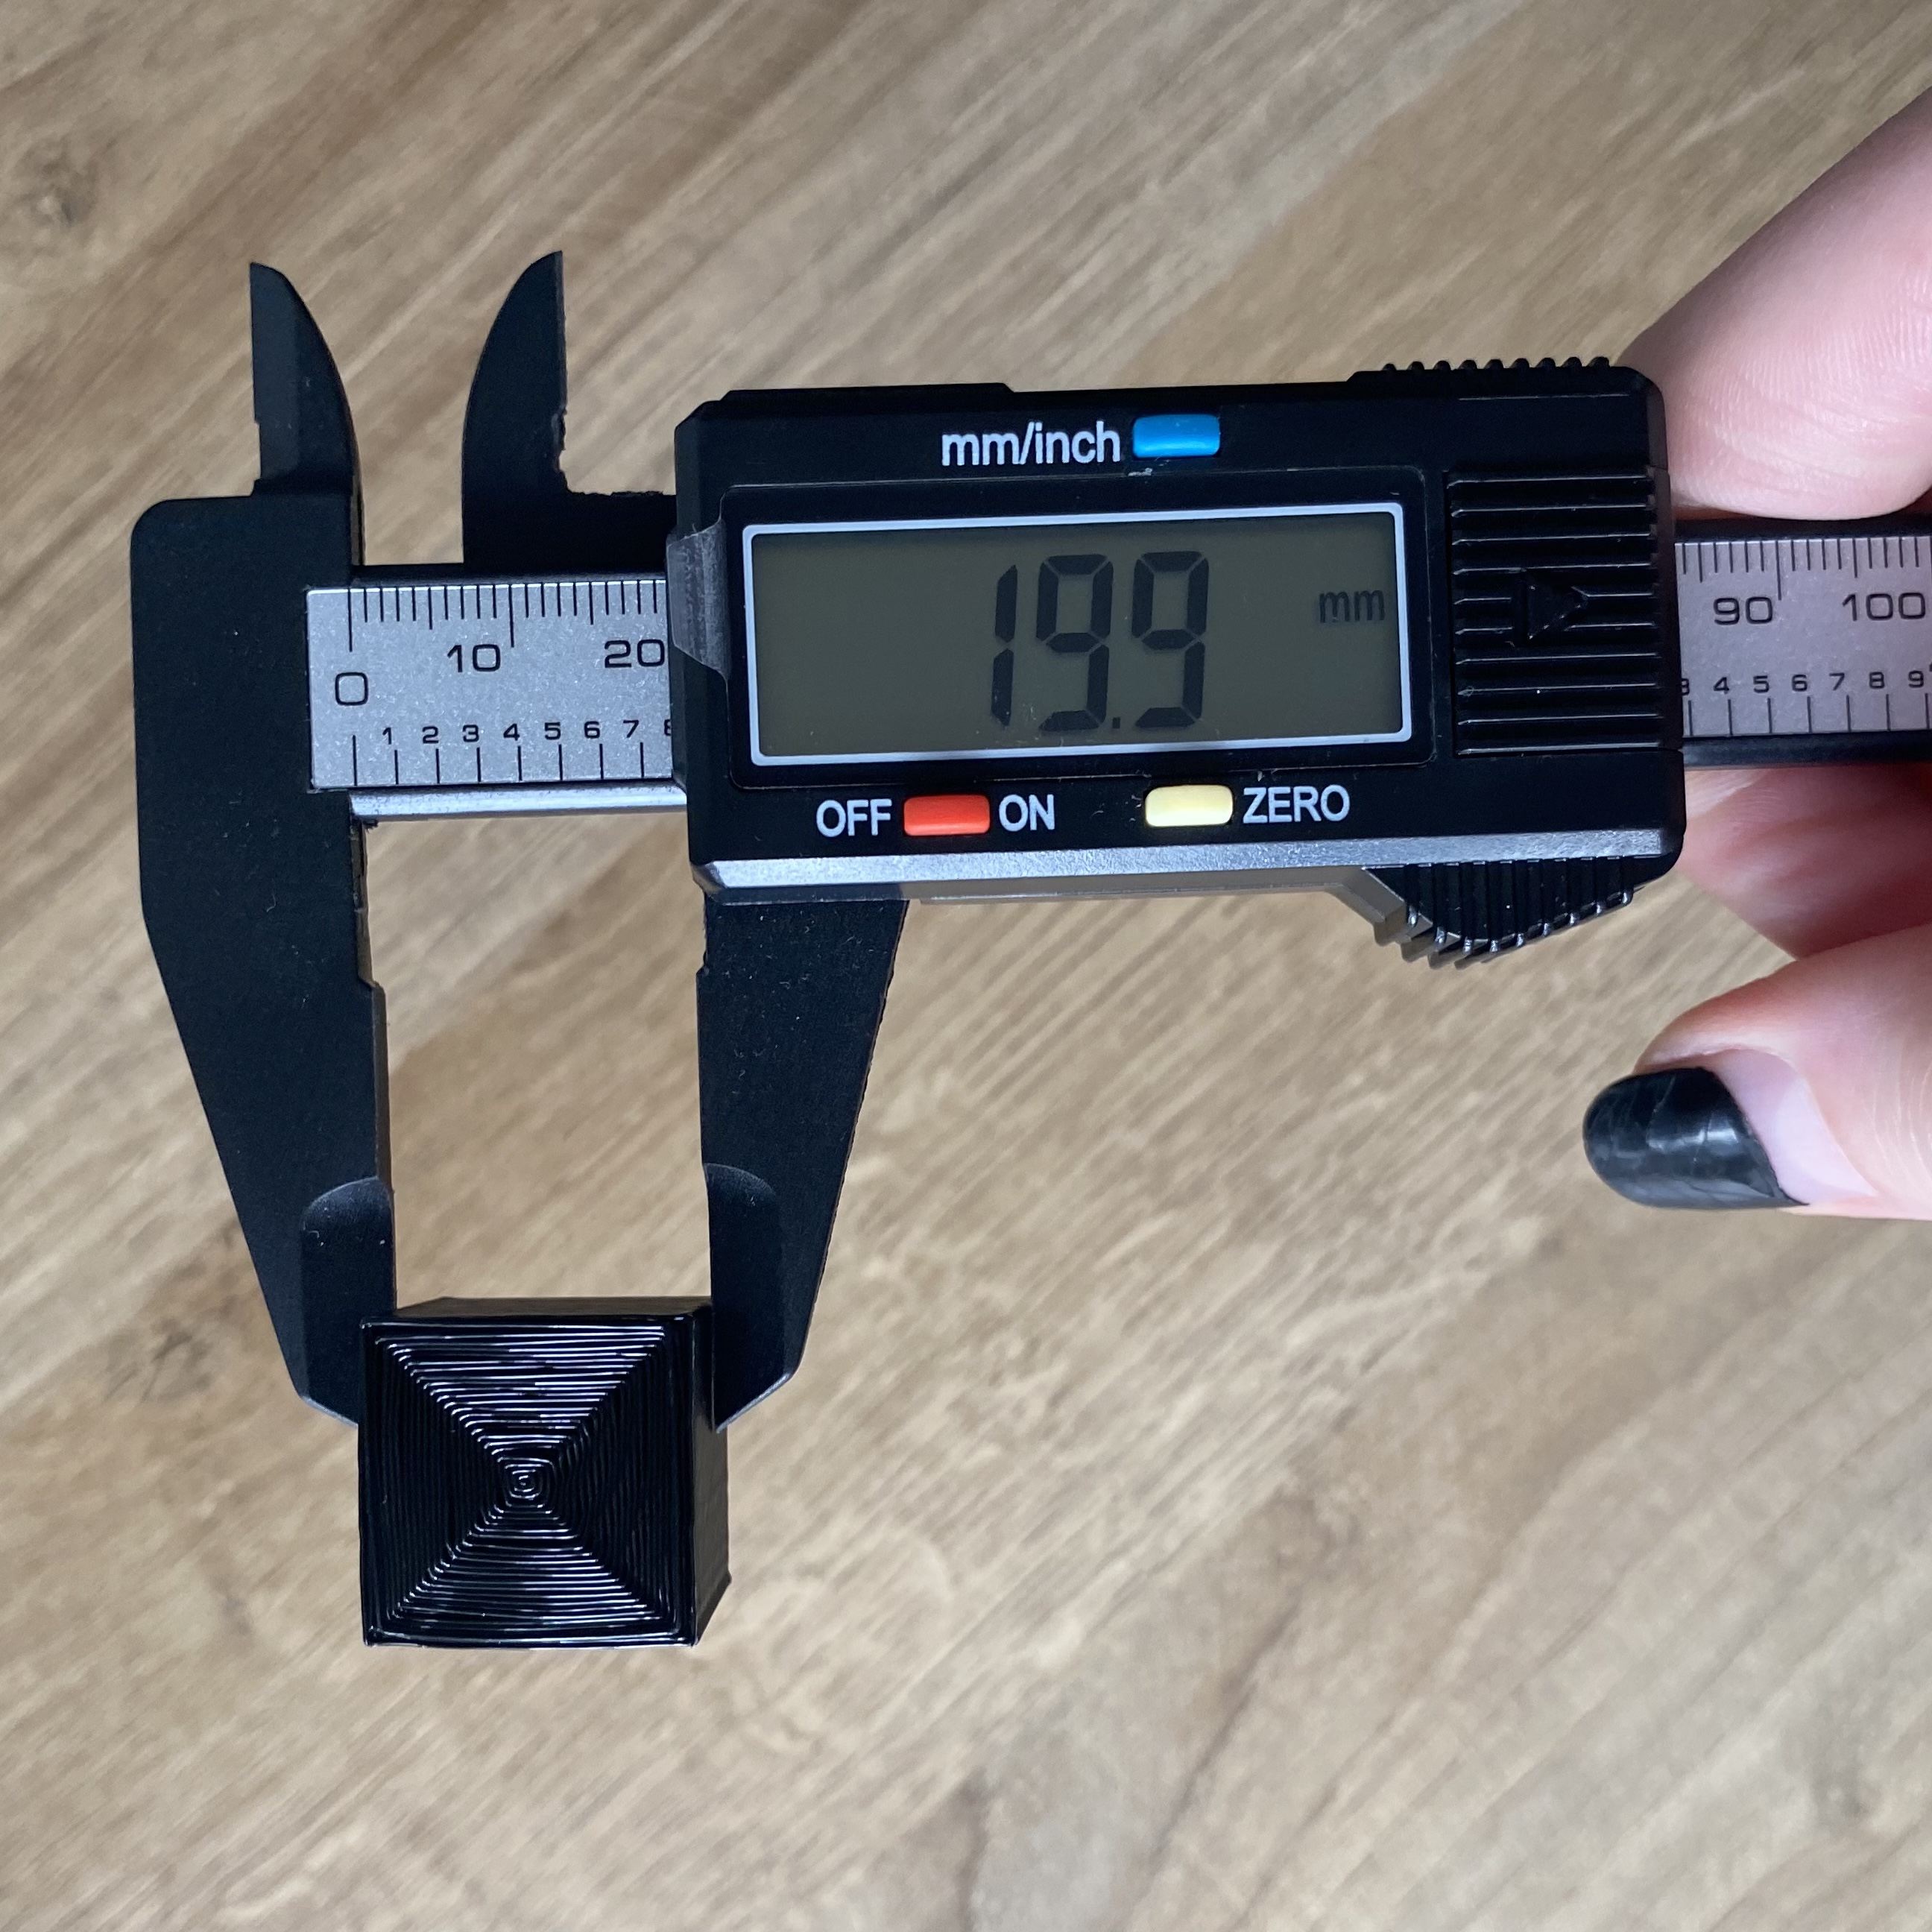
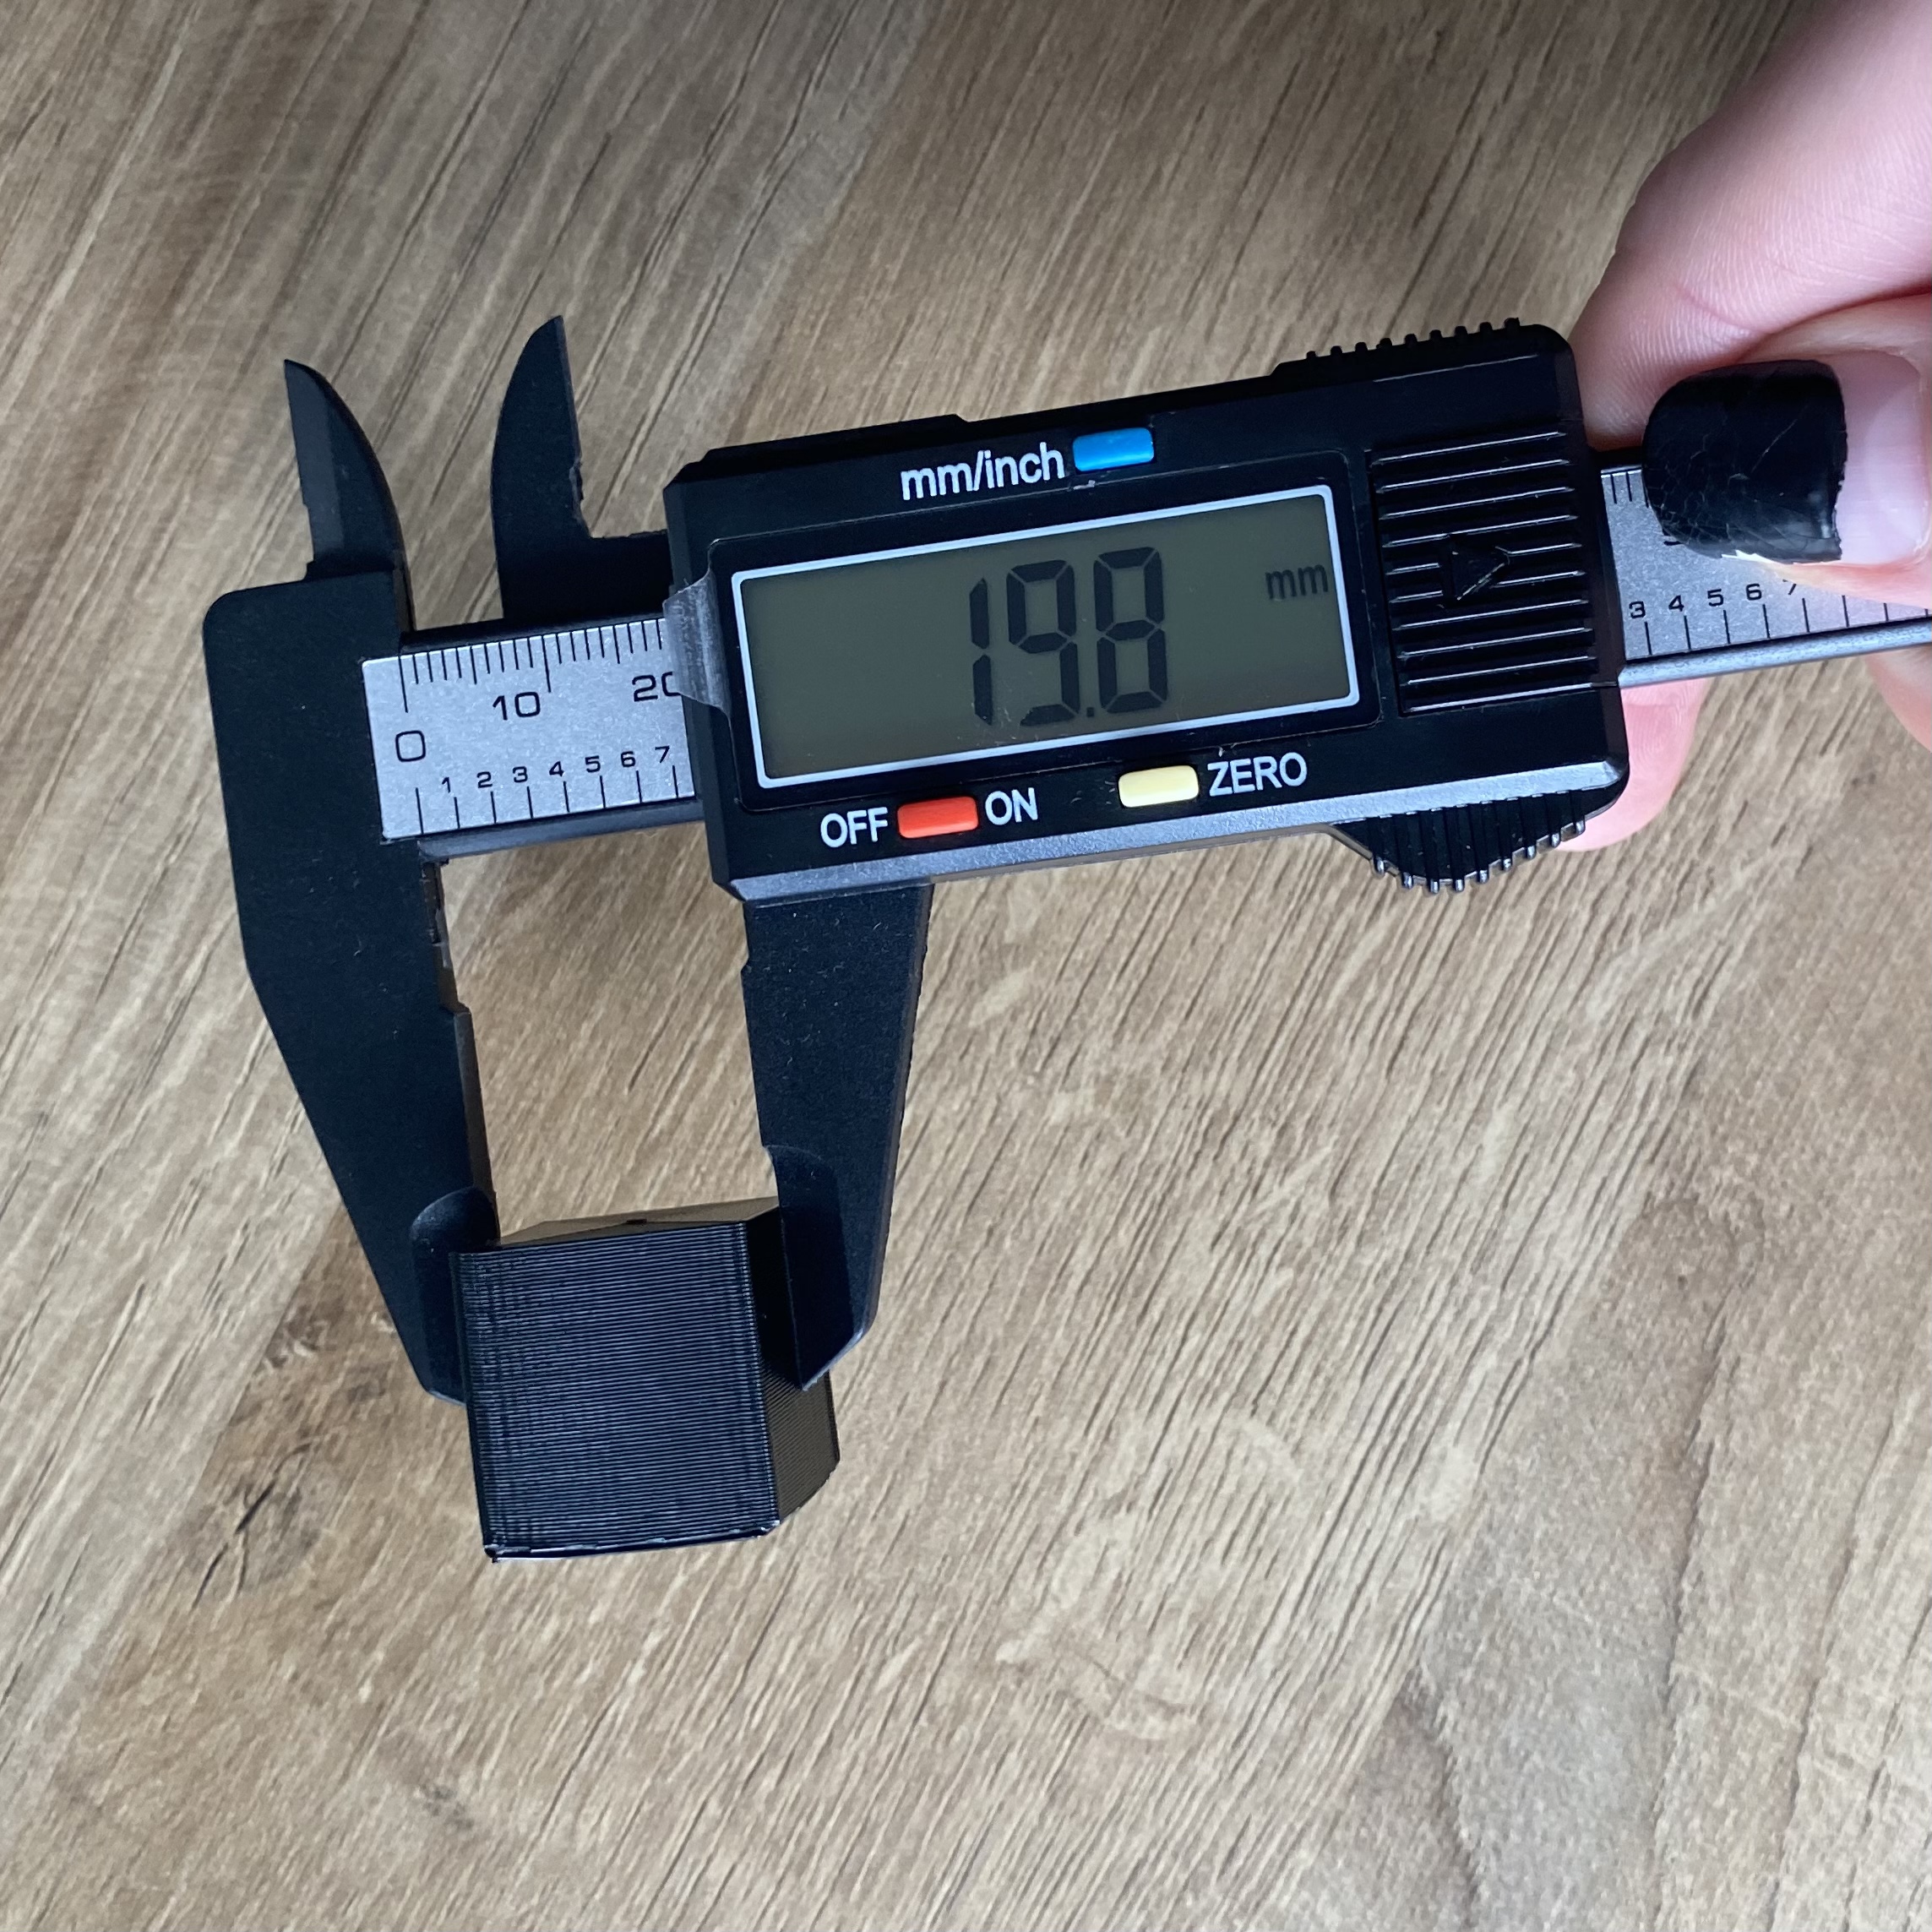
For the sake of my time and yours, I'm going to speed up describing the rest of these shapes. I'll show you their final products and any cute process shots I may have gotten, but otherwise, just assume there was probably some trial and error involved (at some point I lower the bed temp to 80, etc). The important part is that they all exist now and I definitely learned in the process.
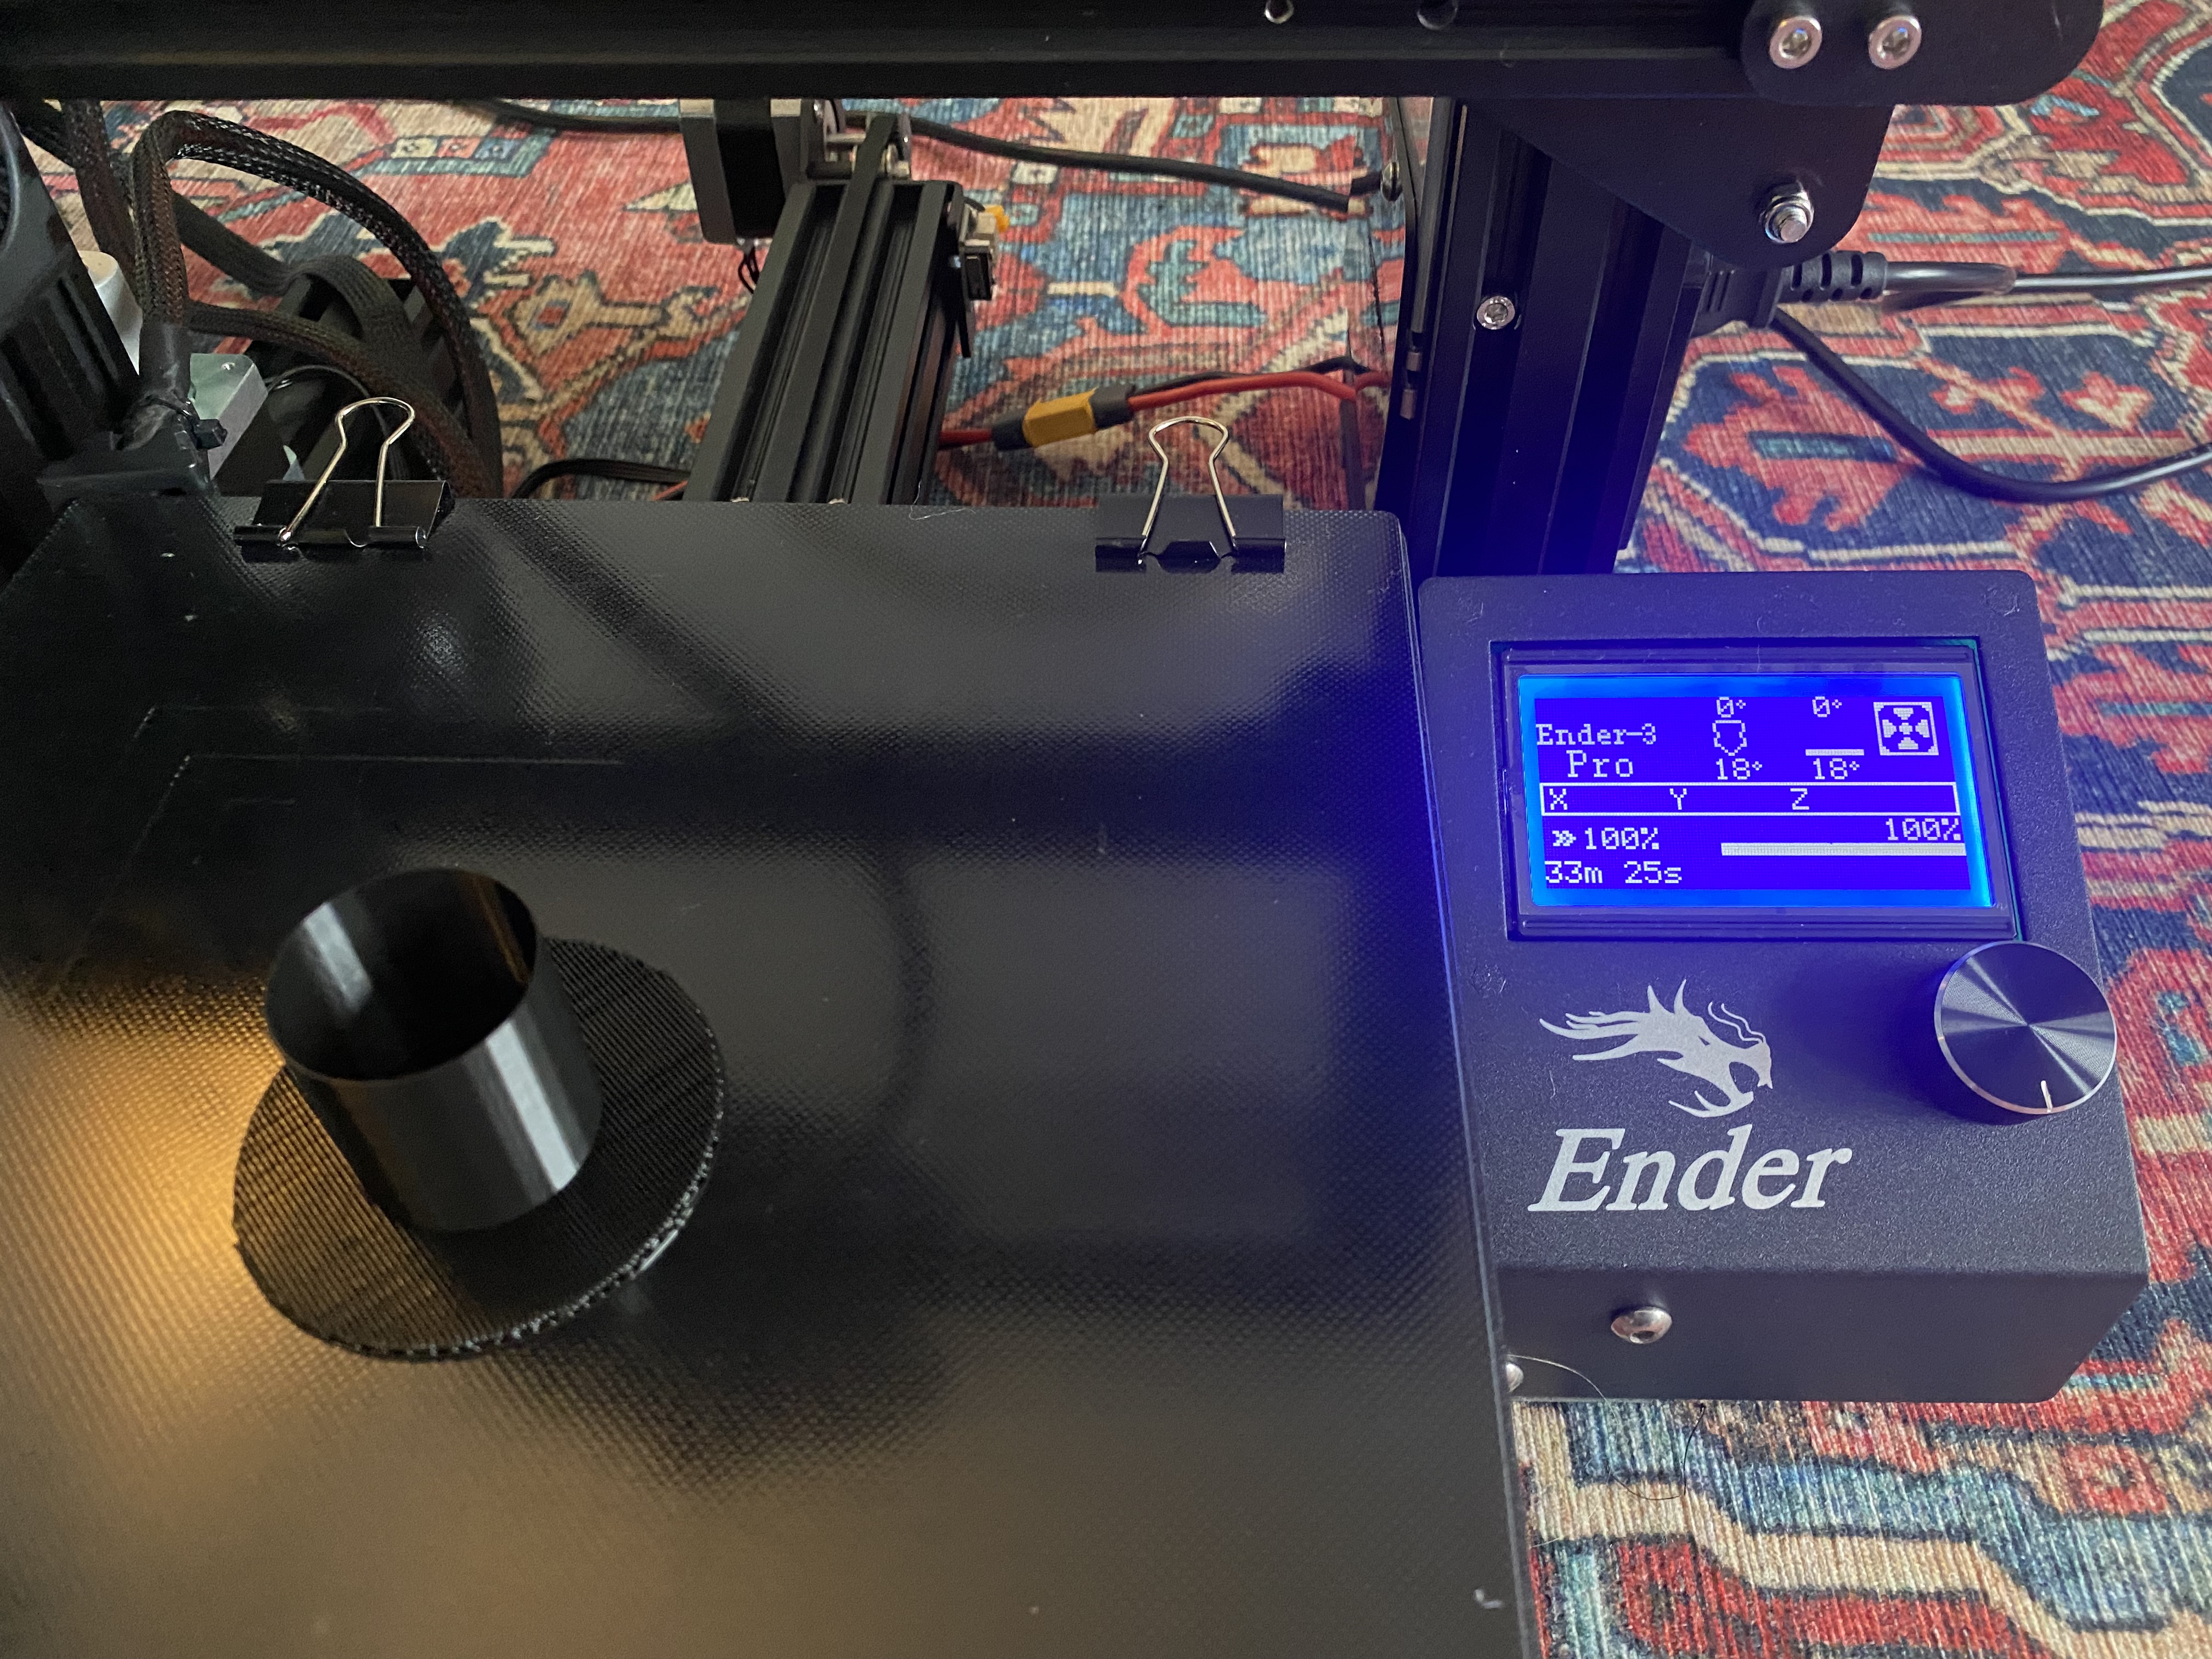
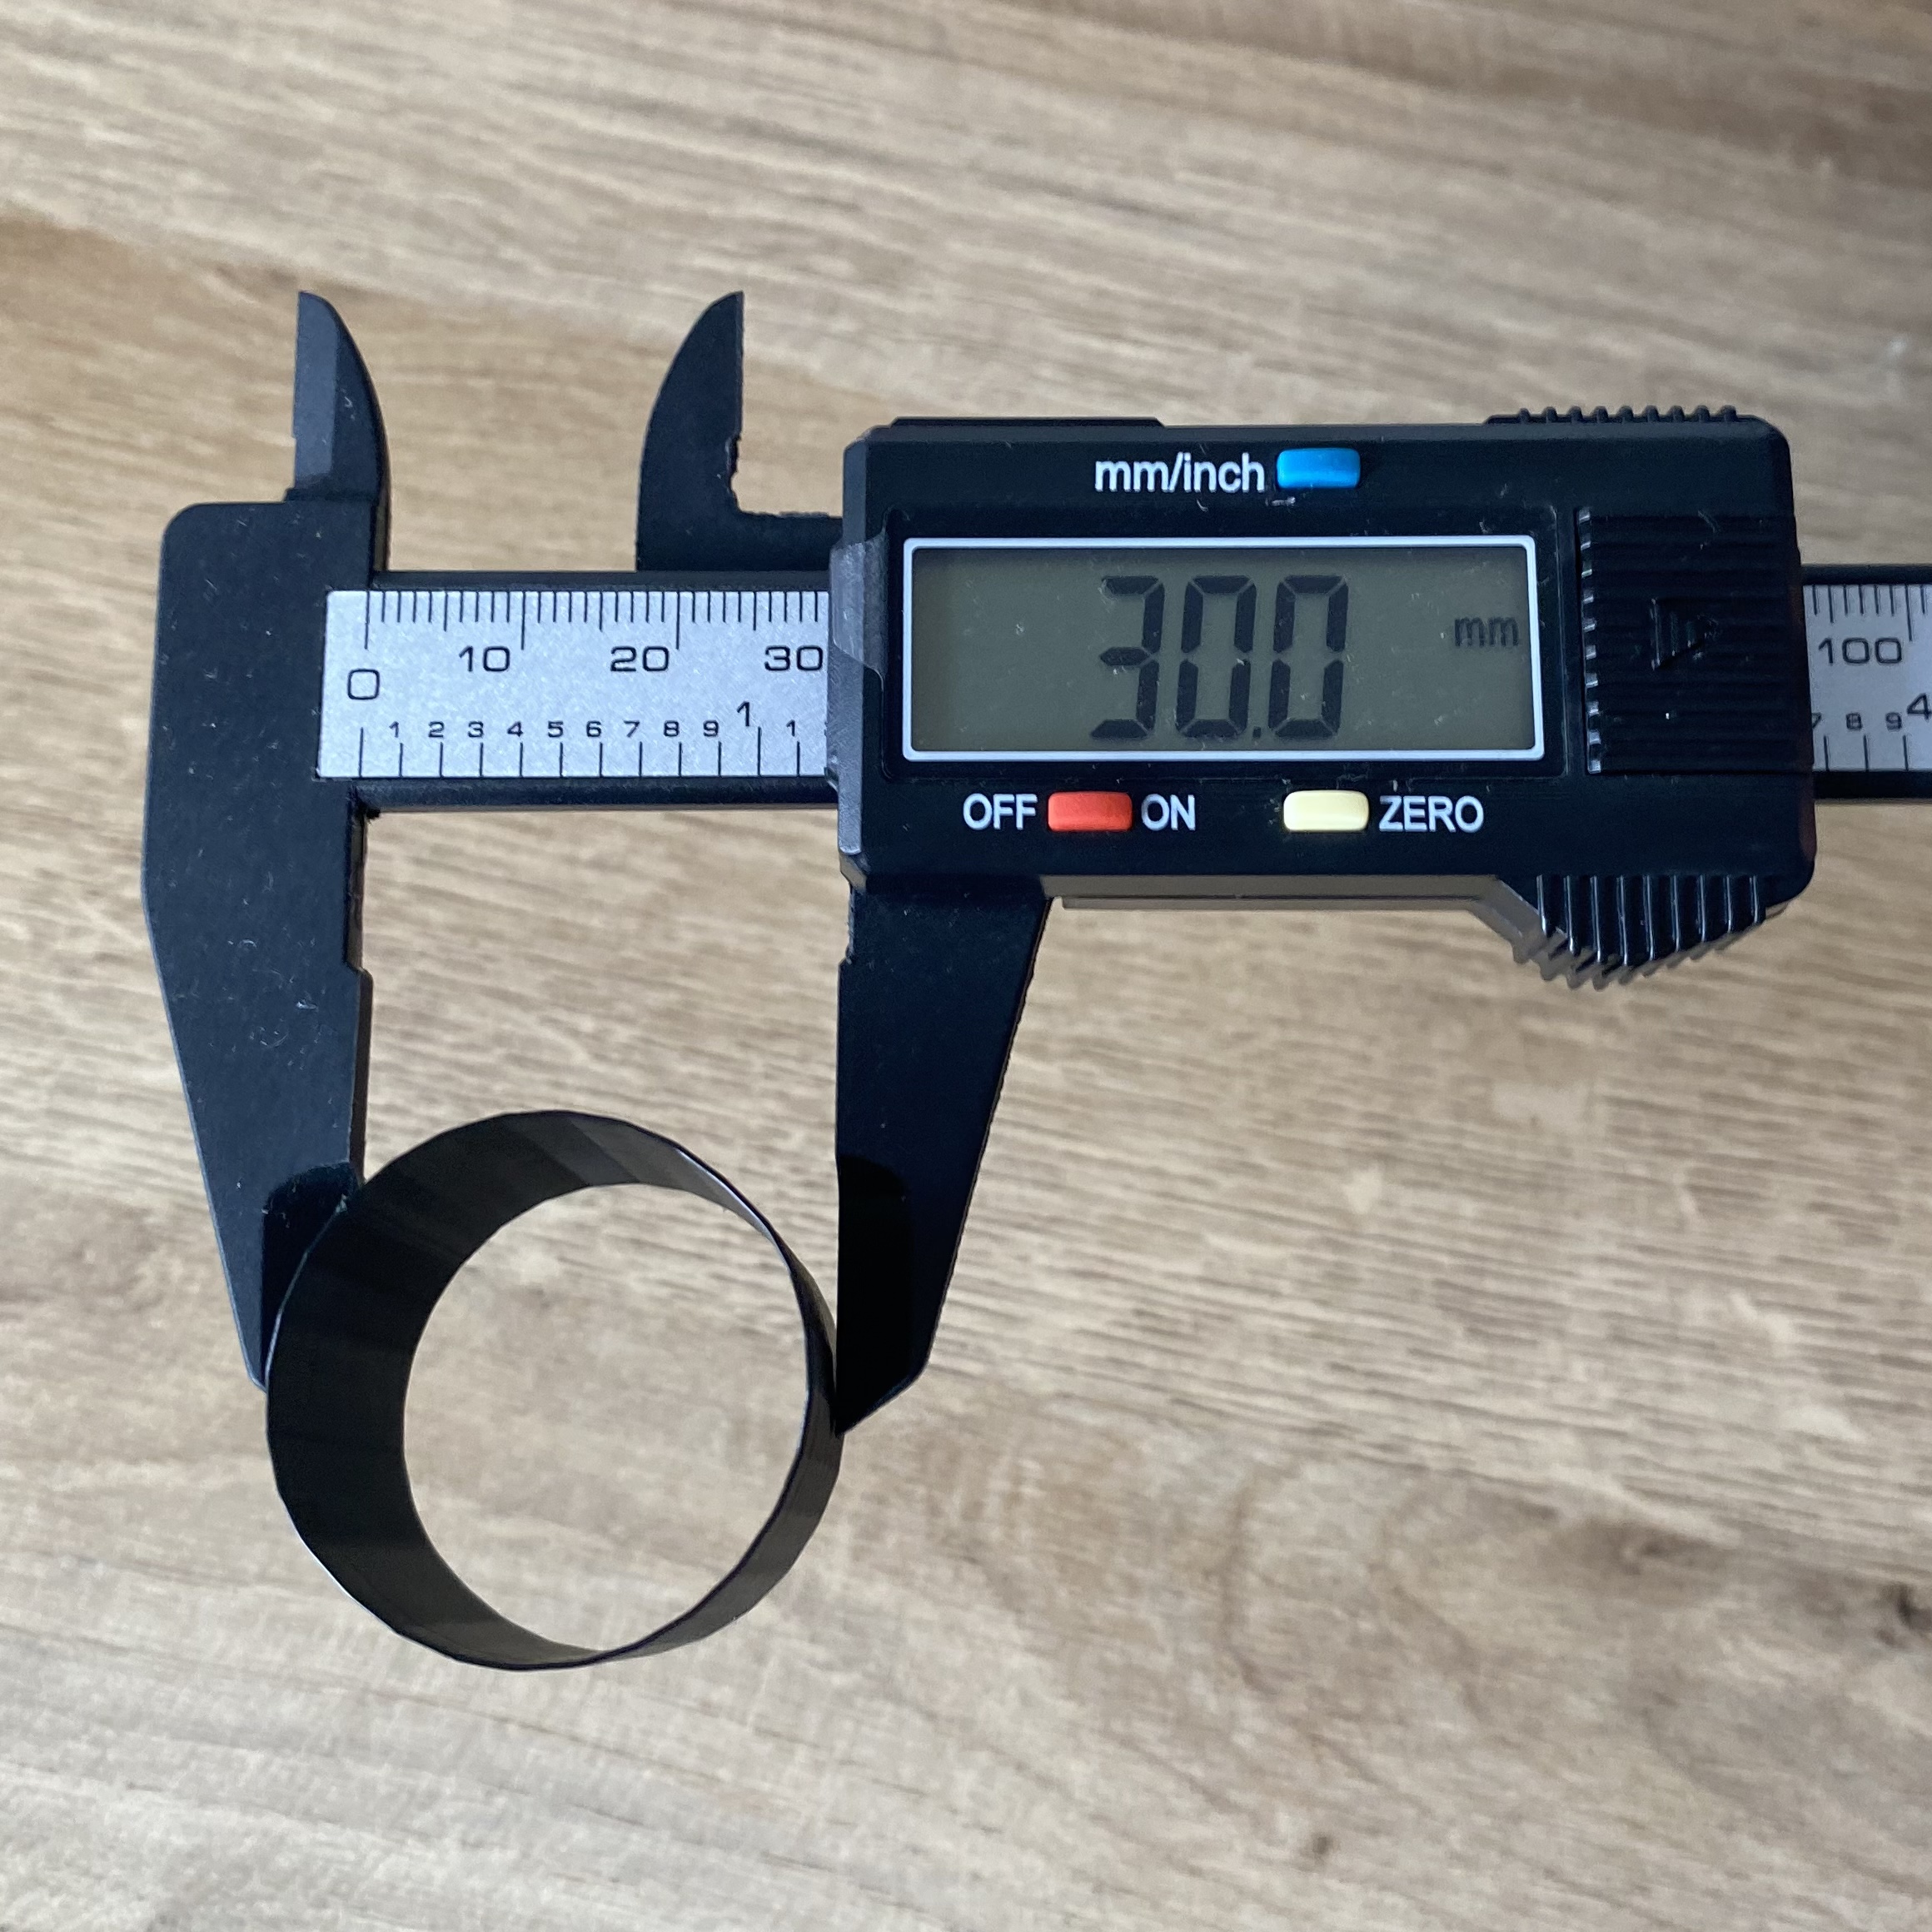
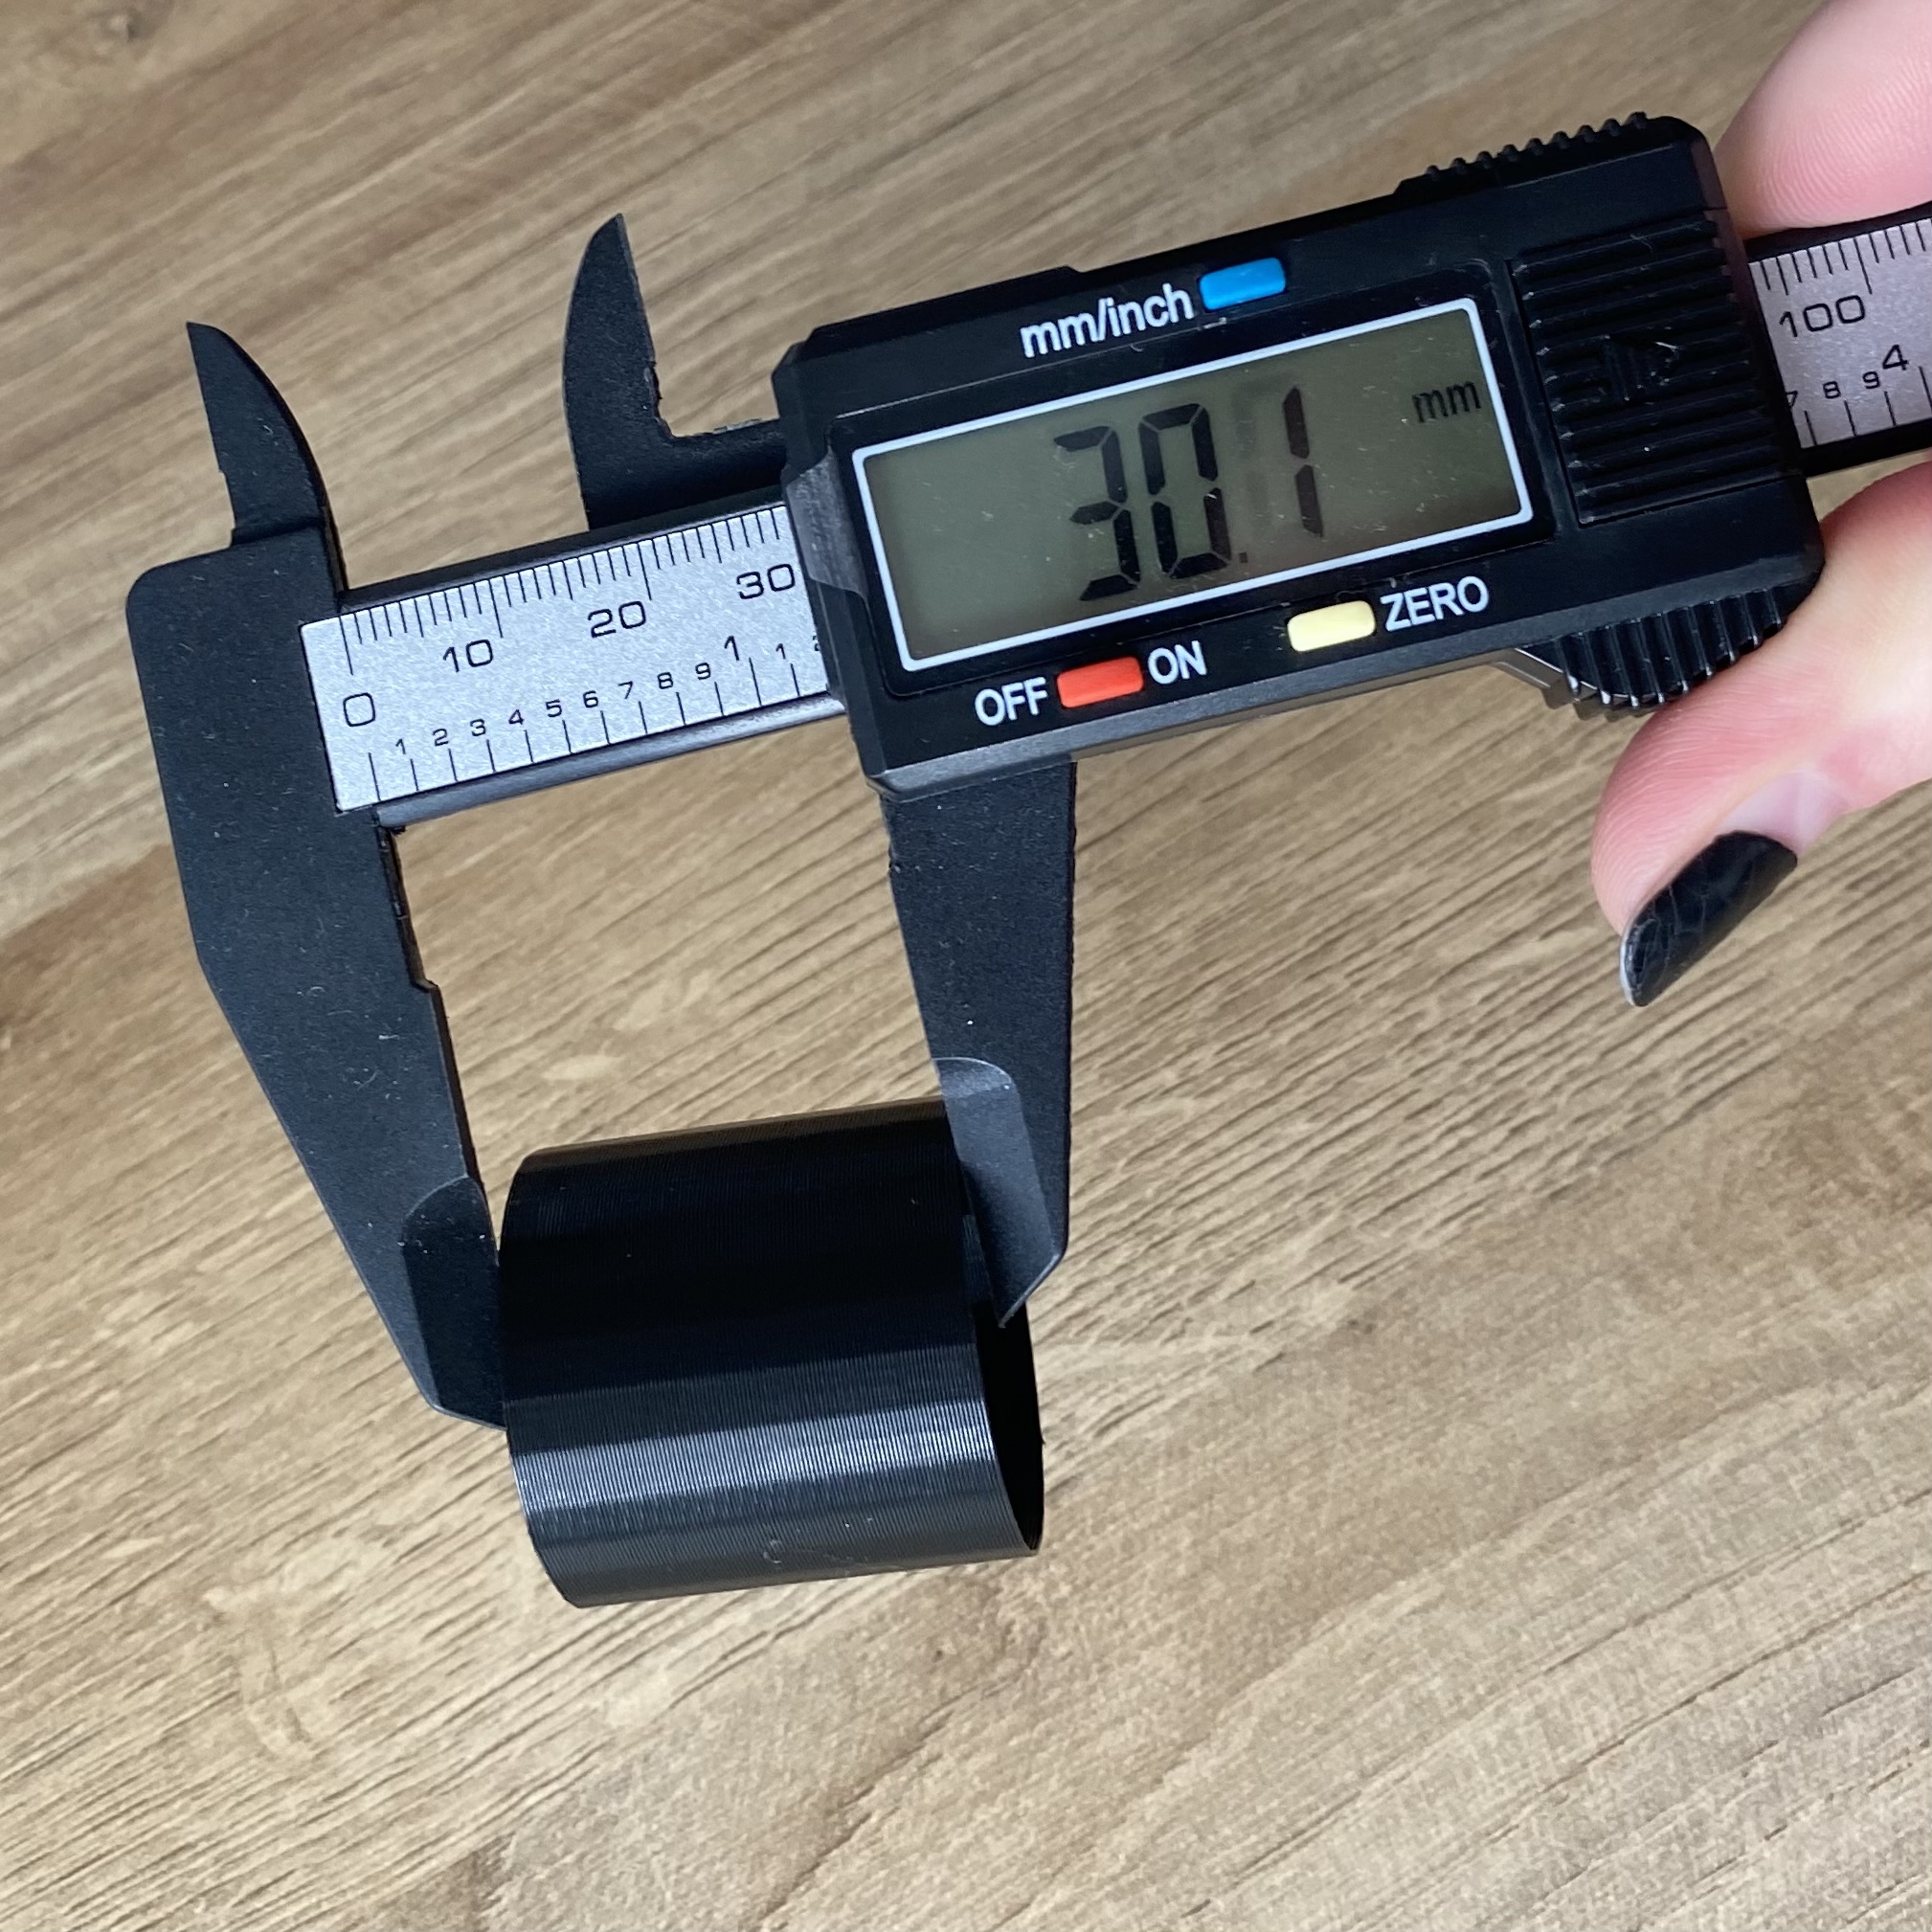
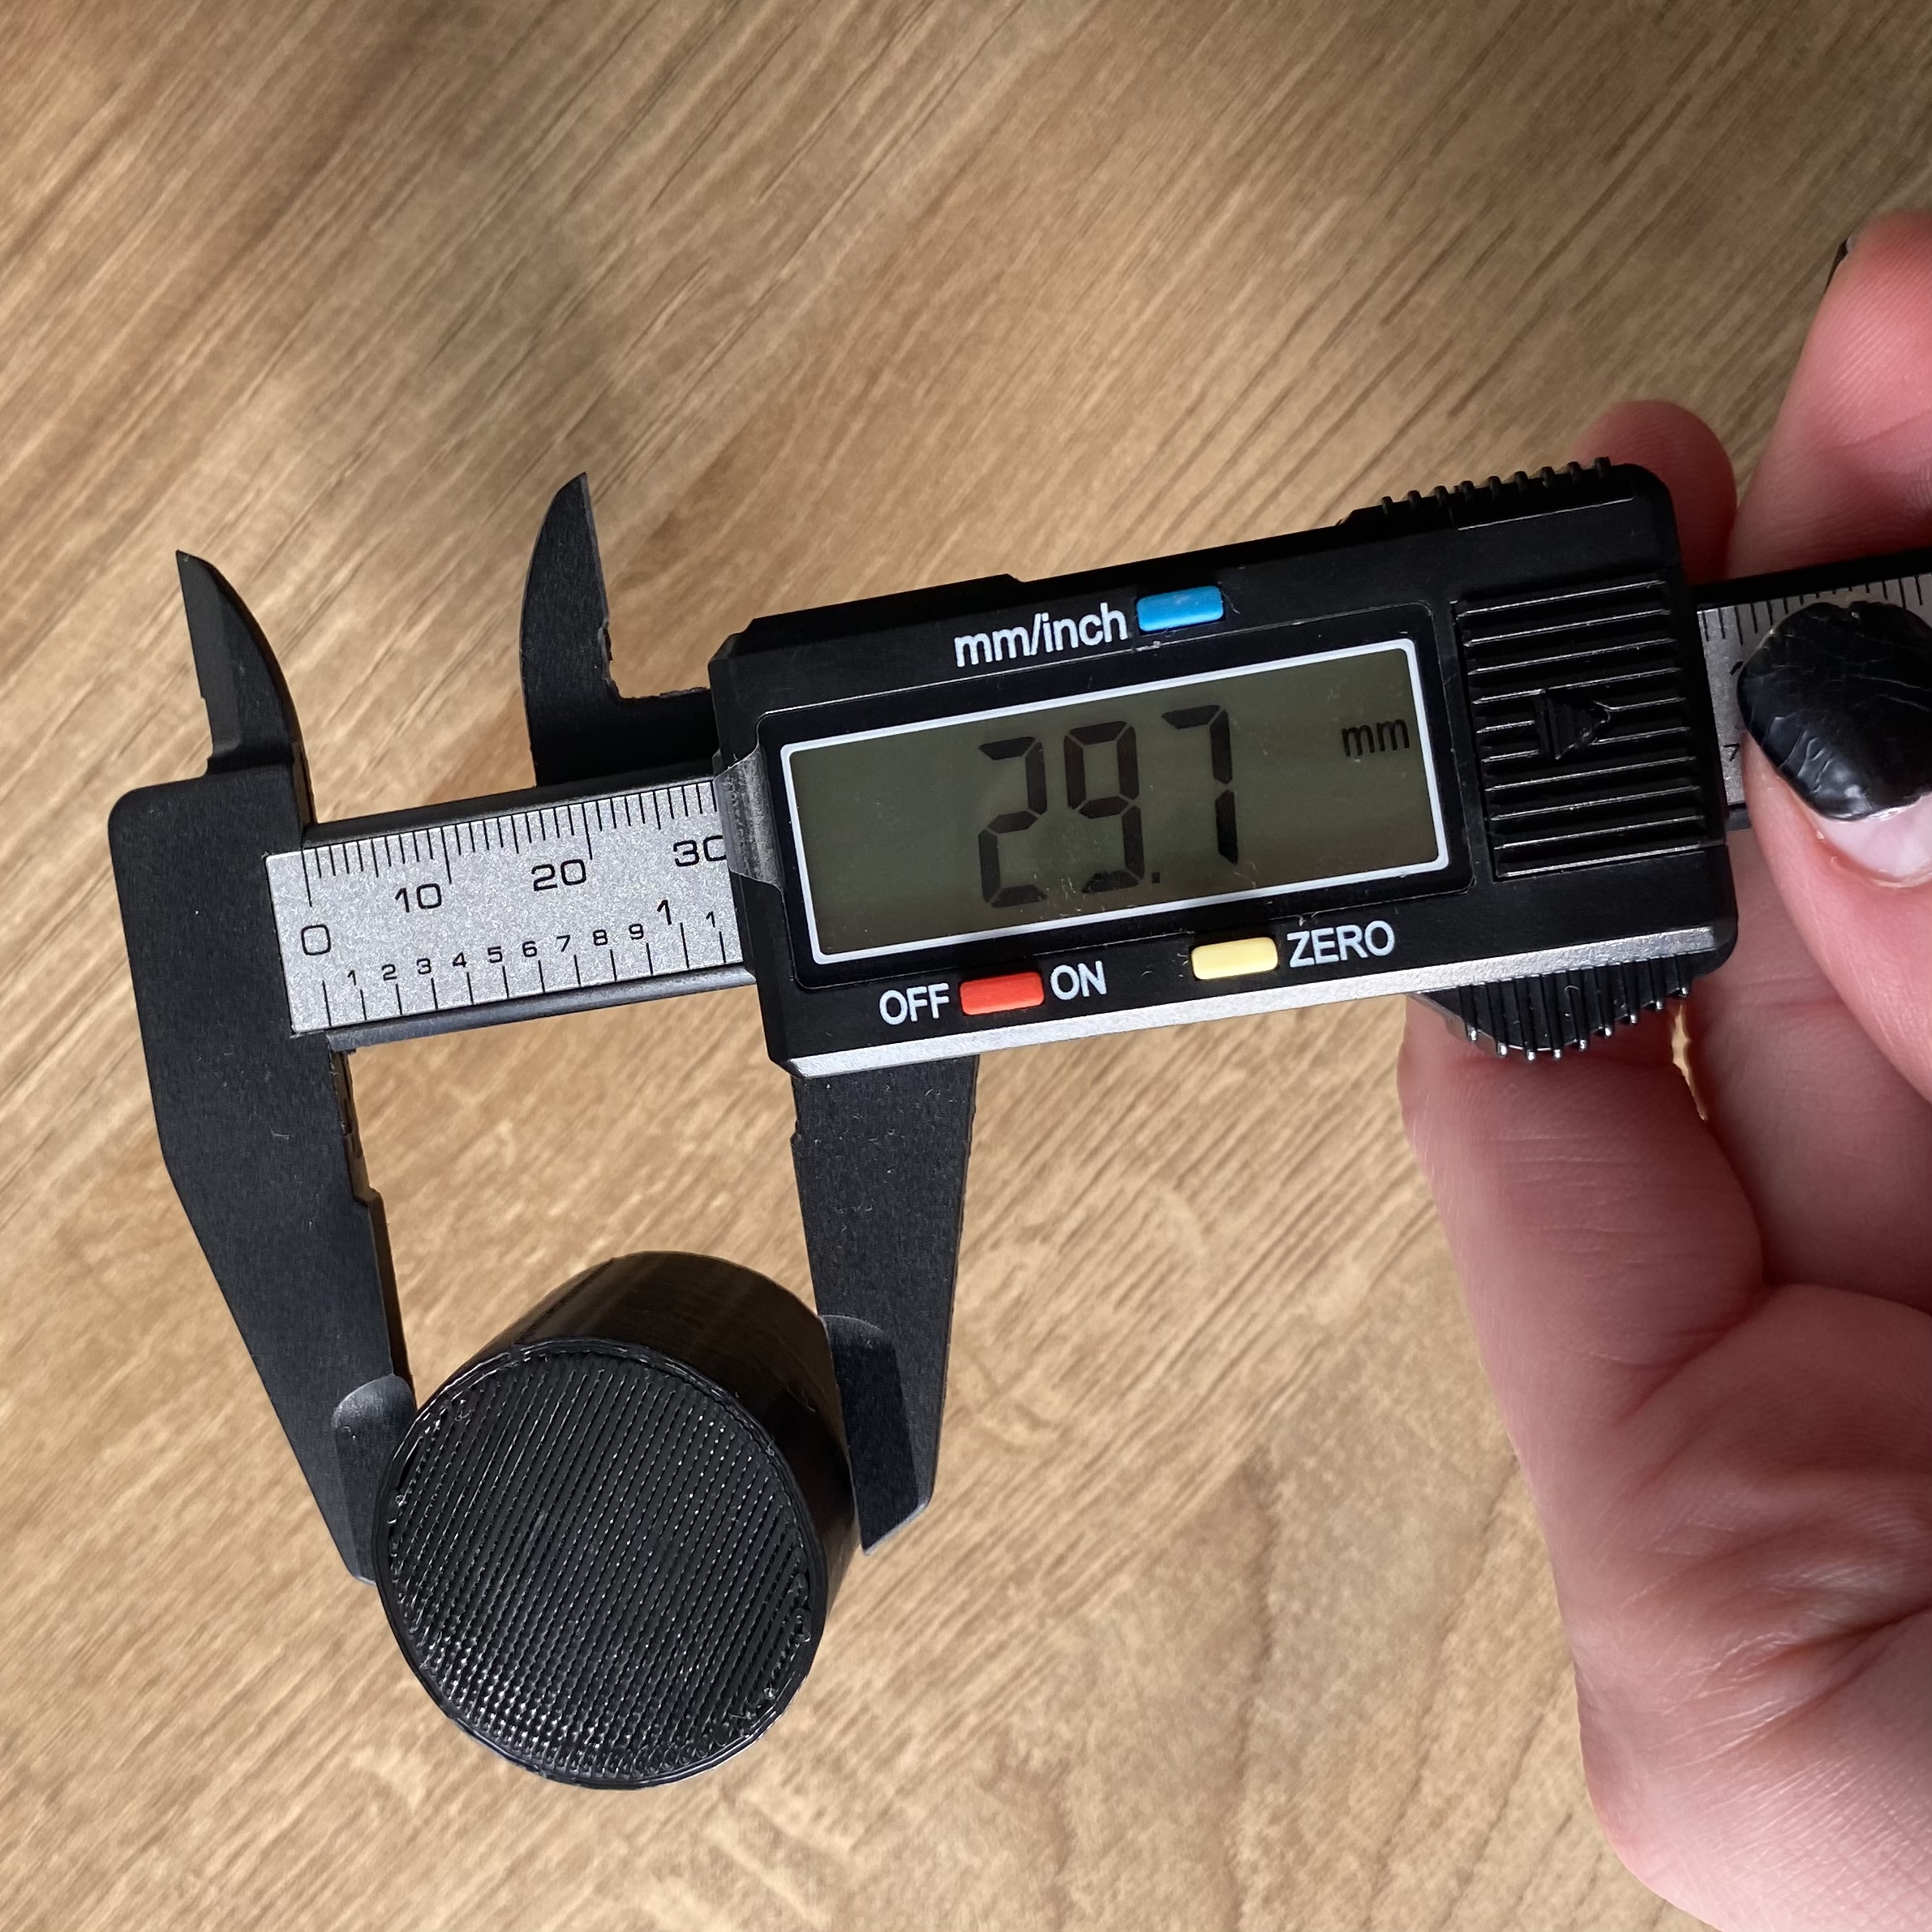
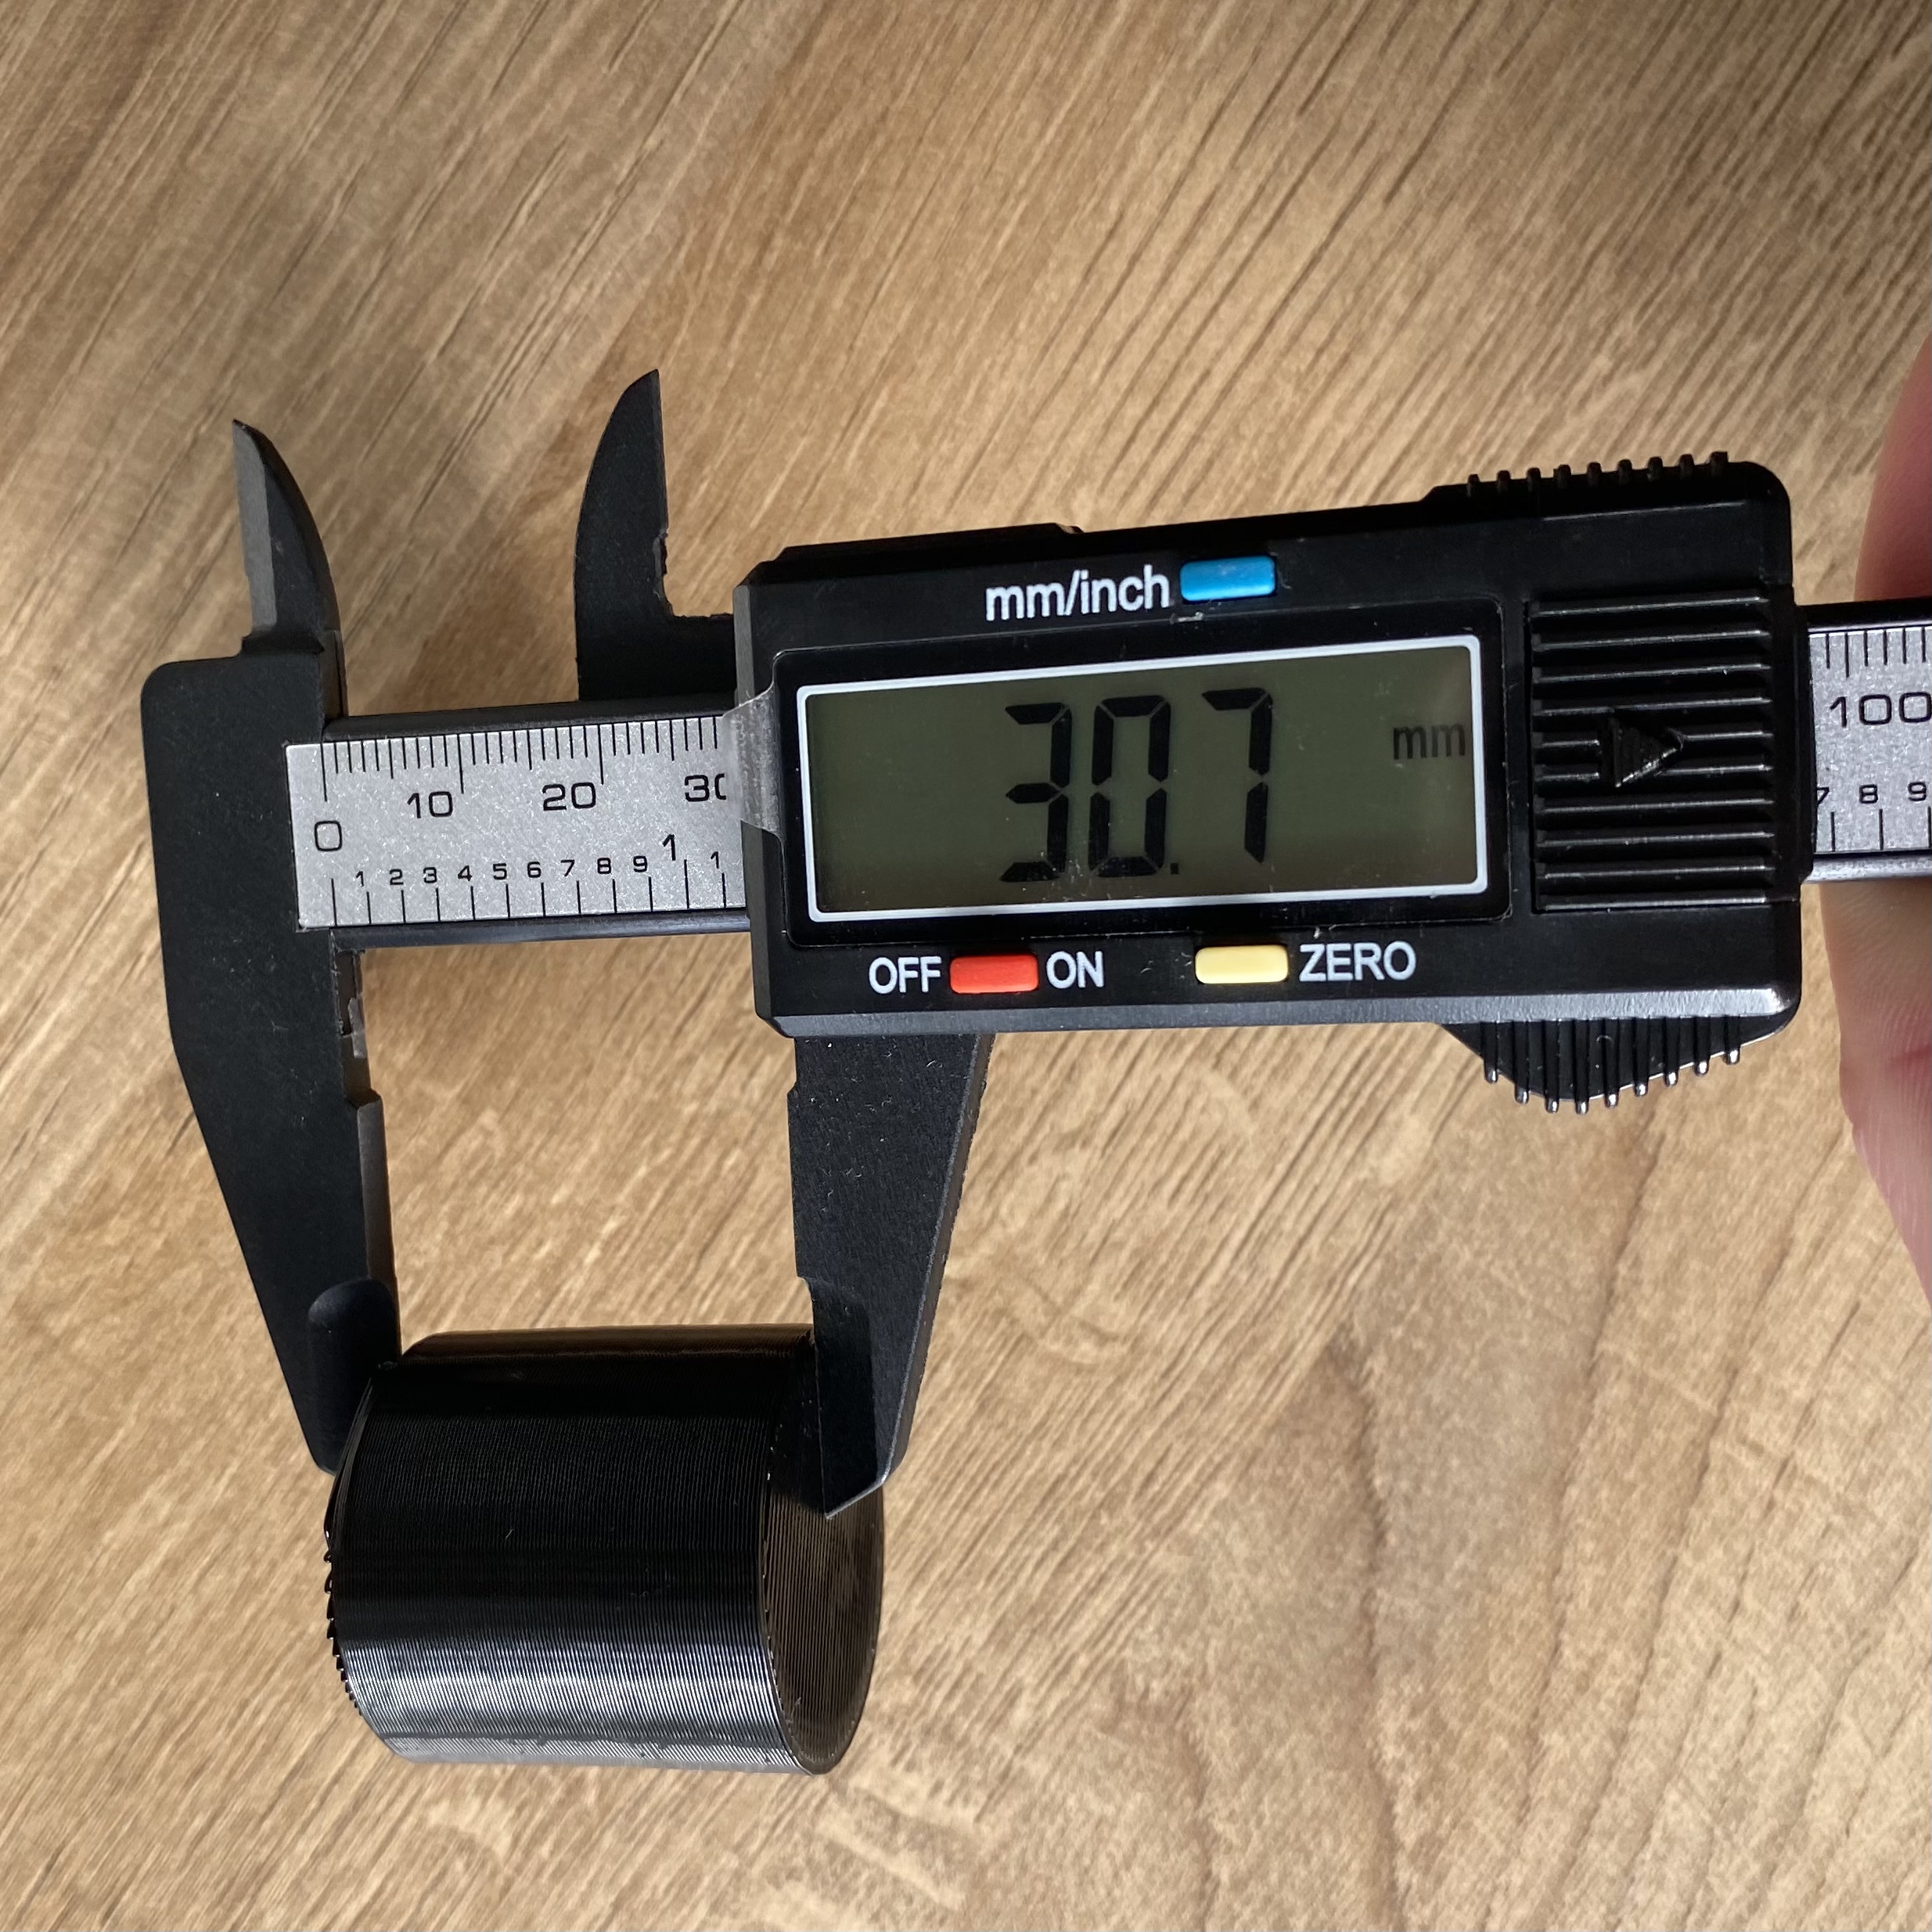
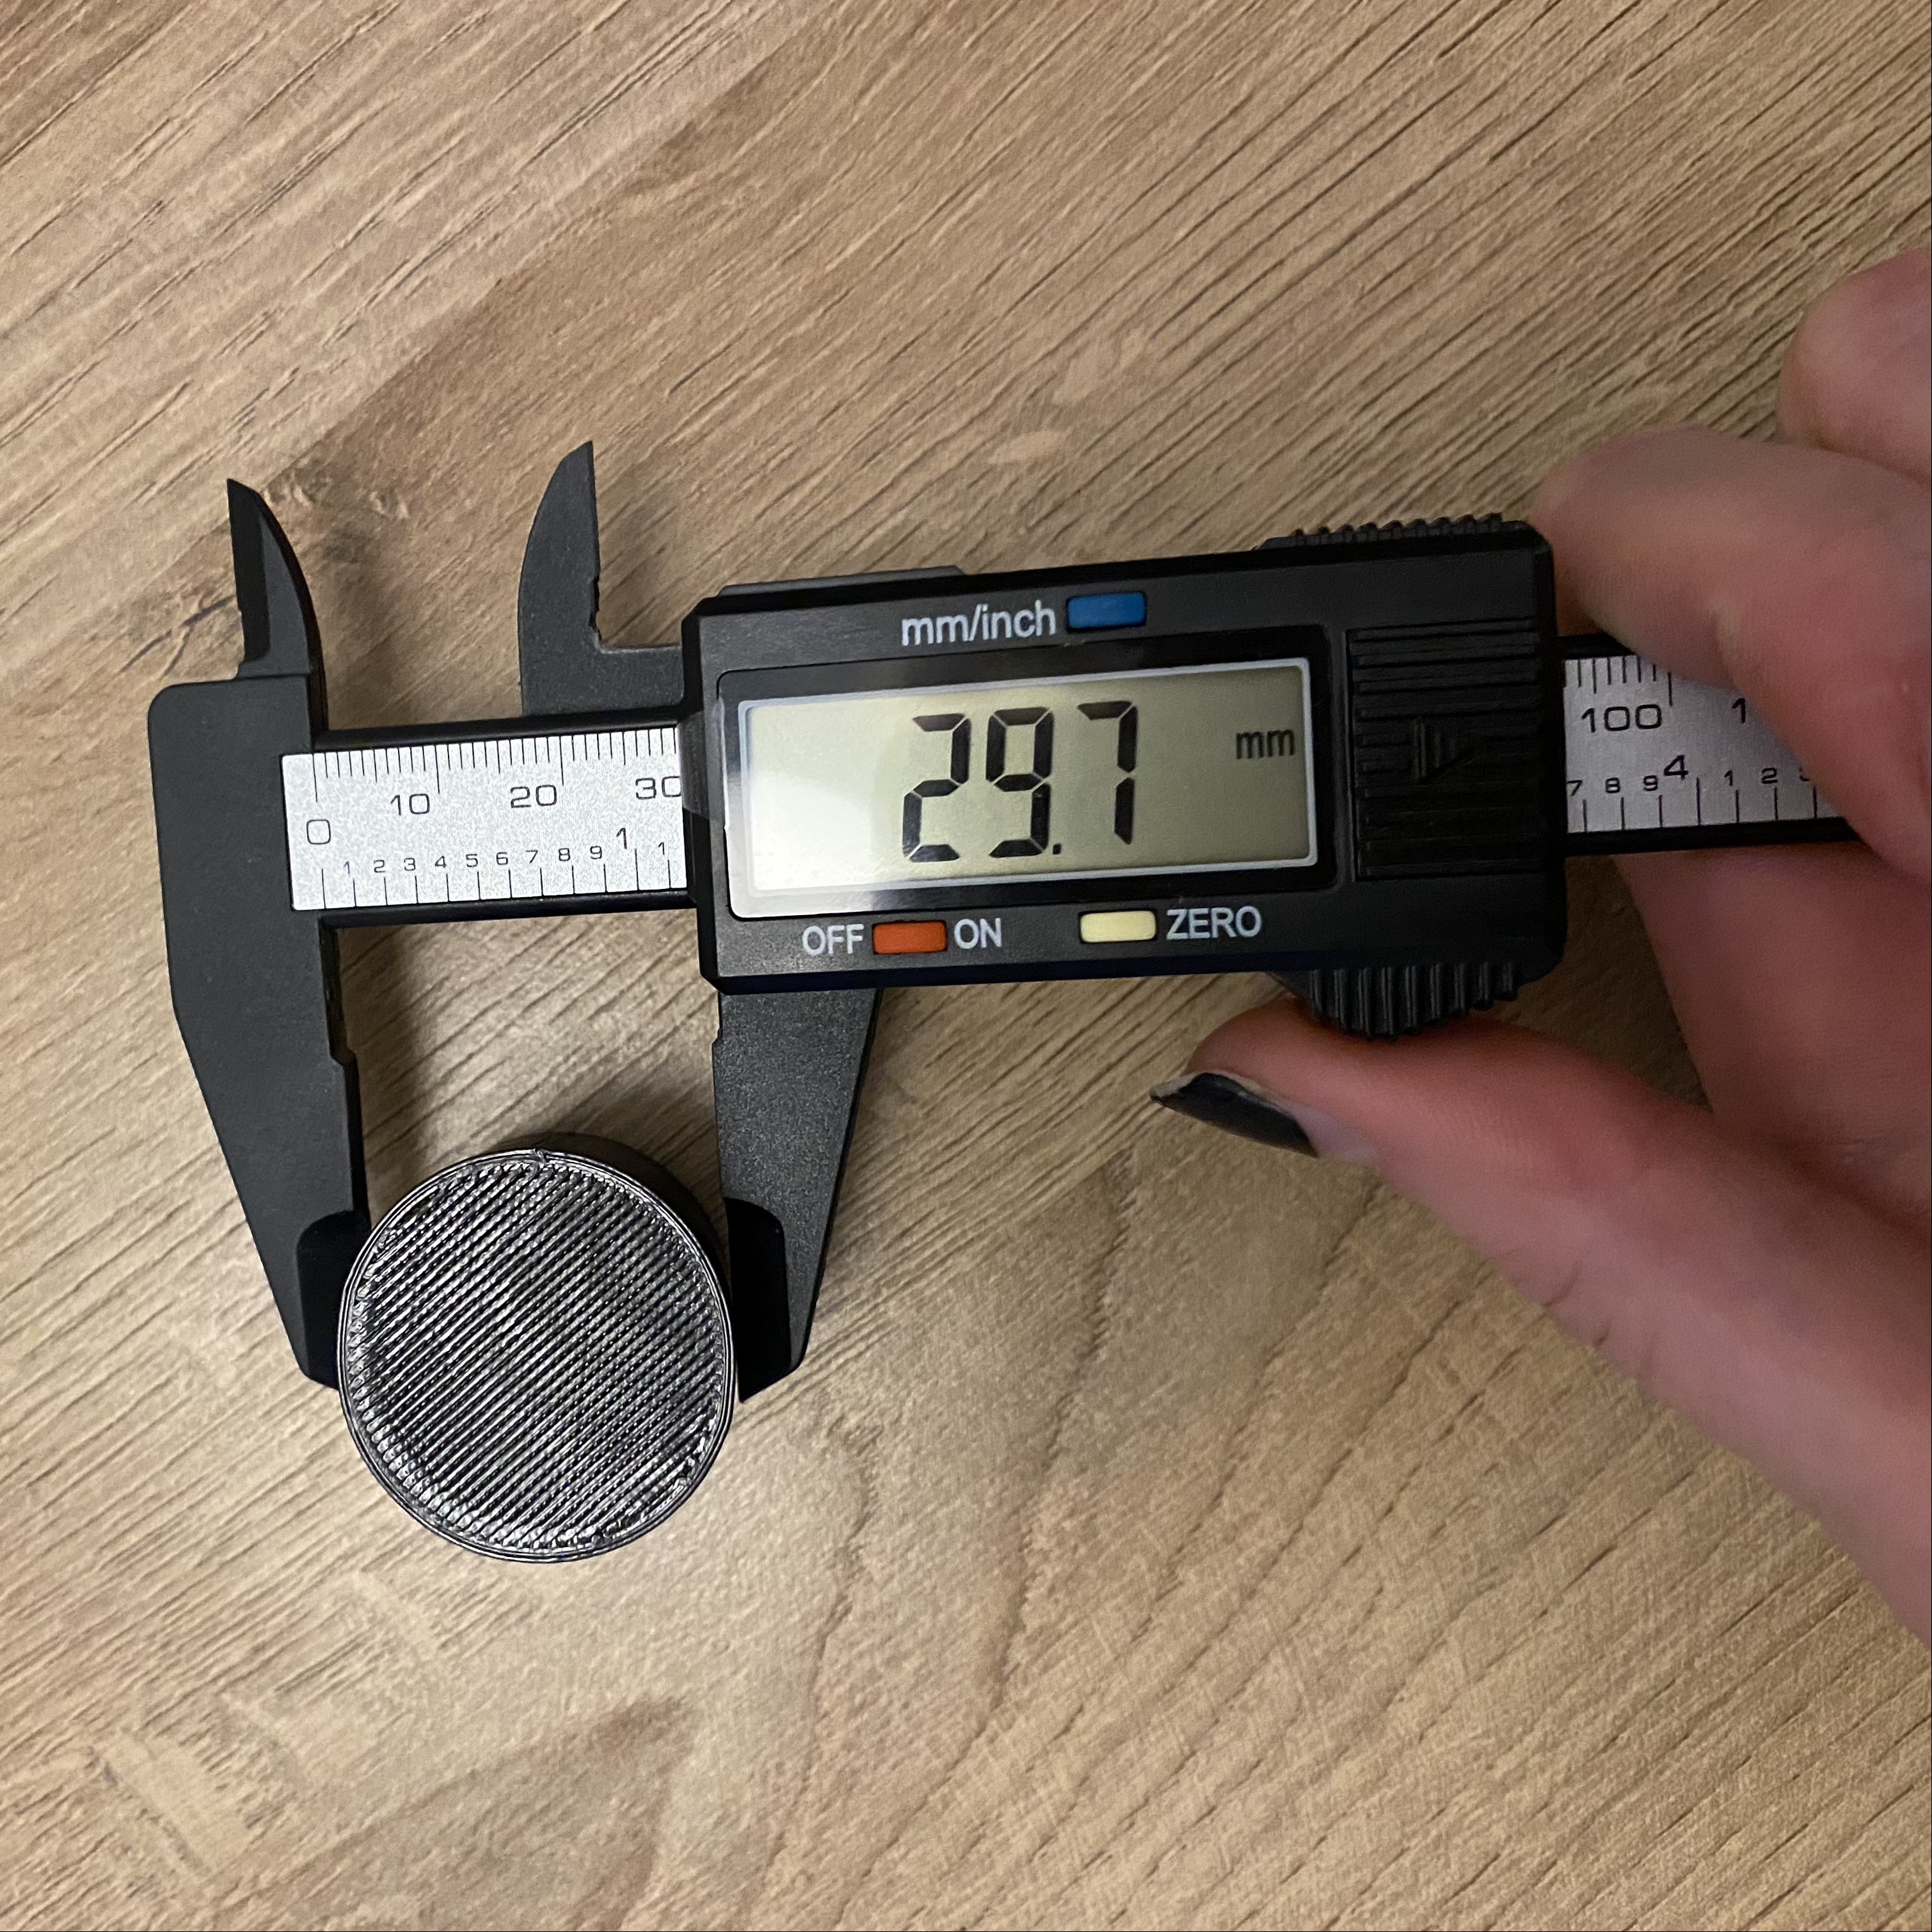
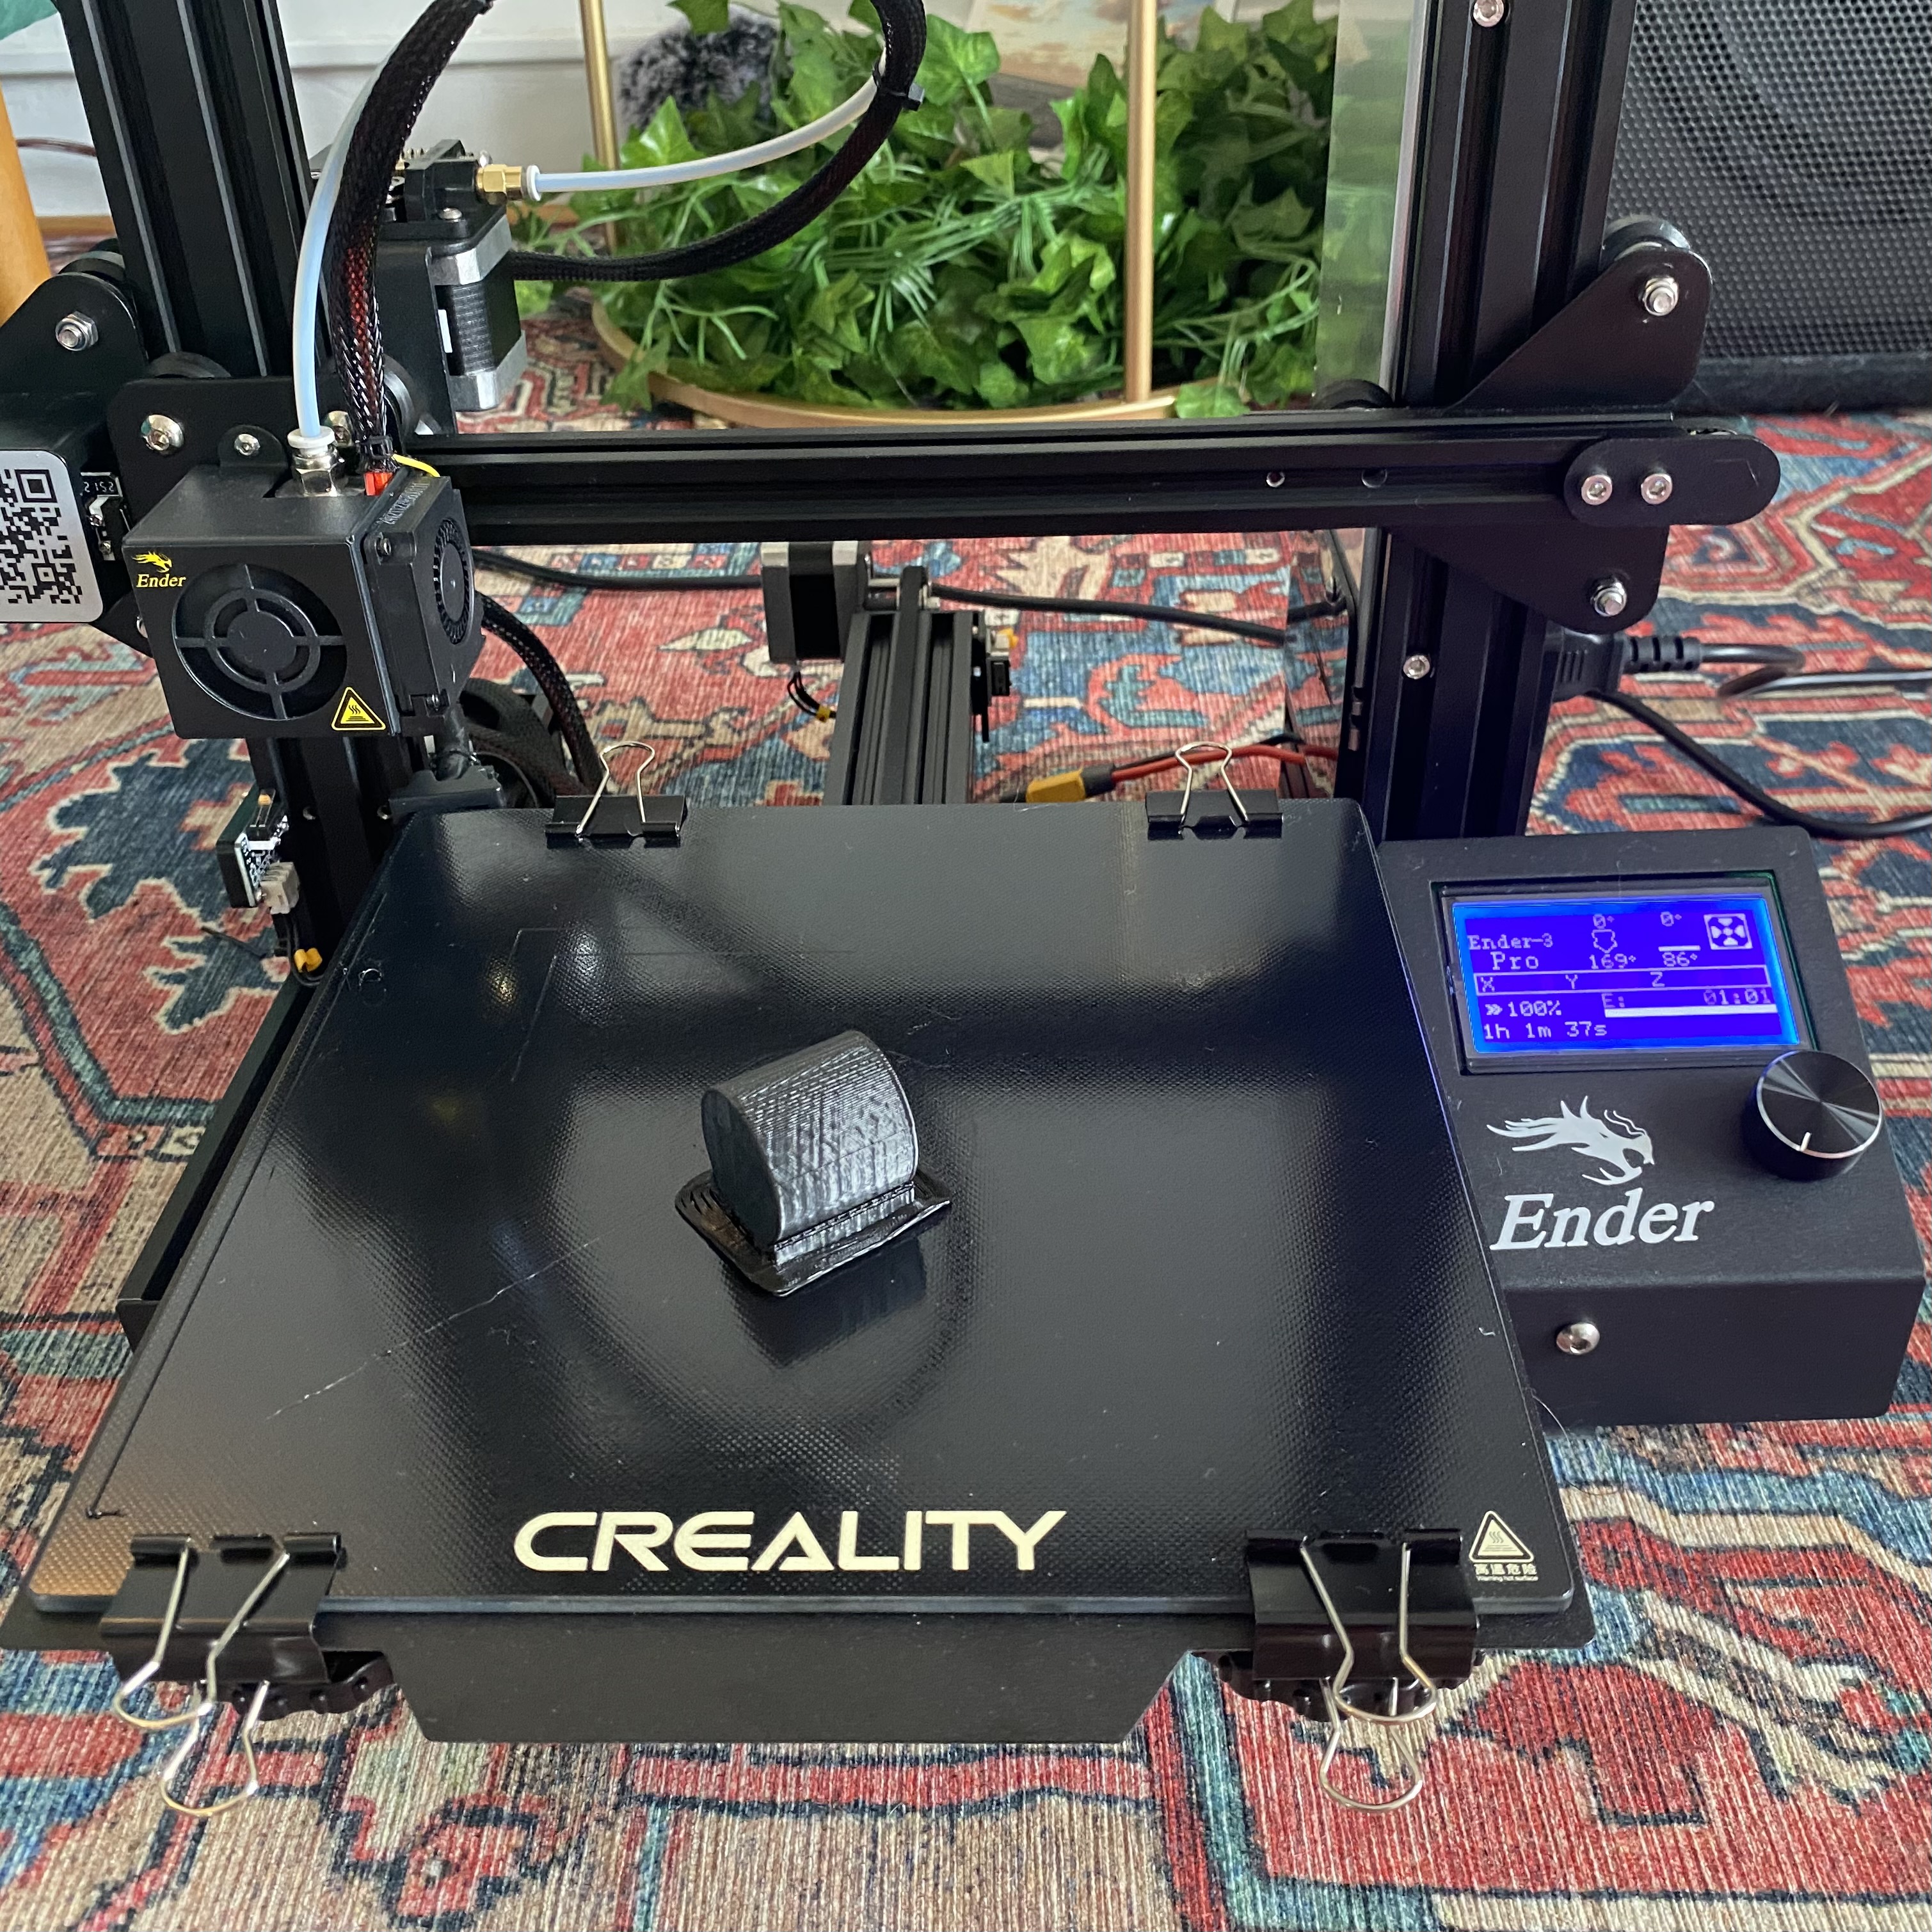
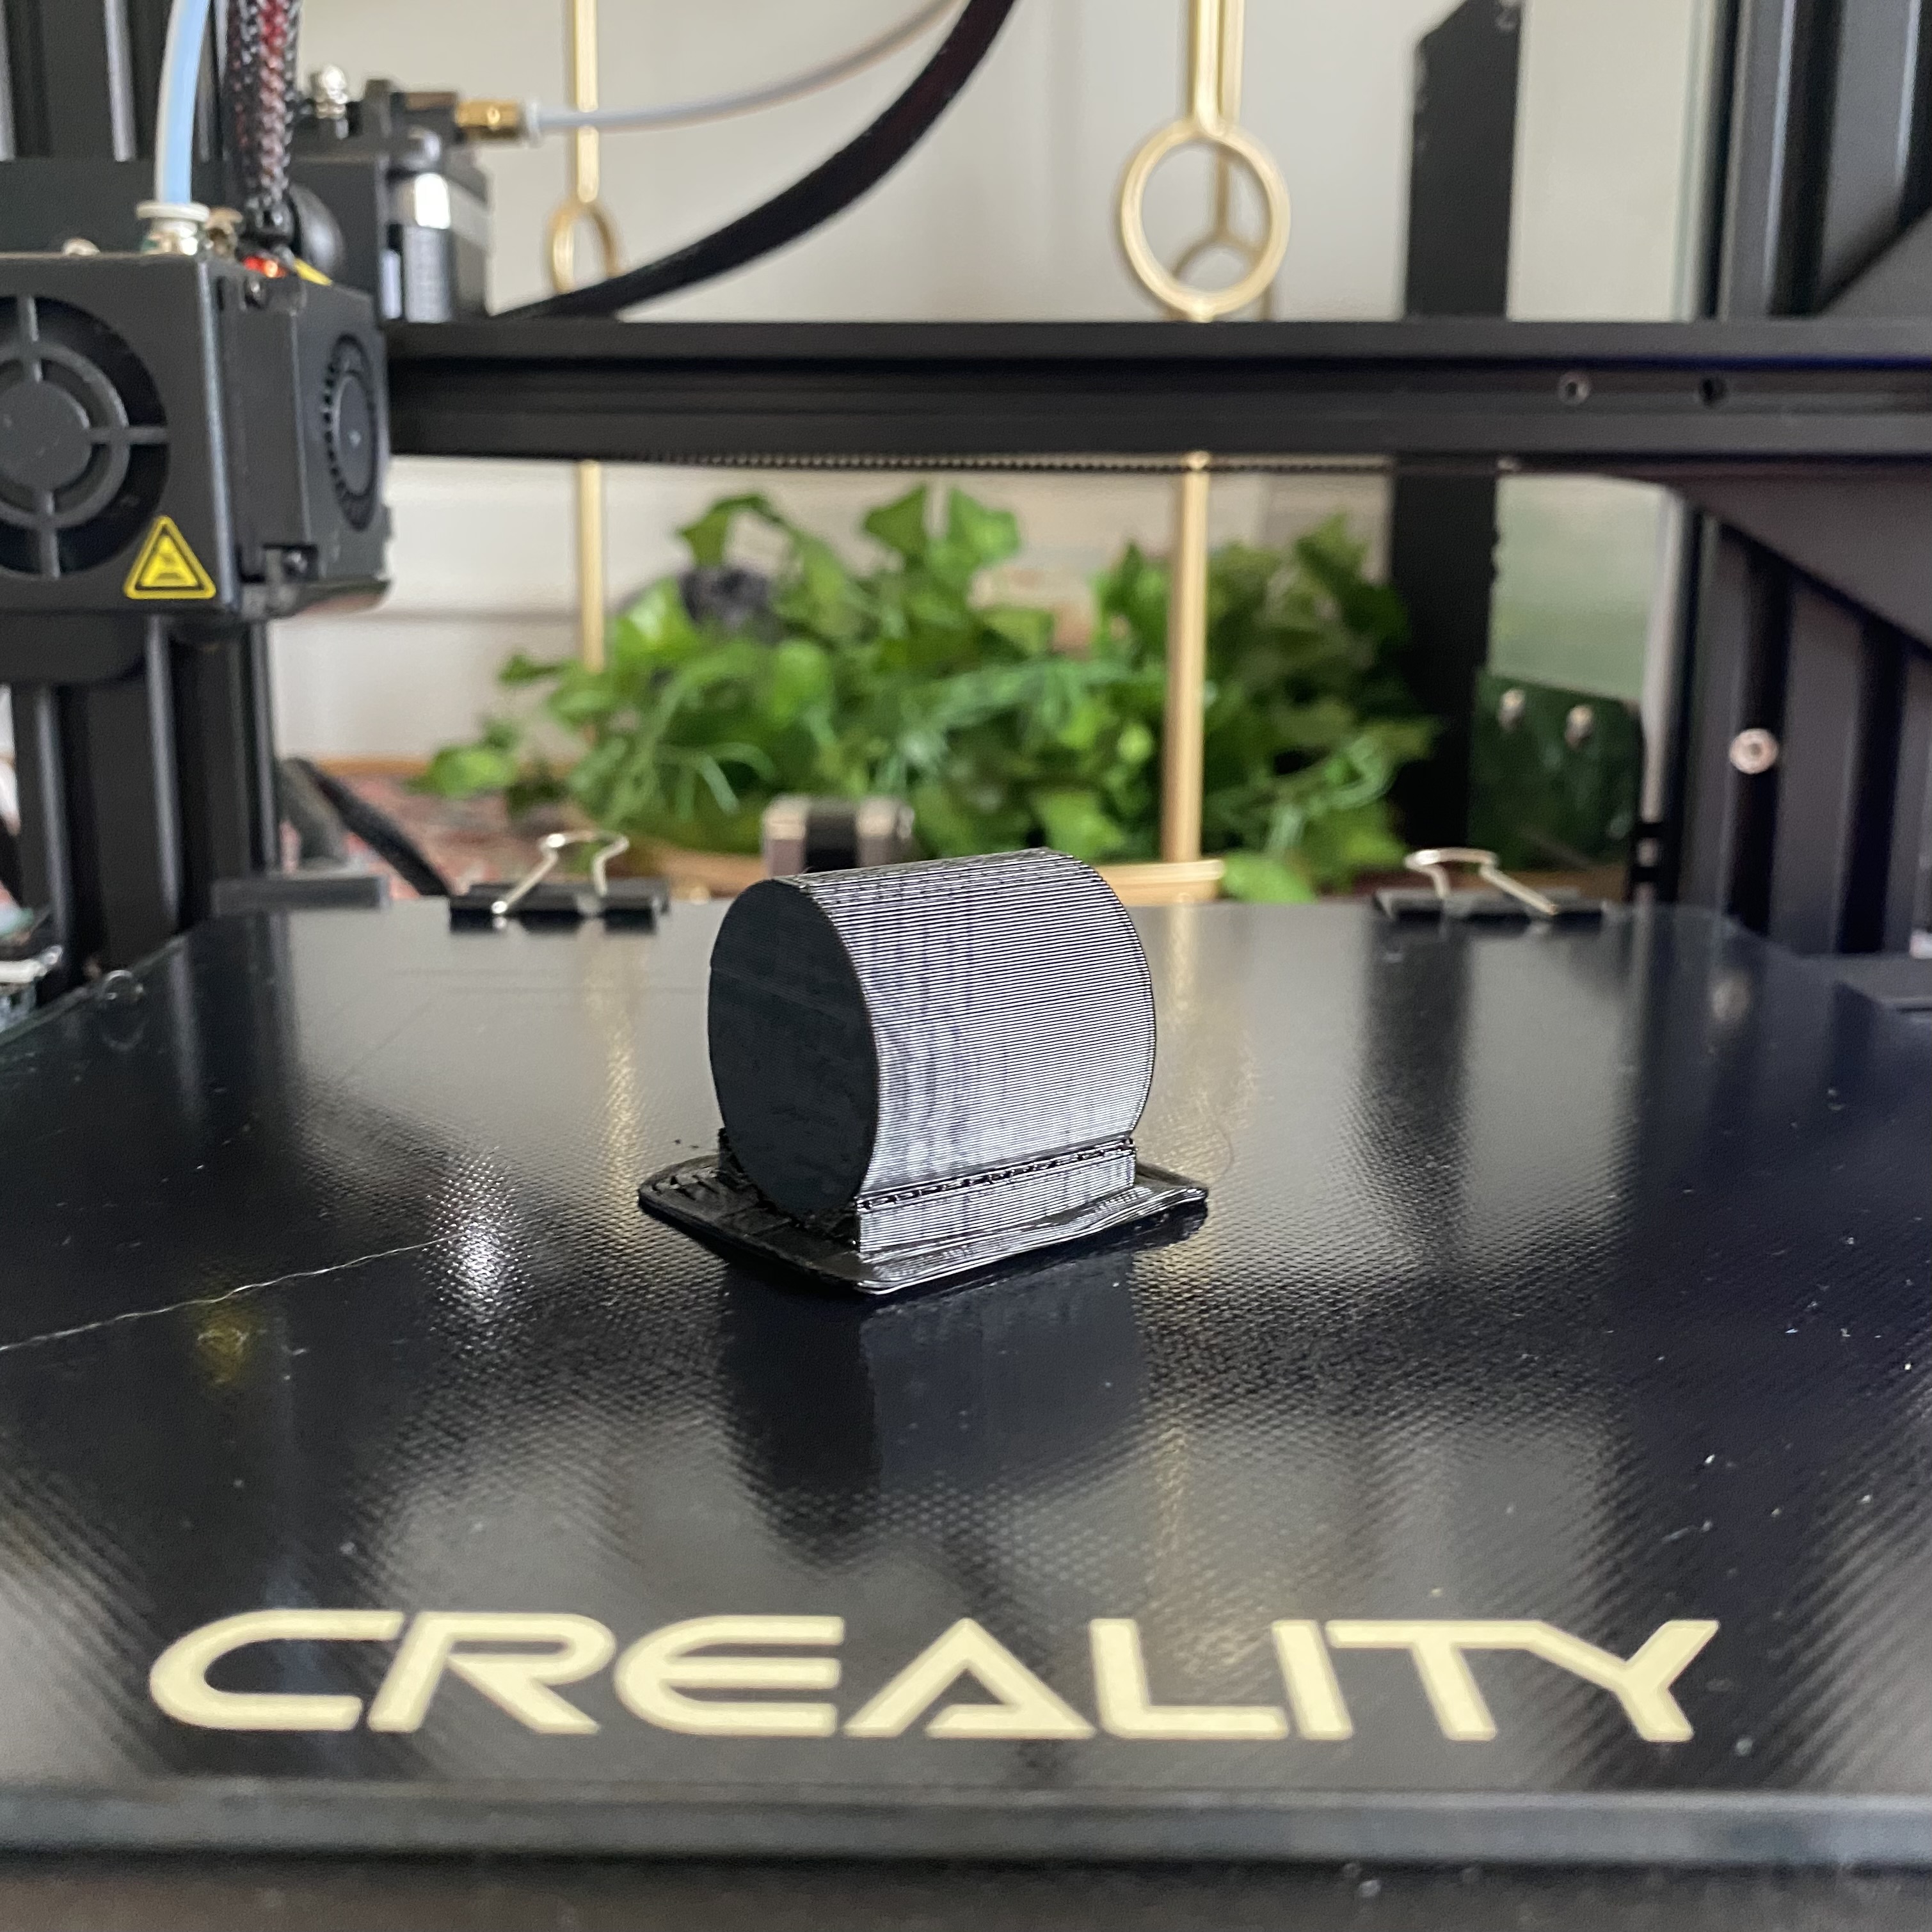
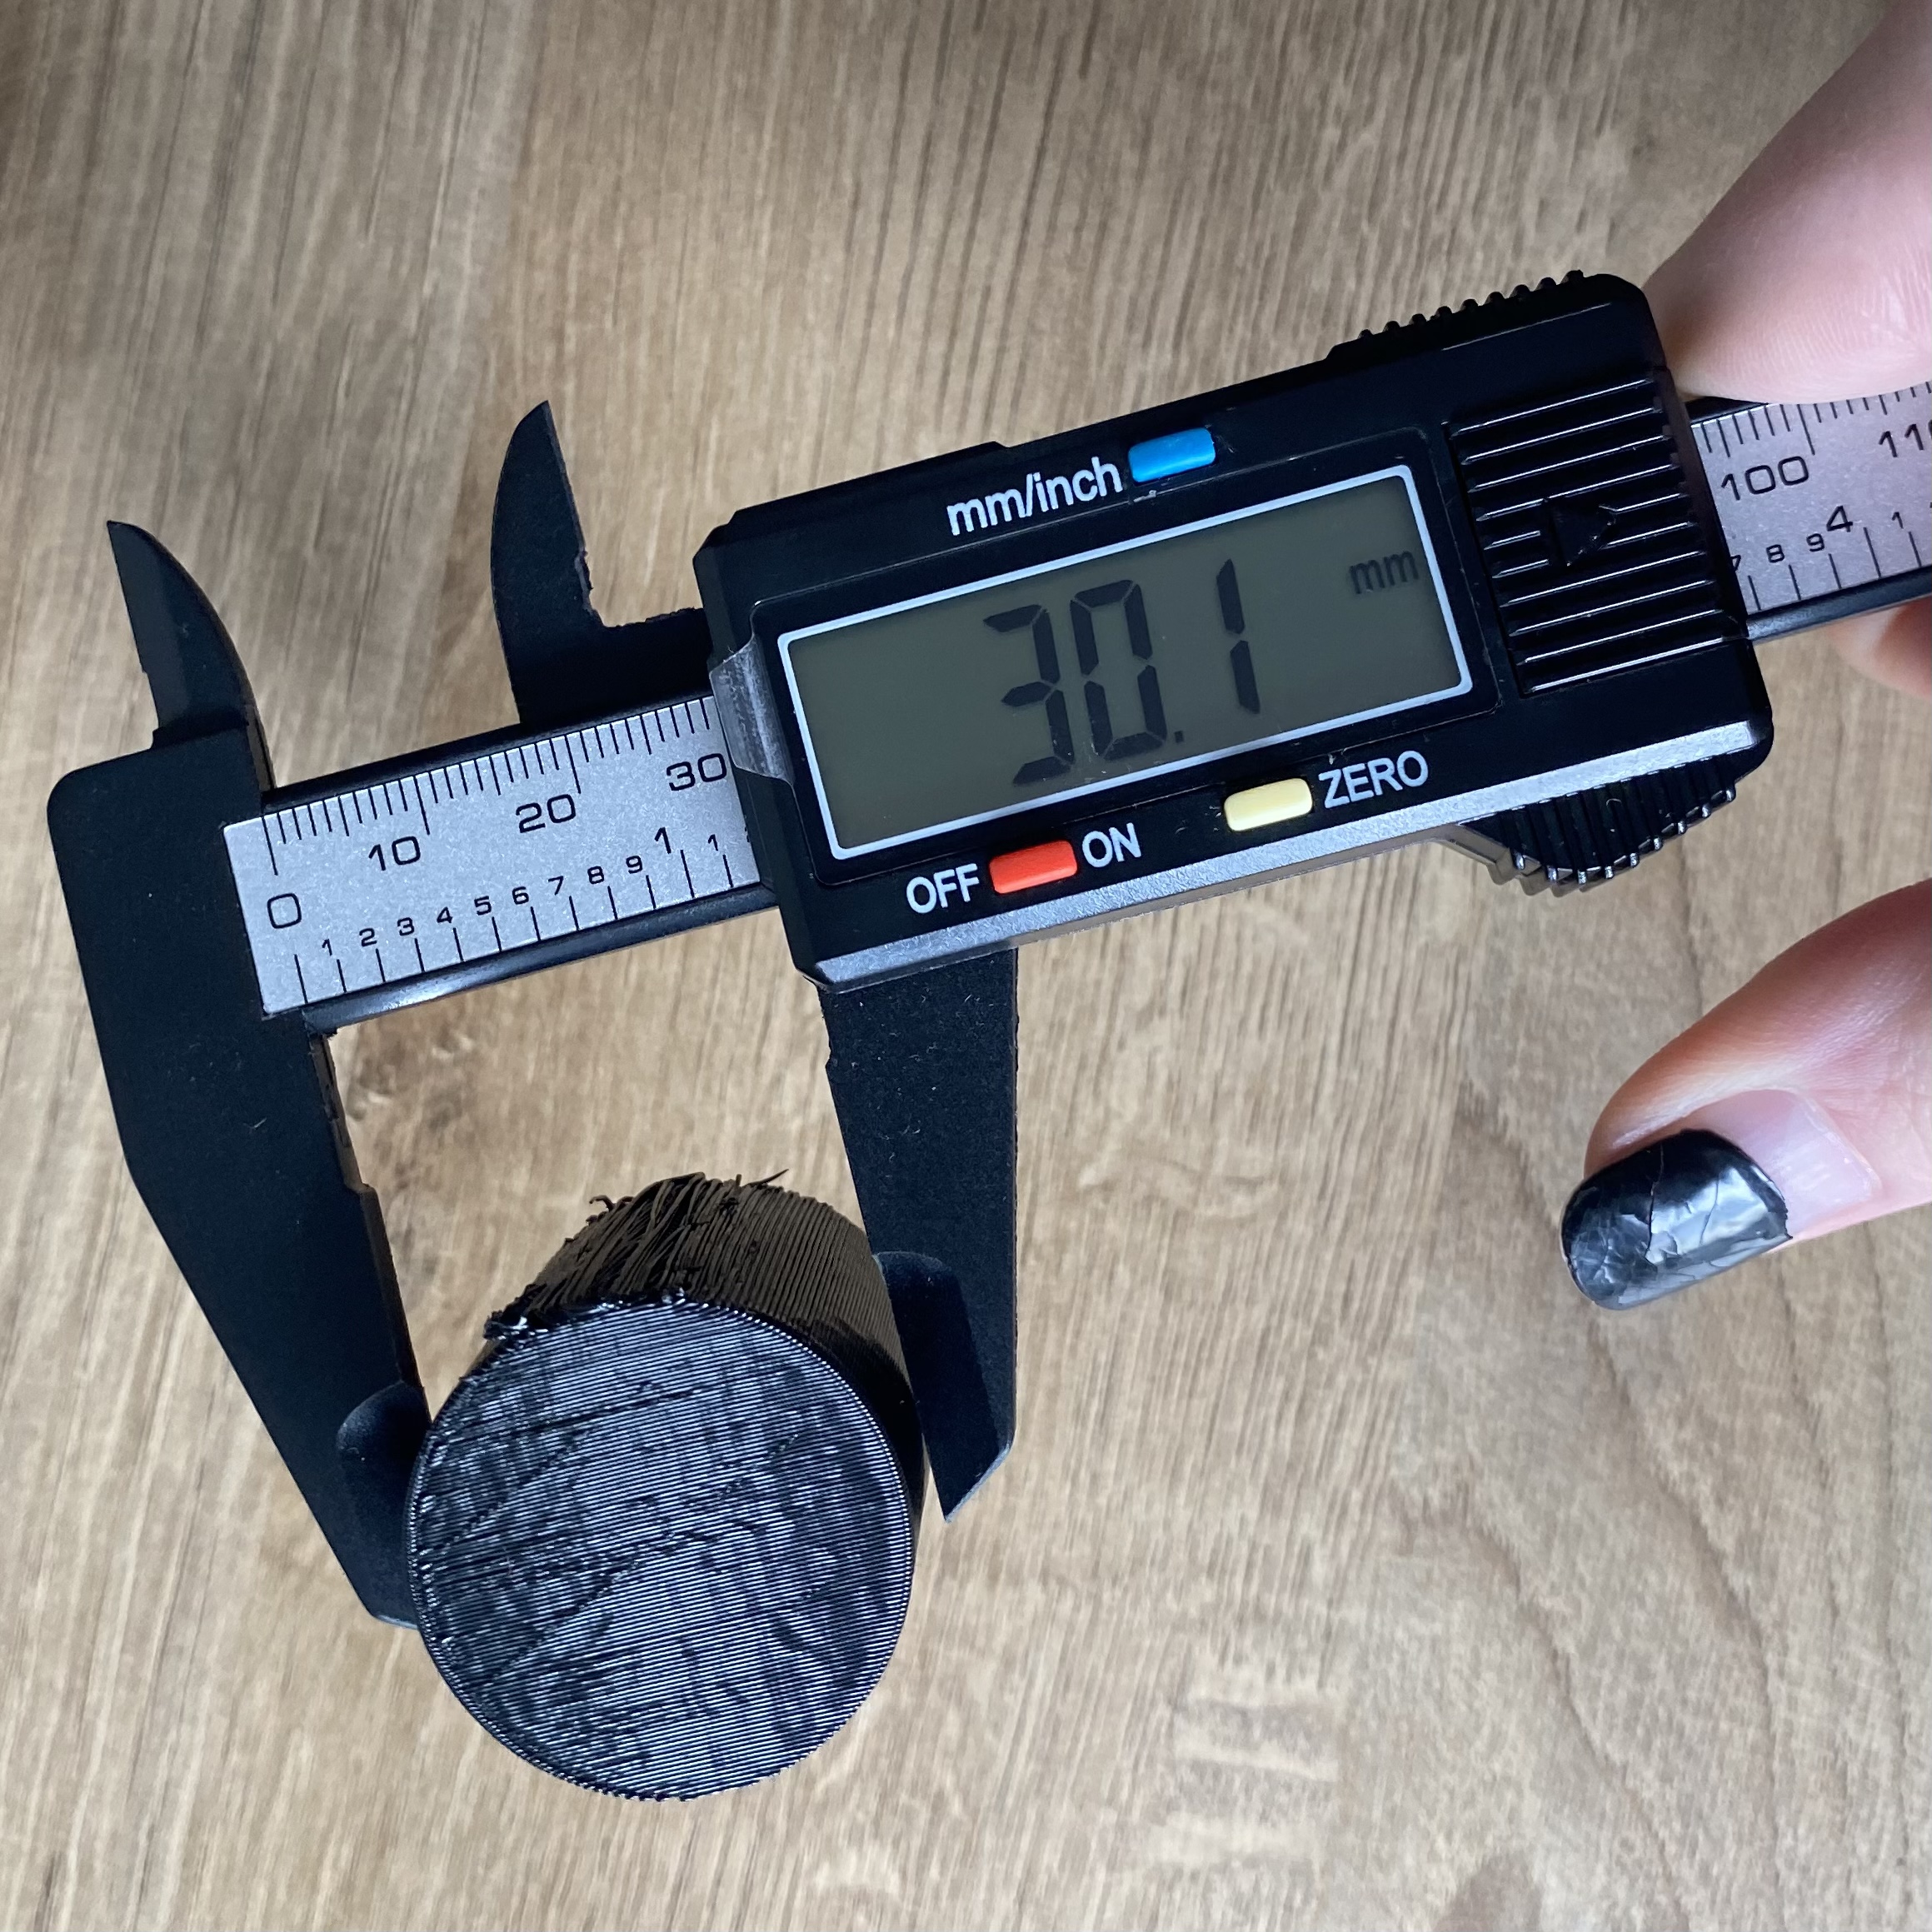
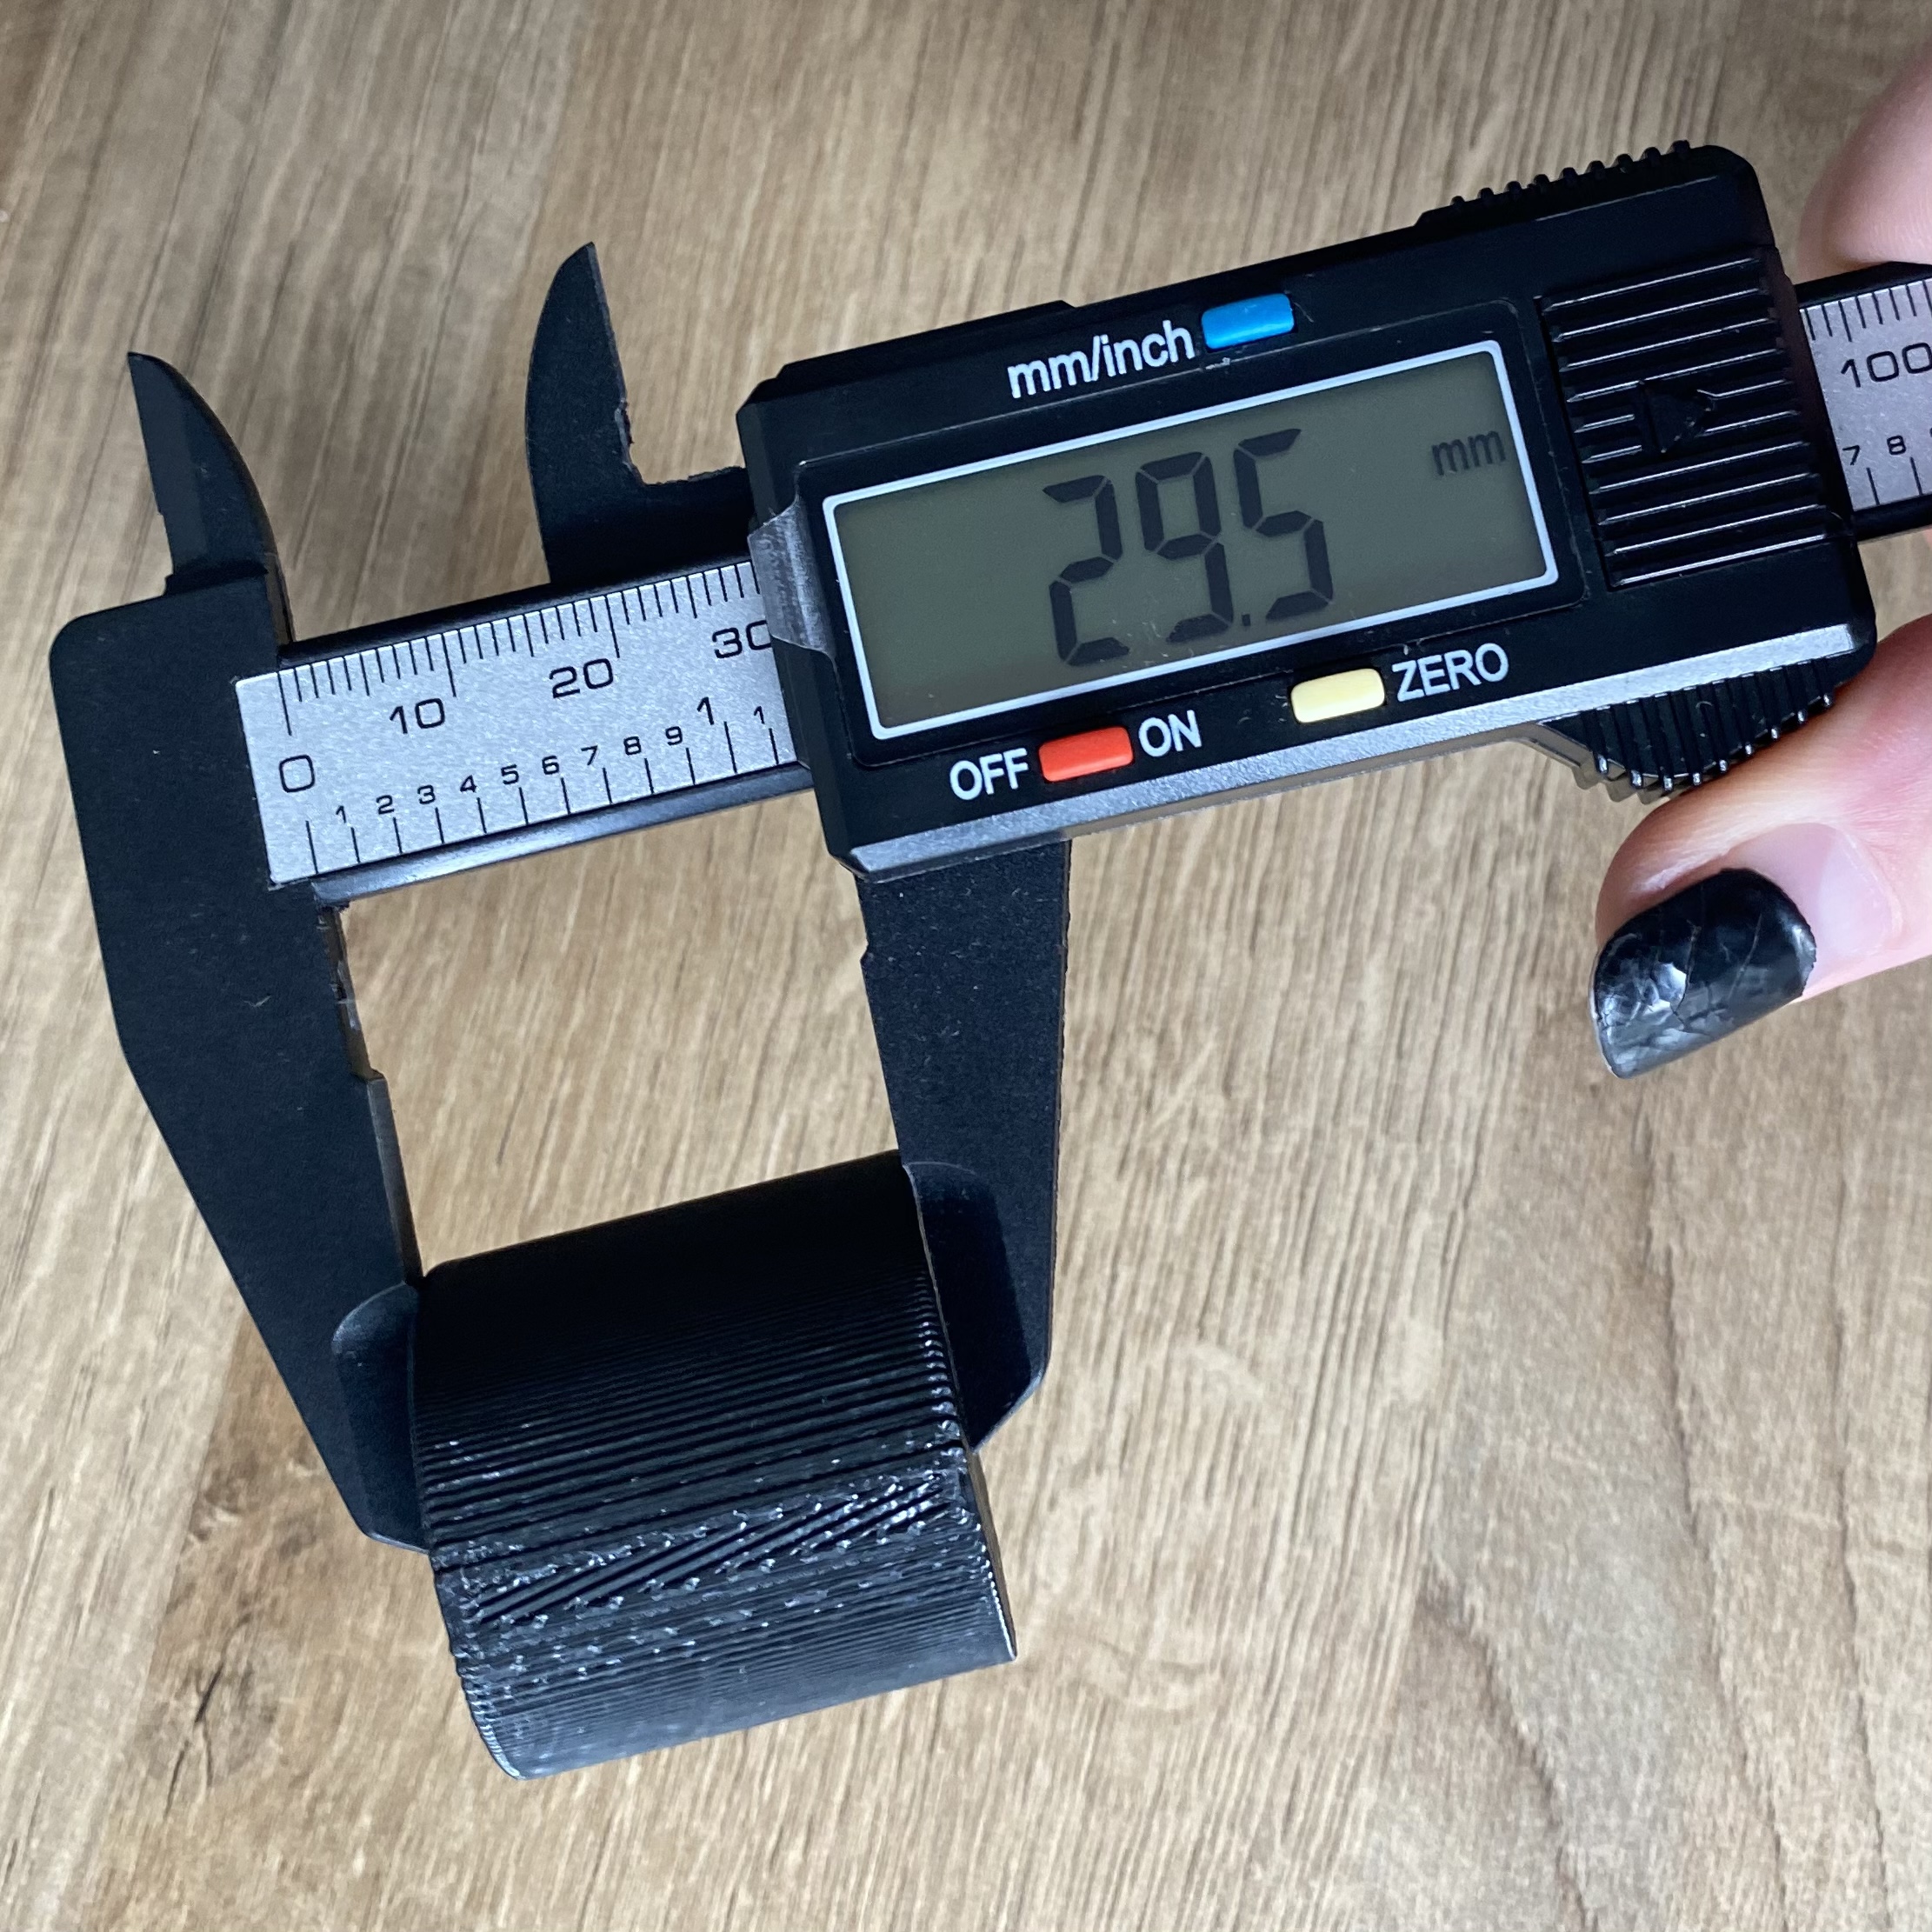
Okay, back to using words again. I wanted to create something crazy for the nested object, but I'd already invested too much of my life in this project, so I searched around online for inspo and found a wild nested star from Thingiverse. I claim zeeero credit for this and I still did model my own object after this that I'll talk about it in a minute. I just had to share this first because it's infinitely more impressive and I wish I knew how to make shapes like this in Rhino (believe me, I tried!).
Sadly, here's what I actually modeled. It's three triangles inside each other. It fulfills the criteria...and I'm already judging myself, so you don't need to also.
To end, here's my graveyard of 3D print attempts. This week was a doozy. xoxo
